Important or Recent Updates
| Historic Updates | Date |
|---|---|
| First version of the setup | 01/08/2021 |
| Added a note regarding the /data share Cleaned up the guide with LanguageTool General formatting updates | 14/03/2022 |
| Swapped out Putty for Terminal (Powershell) | 01/04/2023 |
| Further improvement to user and now group creation (thanks kalmiya) | 23/09/2023 |
It is good practice to set up a unique user and group with limited share and application access for your containers. We won’t ever be using this user to log into DSM it is purely for Docker.
Creating a Group
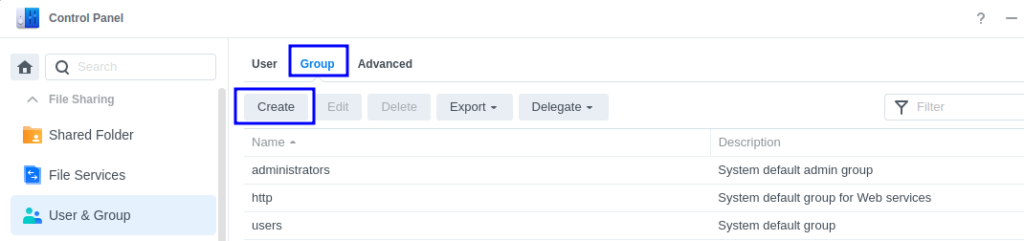
First up we will create a specific docker group that our docker user will belong, this allows us to segregate the permissions from the normal ‘users’ group from Docker. This is useful as you may have other users on your NAS that you don’t want to have access to certain folders by default.
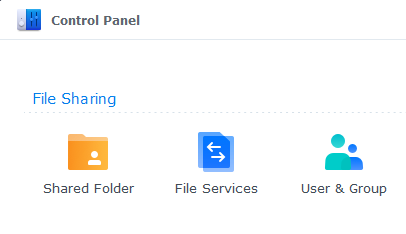
Navigate into the DSM control panel and open up ‘User & Group’ then click on Group and Create
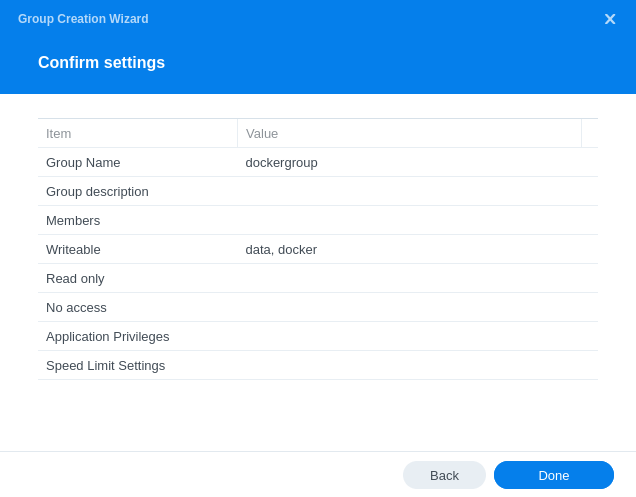
In the screen that appears we will name the group ‘dockergroup’ (imaginative right) and you can give it a description if you wish
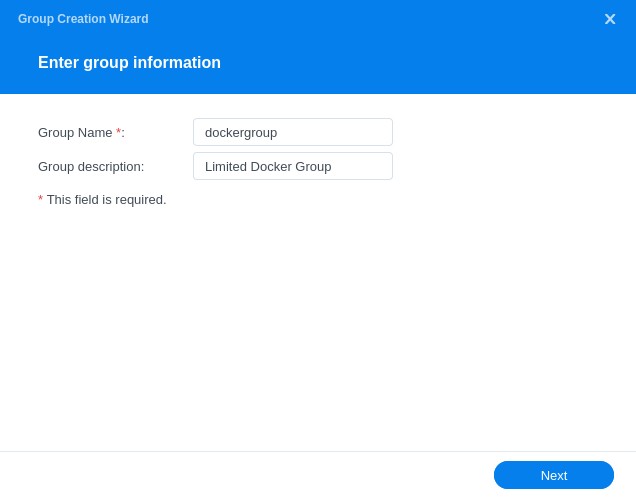
Click Next, we won’t be adding any users to the group yet (that’s the next section)

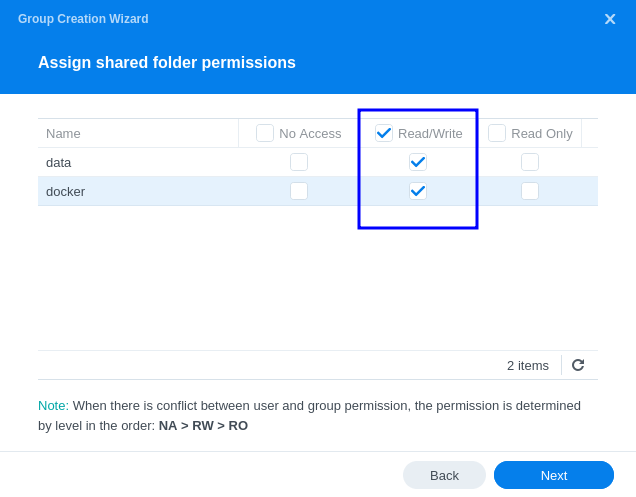
On the next screen we will grant the Group Read/Write permissions to the ‘data’ and ‘docker’ shares we created in the previous guide. Click Next.
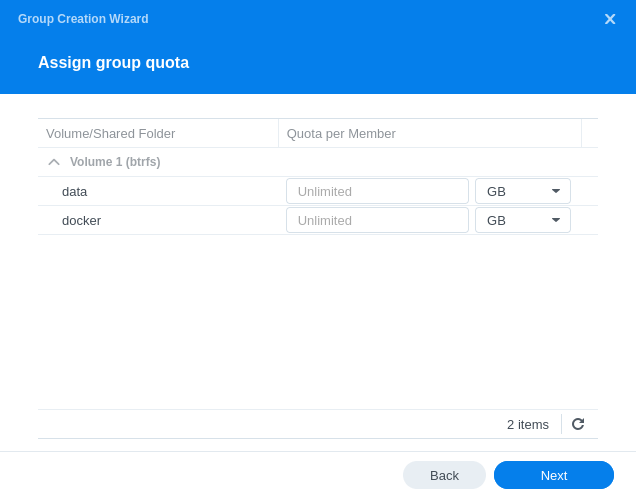
On the next screen you do not need to amend the groups Quotas so click Next
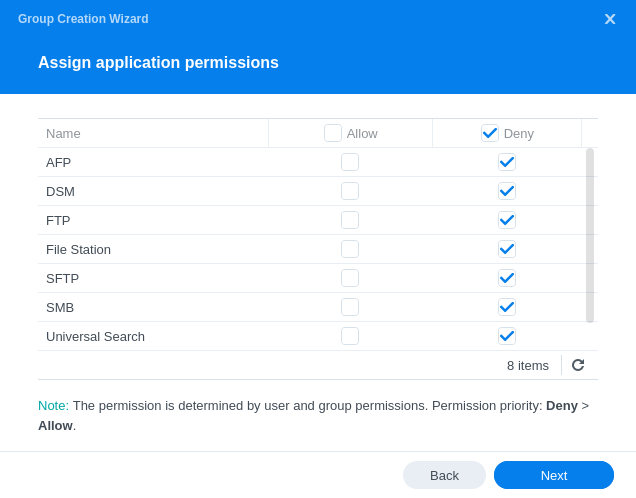
We will now Deny all access to inbuilt apps as this group and any users within it do not need access.
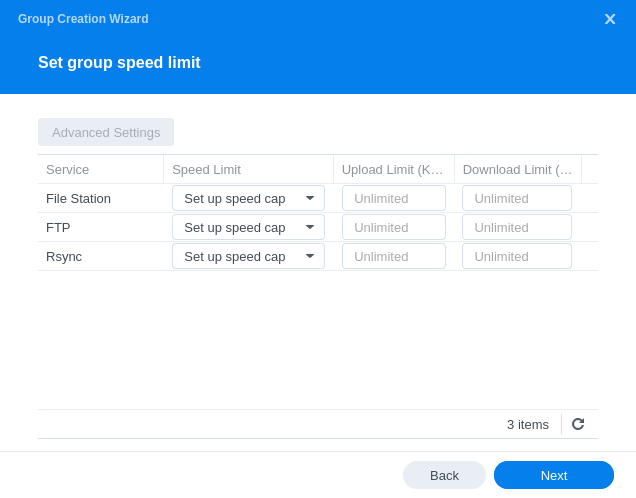
On the final settings screen we don’t need to set any speed limits
On the final screen click Done.
Creating a User
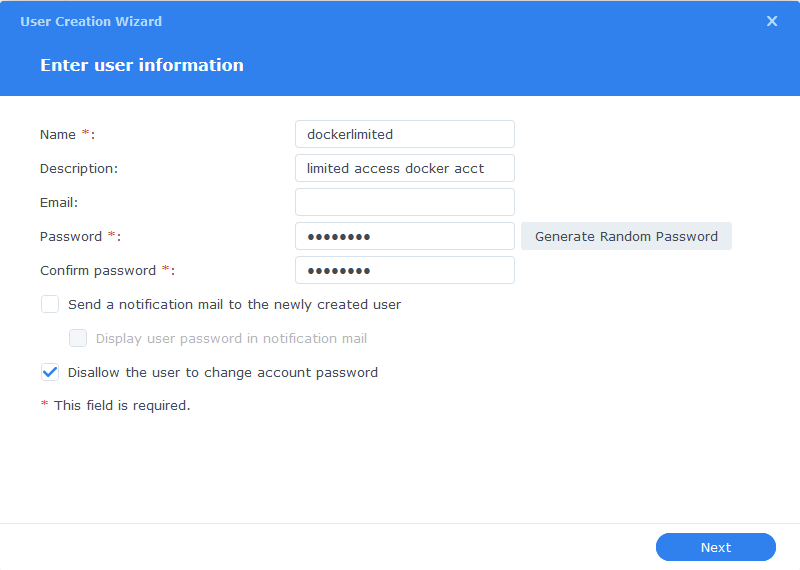
You can call the user whatever you want, I just kept mine simple and created one called ‘dockerlimited’
It’s also a good idea to generate a very strong random password for the user, while it will be a very limited account you don’t want to give it an easy to guess password. You will never need this password for what we are doing.
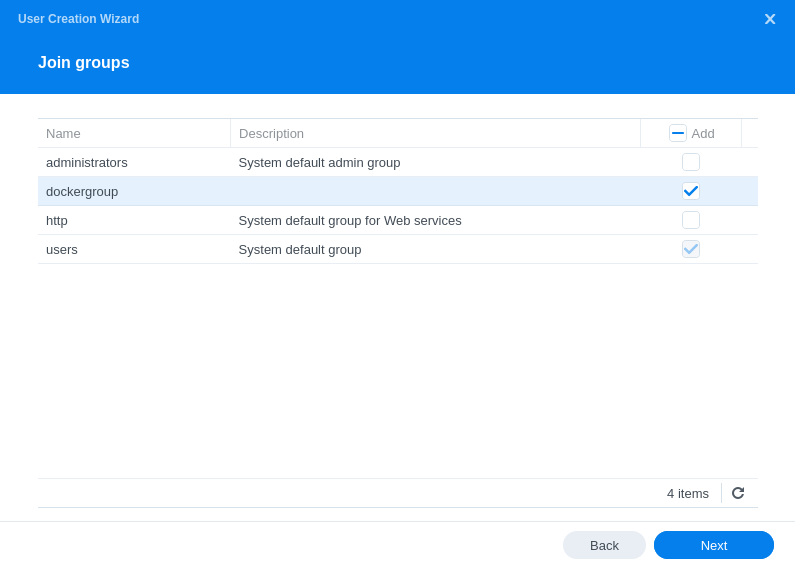
Next we are going to add this new user to the ‘dockergroup’ we just created as we don’t want it having any sort of admin access.
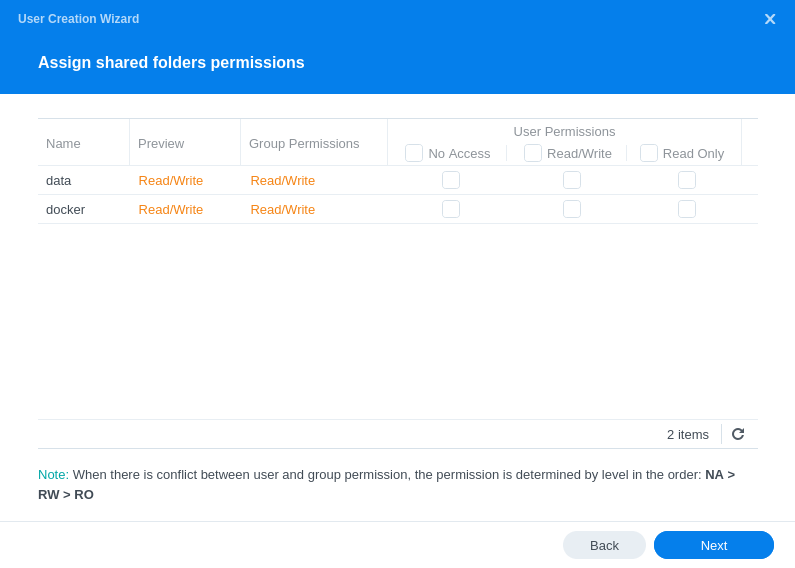
On the next screen you should see that the user already has Read/Write access to the two shares and no others.
*Please note if you are not following one of the media setup guides you will not have the /data share so don’t worry if it is missing.
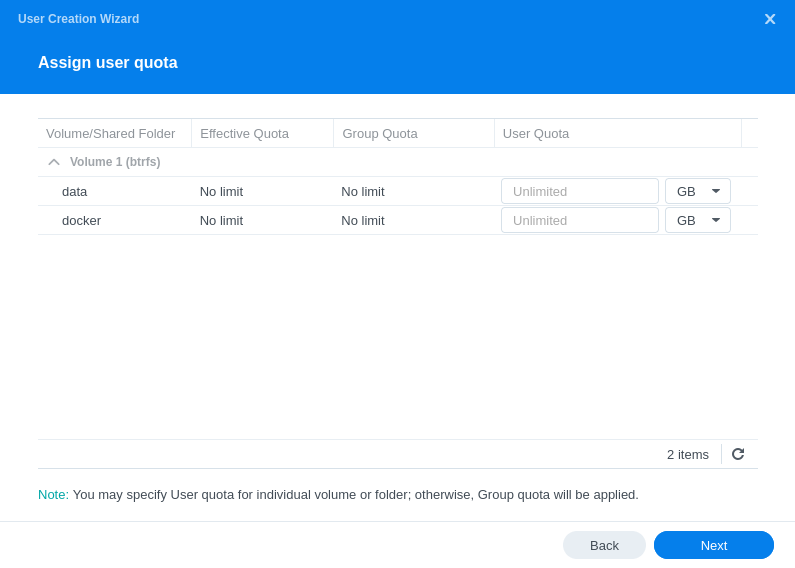
Nothing to change on the User quota settings just click ‘Next’
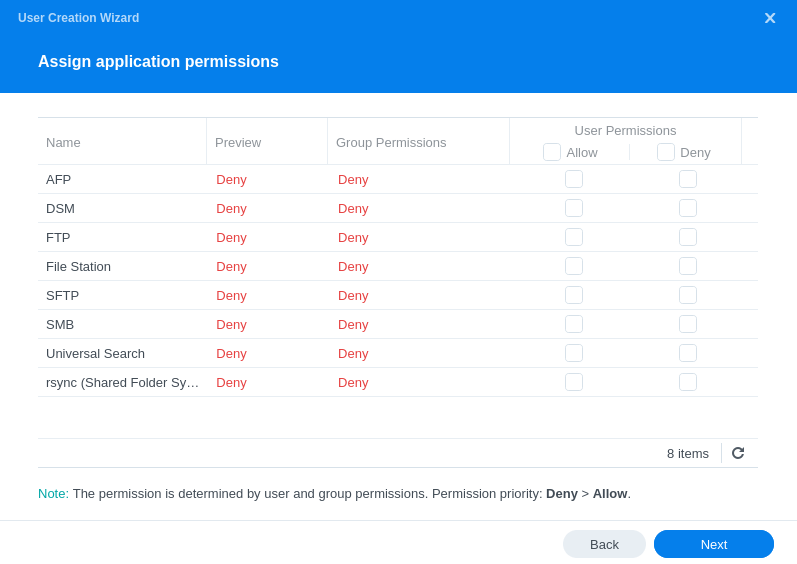
You will see that our User already has restricted access to apps
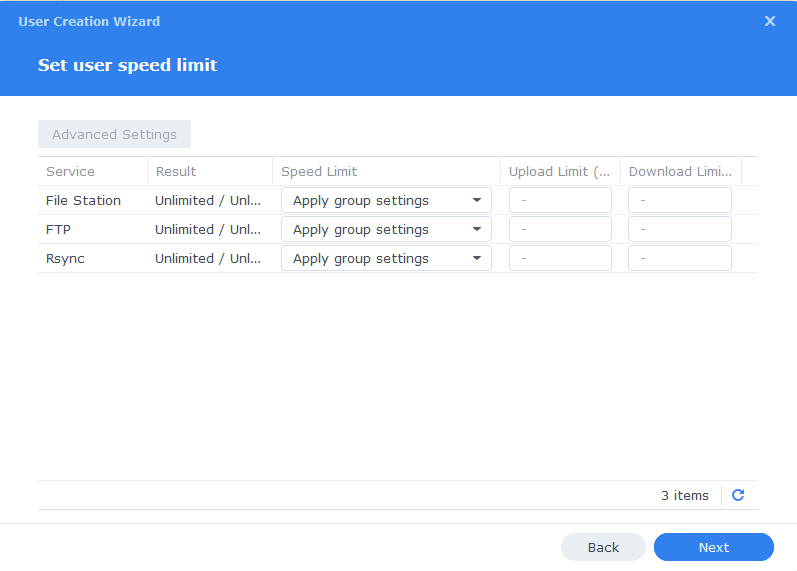
Again we don’t need to set any speed limits for this user so click on ‘Next’
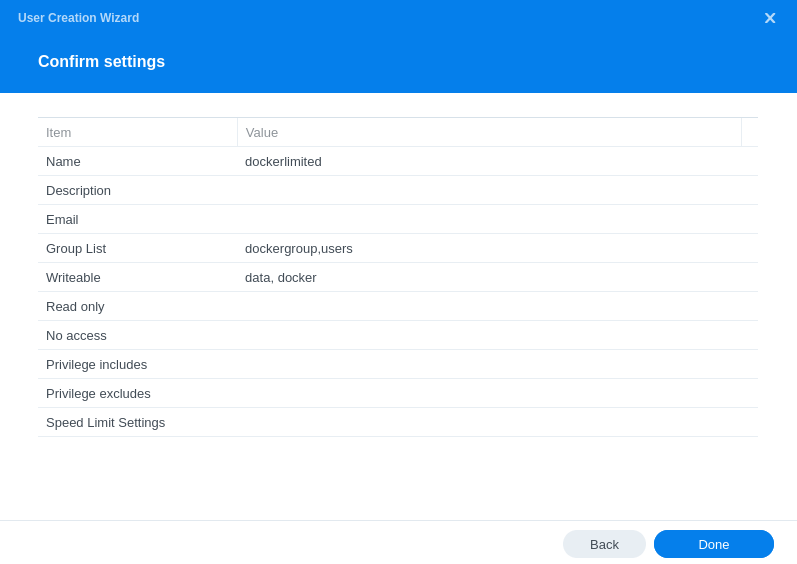
The final screen will just confirm your settings make sure the correct shares are in the ‘Writeable’ list, click on ‘Done’ and your user will be created.
Obtaining the new UID (User ID) & GID (Group ID)
Now we need to obtain the IDs for the new dockerlimited user and dockergroup These are used to pass file permissions through to our containers. They can also be known as PUID and PGID.
You will need to SSH into your Diskstation using ‘Terminal’ which is built in to modern versions of Windows, Linux, or Mac.
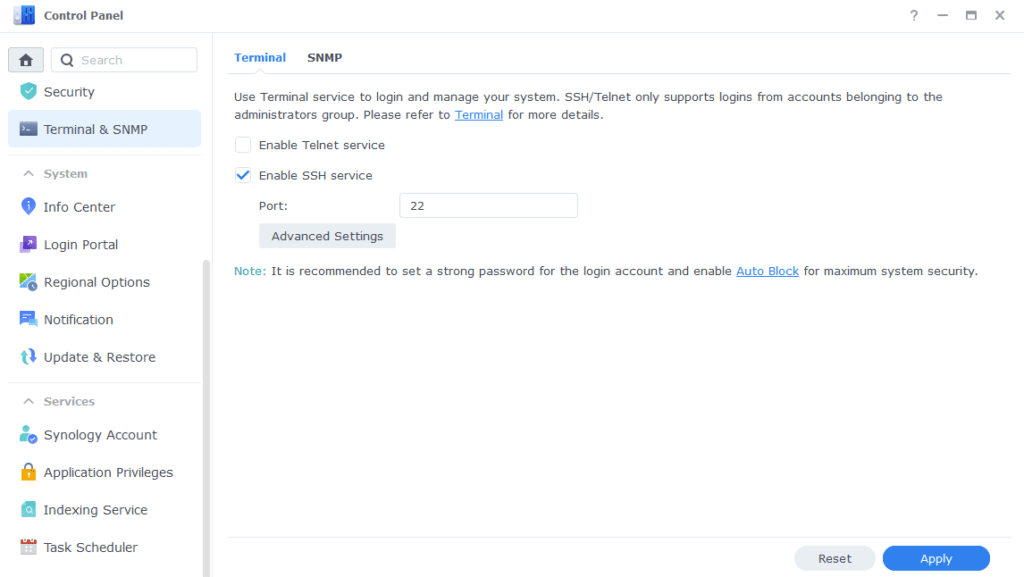
Go back into the Control Panel again and enable SSH within the Terminal & SNMP section.
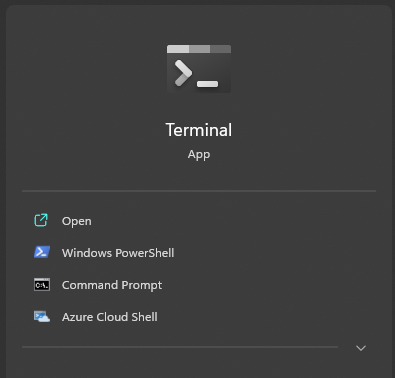
Open up ‘Terminal’
Now type ssh then your main admin account username @ your NAS IP Address and hit Enter (Not the docker user)
ssh drfrankenstein@192.168.0.101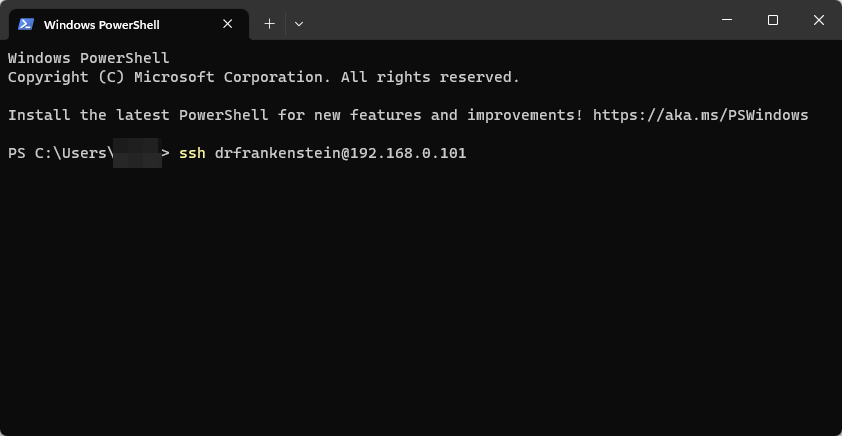
You will then be asked to enter the password for the user you used, you can either type this or right click in the window to paste (you won’t see it paste the info) then press enter.
Once logged in type the below replacing ‘dockerlimited’ with the name of the user you created if you changed it.
id dockerlimitedYou will now see a similar output as the below…
uid=1027(dockerlimited) gid=100(users)groups=100(users),65537(dockergroup)Let’s break this down!
uid=1027(dockerlimited) This is our UID write this down!
gid=100(users)groups=100(users) While this is a GID it is not the one we are interested in as it is for the standard users group so ignore this.
65537(dockergroup)This is our actual GID that we want to use for our containers so write this down as your GID.
You have now successfully set up your limited access user and obtained its IDs for use in Docker. Keep note of these somewhere as you will use them a lot with Docker.
You can now disable the SSH service as we won’t be using it.
You can now go back to the guide you were following.
Permission Fixes – only use if you have issues
If you followed one of the guides on this site and you can’t see a folder or files inside a container it is likely a permissions issue.
The commands below need to be entered via SSH, so just like in the guide above log into the NAS with your main account user, you will not see an output after each command.
The fix does the following:
- Make the named user and group, owners of all files and folders in the named paths
- Change file and folder permissions to 775 (rwxrwxr-x)
WARNING! – These commands assume all your folders are on volume1 if not adjust the command accordingly
Permission fix 1 – For anyone who followed this guide after the 23rd September 2023 and have both the dockerlimited and dockergroup in place (4 digit UID & 5 digit GID)
sudo chown -R dockerlimited:dockergroup /volume1/docker /volume1/datasudo chmod -R a=,a+rX,u+w,g+w /volume1/docker /volume1/dataPermission fix 2 – For anyone who followed this guide before the 23rd September 2023 and just have the dockerlimited and normal user group in place (4 digit UID & 3 digit GID)
sudo chown -R dockerlimited:users /volume1/docker /volume1/datasudo chmod -R a=,a+rX,u+w,g+w /volume1/docker /volume1/dataBuy Me a Coffee or a Beer
If you have found my site useful please consider pinging me a tip as it helps cover the cost of running things or just lets me get the odd beverage. Plus 10% goes to the devs of the apps I do guides for every year.


I am a total noob at this type of thing. I installed docker and I set up the account. When I’m in PuTTY, I enter the info, but after installing, Synology yells at me saying I shouldn’t log in anythign that has root access, but says I can continue if I want, but then I get an “Access denied” and it terminates my session. Any tips?
Hey, make sure you are logging in with your main user account not the dockerlimited account
Thank you so much! This was it. Wasn’t expecting suck a quick reply. Enjoy your coffee. 🙂
I keep getting this error when I try to SSH into my NAS. I have set all permissions correctly. The top half is me typing in the correct password, and the bottom half is me typing in the wrong password, for comparison’s sake. https://imgur.com/a/HeV2l2A
Nvm figured it out! I was trying to sign into my DockerLimited account instead of my main account
Hi,
Excellent tutorials! Thanks! They helped me create a docker stack in portainer containing everything.
One small suggestion: in the tutorial above, you might want to add disabling SSH after obtaining the user ID. Once the SSH session is done there is no need to leave SSH enabled on the NAS (you know.. security and all..).
Best wishes, DenW
Hey, I will pop a note on the end thanks 🙂
You may want to add links to these section from your guides. They referred to the synobridge in the deluge guide and I was confused on where to find that. If that word was actually a hyperlink I would have gone straight there! 🙂 Great work by the way.
Hey Kevin, I have links to the required initial steps in the top section of each guide. Thanks for the feedback
Couple questions. Im fairly new to all this so any help would be appreciated.
When I get to the permissions section of the user, my docker group permissions come up as “Read Only”. Why would that be?
When i try to get my UID and GID from puTTy is says it doesnt have permissions for it. I can get the UID and GID for my main user via a email on task schedule but im guessing that doesnt suffice. What do i do there?
Hey, so the user we create is purely for accessing the directories setup in step 1.
SSH in with you main user account to get the ids for your Docker user as per the guide.
The group side of things it’s a bit hard to tell, jump on Discord or ping me a screenshot via the contact page on the top left of the site.