Last updated on 19 March 2025
Important or Recent Updates
| Historic Updates | Date |
|---|---|
| New DSM7.2 Container Manager Update | 01/05/2023 |
| Added additional security option to the compose to restrict the container from gaining new privileges as well as umask variable | 25/10/2023 |
| Somehow at some point a paragraph about forwarding port 32400 went missing, I had never added it! But it’s in now!! | 13/06/2024 |
| Changed ‘version’ variable to ‘docker’ this will stop in container server updates! | 01/07/2024 |
In this guide I am going to take you through the setup of Plex in Docker using Container Manager.
Some upcoming changes in Plex’s prices at the end of April 2025 – If you have not grabbed a Lifetime Plex Pass now is the time to do it. Great video from Alex below!
Plex Pass
You will only benefit from hardware transcoding if you have an active Plex Pass either monthly or lifetime. If you don’t have one you can either follow this guide or jump over to the non hardware transcoding version.
Does my Synology support Hardware Transcoding?
Before we do anything else, you need to make sure your model of Synology has hardware transcoding capabilities. You need to do a quick lookup via the linked Google Sheet below, this is updated by Plex and makes it super easy to look up your model of NAS.
If you find that hardware transcoding is not available on your model you can jump back over to the standard guide on the menu.
Let’s Begin
As usual, it’s important you complete the two proceeding guides which will get your folder structure and docker, user setup.
Folder Setup
Let’s start by getting some folders set up for the container to use. Open up File Station create the following.
/docker/projects/plex-compose
/docker/plex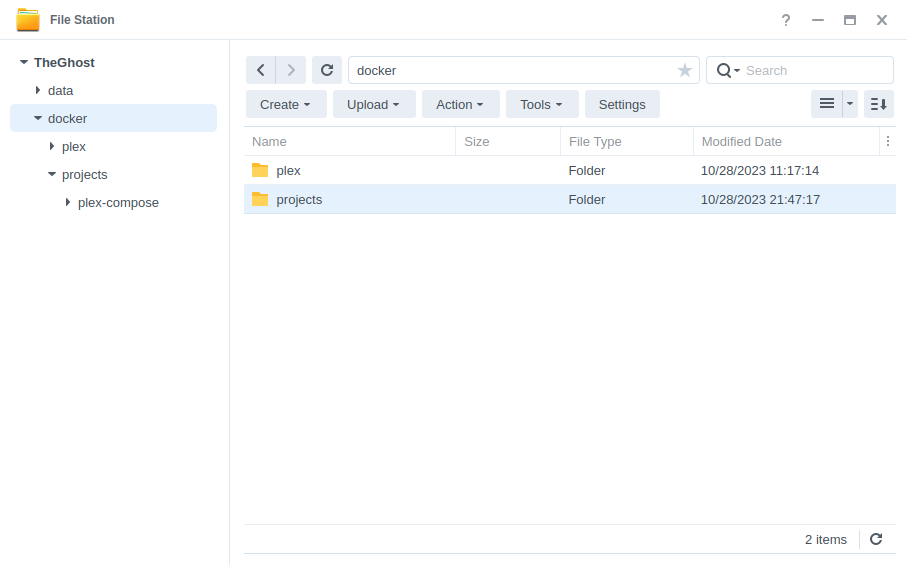
Container Manager
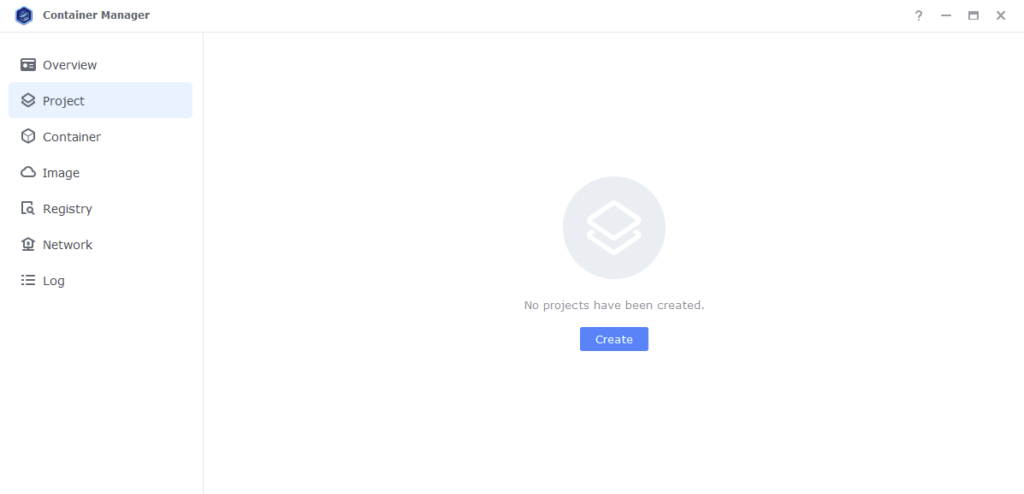
Next we are going to set up a ‘Project’ in Container Manager. Open up Container Manager and click on Project then on the right-hand side click ‘Create’.
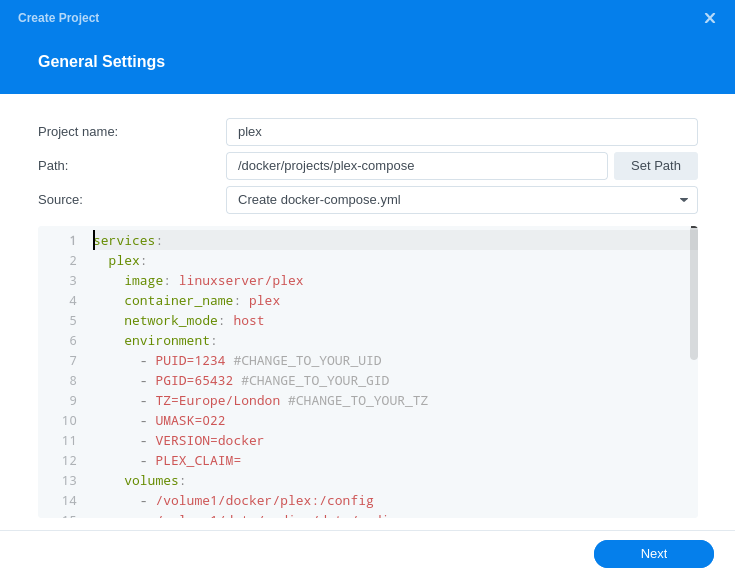
In the next screen we will set up our General Settings, enter the following:
| Section | Setting |
|---|---|
| Project Name: | plex |
| Path: | /docker/projects/plex-compose |
| Source: | Create docker-compose.yml |
Next we are going to drop in our docker compose configuration copy all the code in the box below and paste it into line ‘1’ just like the screenshot.
services:
  plex:
    image: linuxserver/plex:latest
    container_name: plex
    network_mode: host
    environment:
      - PUID=1234 #CHANGE_TO_YOUR_UID
      - PGID=65432 #CHANGE_TO_YOUR_GID
      - TZ=Europe/London #CHANGE_TO_YOUR_TZ
      - UMASK=022
      - VERSION=docker
      - PLEX_CLAIM= #Your Plex Claim Code
    volumes:
      - /volume1/docker/plex:/config
      - /volume1/data/media:/data/media
    devices:
      - /dev/dri:/dev/dri
    security_opt:
      - no-new-privileges:true
    restart: always
A note on Network Mode
You will notice that for Plex we don’t put it on the normal bridge network, this is because DSM reserves the DLNA ports Plex requires in order to use DLNA. So we run in Host mode, so it can share the ports.
Environment Variables
We need to make some changes in order for the container to have the correct permissions to save its configuration files and to have access to your media.
| Variable | Value |
|---|---|
| PUID | (required) The UID you obtained in the user setup guide |
| PGID | (required) The GID you obtained in the user setup guide |
| TZ | (required) Your timezone wikipedia.org/wiki/List_of_tz_database_time_zones |
| PLEX_CLAIM | Please note the PLEX_CLAIM variable is optional and not always required. You can remove this line if you don’t need it or come back and add it if you are unable to sign in to your server on start up. To get the code go to https://plex.tv/claim and sign in, then put the code you receive after the ‘PLEX_CLAIM=’. You have 4 mins to finish the guide after doing this, so best to grab it just before running the project. |
Volumes
I have pre-filled this section to pass the correct paths, the only thing that you may need to change is the /volume1/ if your file paths are on a different volume.
Click ‘Next’
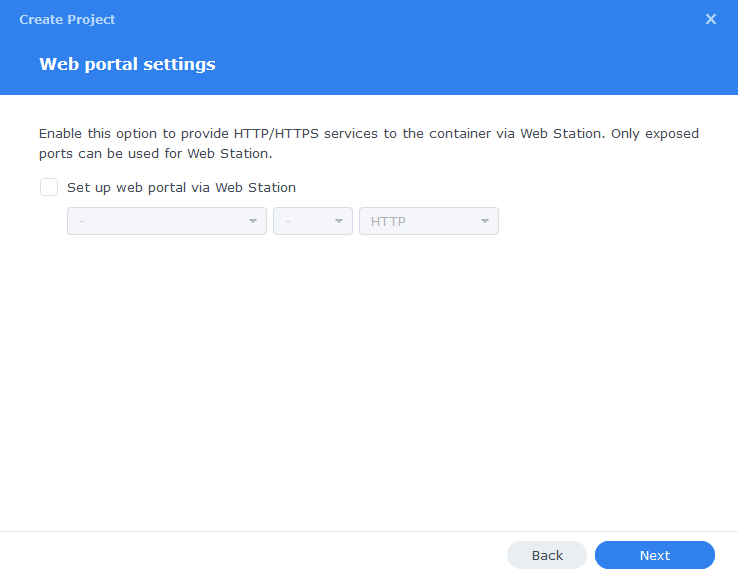
You do not need to enable anything on the ‘Web portal settings’ screen click ‘Next’ again.
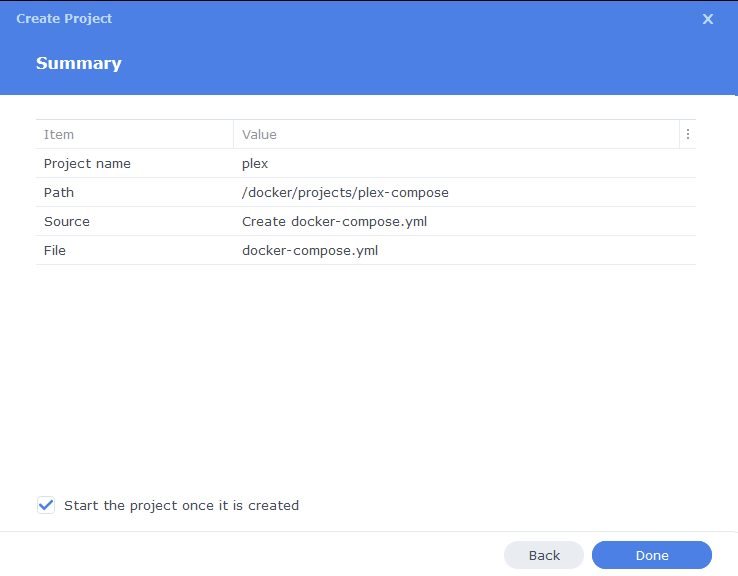
On the final screen click ‘Done’ which will begin the download of the container images and once downloaded they will be launched!
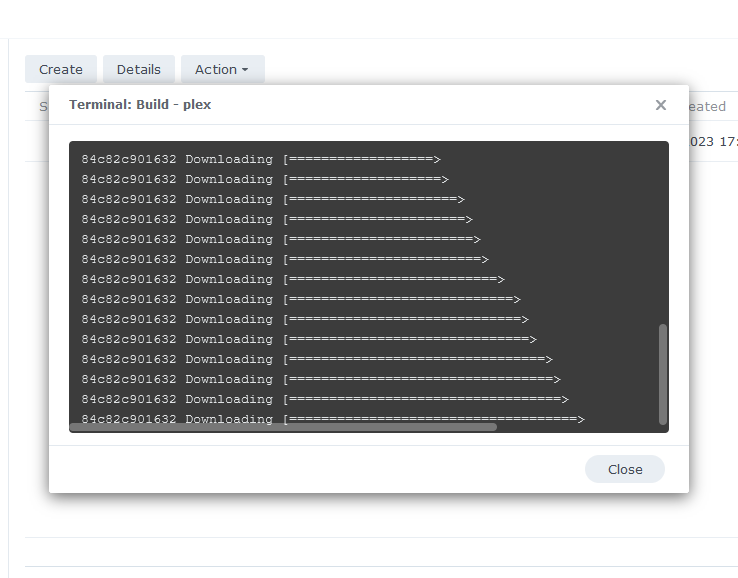
The image will now be downloaded and extracted. You should see ‘Code 0’ when it has finished.
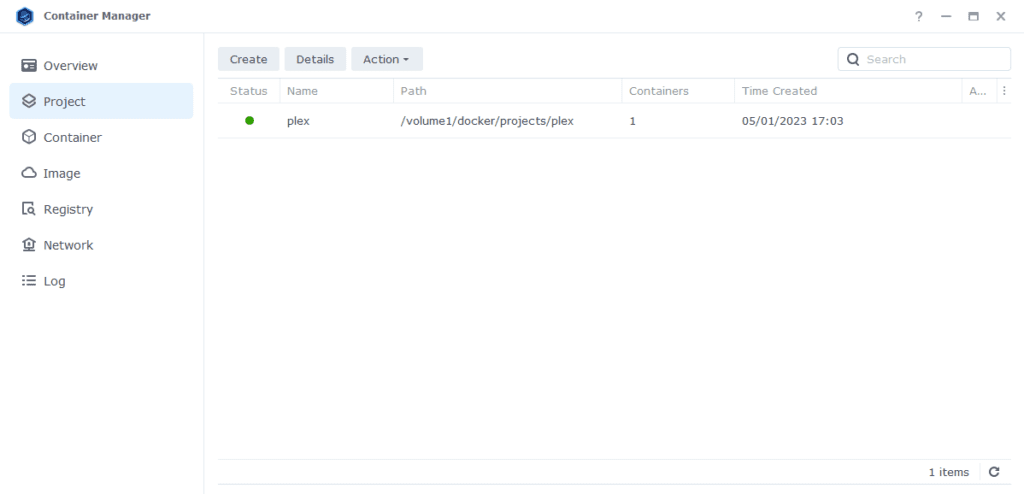
You will now see your Plex running and should have a green status on the left-hand side.
Firewall Exceptions
(Skip if you don’t have the Firewall configured)
If you have the Synology Firewall enabled please see this additional guide for further info on exceptions and correct set up.
Port Forwarding
In order to use Plex remotely and stream your local media you need to forward port 32400 from your Router to the NAS IP on the same port. This varies for everyone’s router so check the manual on how to do this.
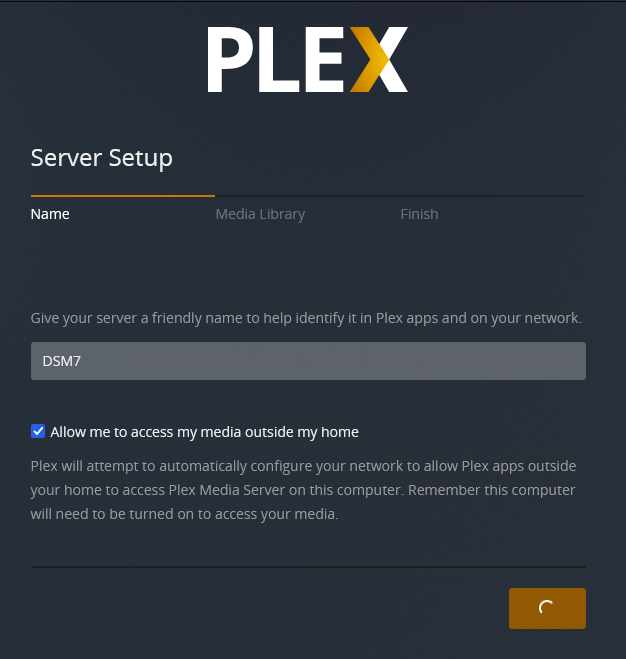
Plex Initial Setup
After a few minutes you should be able to access the server and go through the Plex setup by going to the IP of your NAS in your browser followed by port 32400/web/
e.g. 192.168.0.45:32400/web/
You will be asked to sign in or sign up for an account if you don’t have one already.
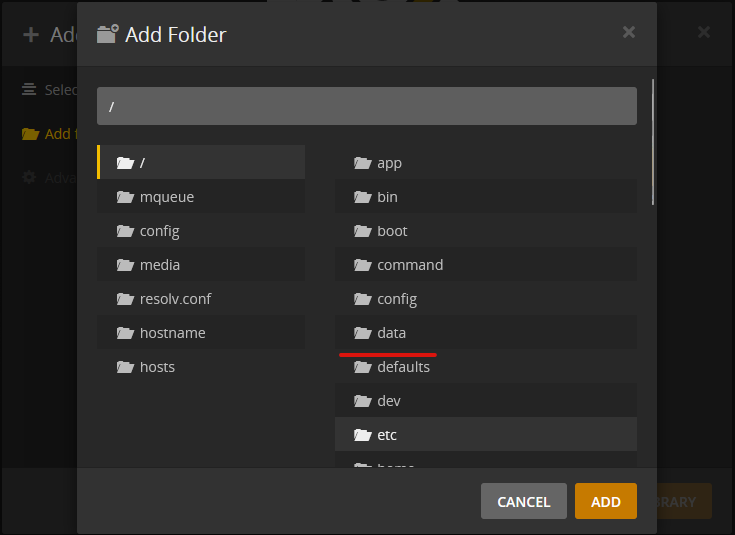
You should now be able to add your media which will be in the /data/media folder within Plex
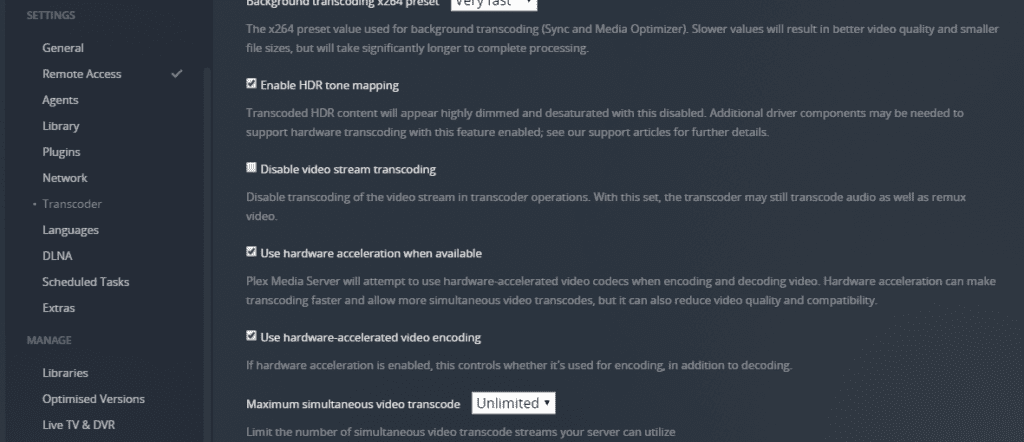
Once you have got to the main Plex interface make sure you go into the settings and turn on
- Enable HDR tone mapping
- Use hardware acceleration when available
- Use hardware-accelerated video encoding
That’s it you are all setup. When a new server update is available you will just need to restart the container, and it will automatically download the latest update.
Looking for some help, join our Discord community
If you are struggling with any steps in the guides or looking to branch out into other containers join our Discord community!

Buy me a beverage!
If you have found my site useful please consider pinging me a tip as it helps cover the cost of running things or just lets me stay hydrated. Plus 10% goes to the devs of the apps I do guides for every year.


I’m having a lot of trouble connecting externally using these instructions. I have forwarded port 32400 in my router to the host IP, but I cannot access the server using localhost:32400, my DDNS name, or public WAN IP address. The only way I’ve been able to access it is using the host IP address on the network followed by the port 32400, or I can access it via app.plex.tv, but it’s listed as indirect, and of course a limited connection speed and not secure. When enabling remote access, it will show it’s fully available for a short time, 10-20 seconds, then reverts to not accessible. I’ve tried adding multiple variations of addresses to the LAN networks and custom server access URLs, but alas, no luck. I’ve even tried putting the whole NAS in the DMZ in my router temporarily, but I still cannot access the server directly from outside the network. I do not have the firewall enabled on the NAS. My question is, what is the path from the router to the container, and could that be where my problem lies? My router should be forwarding the port from the WAN to the host IP address, but it seems it’s not getting from the host IP to the container or something. I have port forwarding configured for remote access to the DSM and FTP which work fine. What am I missing, or what can I double check?
Hey assuming you are not Double NAT or CGNAT so have the ability to port forward it should just be a case of adding 32400 to your routers forwarding and directing it to the NAS IP address – then Plex should automatically make itself available using that port by default. It should then be available as you mentioned via the app.plex.tv address and you local NAS IP. It may be worth doing a reboot of the Router and the NAS itself as it should be as simple as described.
Hi doc. i’ve run through this guide but I’m having trouble with permissions, I think. my fodlers are exactly the same location as when I used the syno package but when I try to play a tv episode, for example, It tells me it’s unavailable. i went to the shared folder where all my videos are (in various different sub folders) and made sure that both the ‘docker user’ you explain how to create and the ‘docker group’, that the user is within, have permissions to read all media ( I don’t see the need for write permissions as plex will write that on the docker share, correct?). i haven’t made the docker user the owner of this share because I’m scared it will interfere with other users (my admin and my user) being able to do things with that share. i could do with your advice and perhaps some education with what is and isn’t ok to allow/do. i didn’t want to put my media into the folders you stated in the guide as I already have them setup how I like them and the paths are compatible with the rest of my containers/eco system. is that ok?
Hey just catching up with comments as I am away currently.
On the left menu in the Initial Setup section have a look the the permissions page to see if it fixes your issue.
Hi David,
Great work!
I should mention, if your docker is running on a seperate network then the browser your are using, the initial setup won’t work. Claming the Plex server is impossible.
I solved it by first SSH to the Synology.
sudo su
(enter pasword of the synology admin user)
vi /etc/ssh/sshd_config
scroll down to:
AllowTCPForwarding no
GatewayPorts no
hit the INSERT key on your keyboard
Change the no to yes
type :wq (yes; the : is intented)
the type: systemctl restart sshd
Check then if sshd is restarted by typing systemctl status sshd
Under Active you see at the end how log ago it started
Then open a powershell window and type:
ssh -L 8888:127.0.0.1:32400 -l synadminuser ip.address.synology
Login by typing the password
Open a new browser and type: http://127.0.0.1:888/web.
After this you can claim the Plex user.
When done, don’t forget to change the sshd_config back to original
and restart sshd by typing the systemctl restart sshd
kind regards,
David
Thanks David. Useful info! I assume you mean if trying to claim via a different subnet or just off network completely…
Merged your second comment in 🙂