Last updated on 30 March 2025
Important or Recent Updates
| Update | Date |
|---|---|
| New guide released | 21/01/2024 |
| Addition of UID/GID to the Redis container | 19/08/2024 |
| General compatibility announcement | 20/12/2024 |
| Updated for version 0.50 please still note that we are still running an older elastic search due to Kernel limits | 14/03/2025 |
| Further small edits that have come in post the 0.50 update – TA_HOST added port to the end – Health check changed URL to in /api/ – Redis image now just uses standard Redis not Redis Server | 30/03/2025 |
A small note – the compose on this guide varies from the official version as DSM does not support the latest Kernel security features required by ElasticSearch (ES). So we pin a slightly older version of ES for the container to work. If anything changes I will update accordingly.
What is Tube Archivist?
To quote the GitHub page
Once your YouTube video collection grows, it becomes hard to search and find a specific video. That’s where Tube Archivist comes in: By indexing your video collection with metadata from YouTube, you can organize, search and enjoy your archived YouTube videos without hassle offline through a convenient web interface.
This includes:
– Subscribe to your favourite YouTube channels
– Download Videos using yt-dlp
– Index and make videos searchable
– Play videos
– Keep track of viewed and unviewed videos
Let’s Begin
In this guide I will take you through the steps to things up and running in Container Manager. We will be using the new Projects (Docker Compose) feature to get this running as it will save you time vs manual setup using the normal UI
If you have followed my other guides this one is a little different as there is not as much pre setup required just make sure you have followed these first.
Folder Setup
Let’s start by getting some folders set up for the containers to use. Open up File Station create the following.
/data/media/youtube
/docker/projects/archivist-compose
/docker/tubearchivist/cache
/docker/tubearchivist/redis
/docker/tubearchivist/es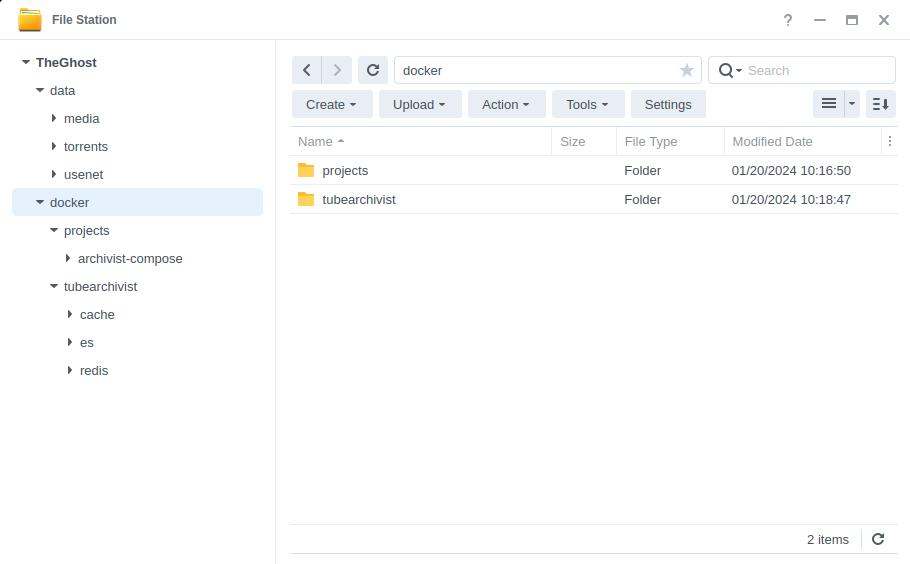
Folder Permissions
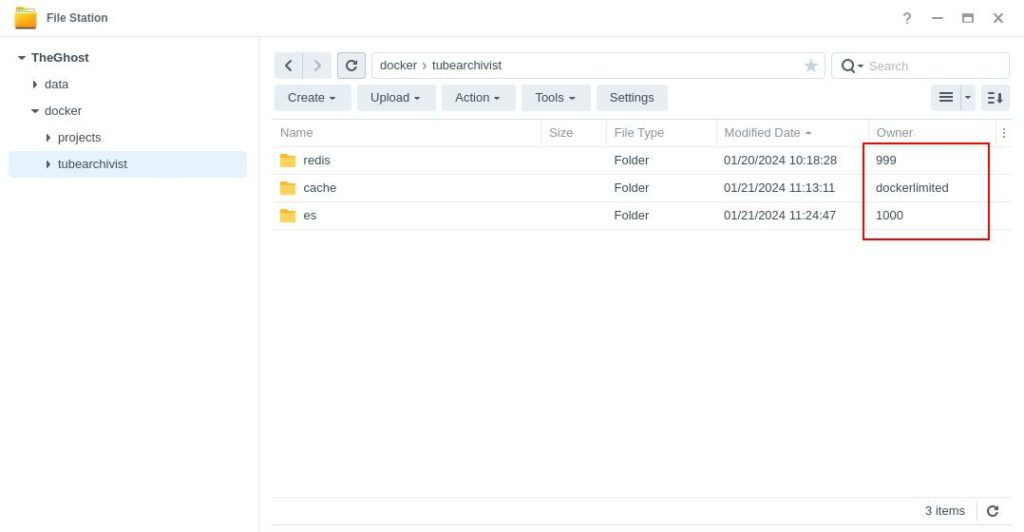
Next we need to get under the covers with DSM and set some specific file permissions for a couple of the folders we just created. This is because the Redis and Elasticsearch containers only run as specific users and can’t be overridden, without this step Tube Archivist can’t start up.
Just like you did in the Docker User Setup guide you need to SSH into your NAS and then run the following commands in order to set the permissions. As we are doing this as the ‘root’ user you will be asked for your password the first time you run the command.
sudo chown 1000:0 /volume1/docker/tubearchivist/essudo chown 999:100 /volume1/docker/tubearchivist/redisYou will not see any output after each command and in File Station you should now see the permissions on the folders have changed.
Container Manager
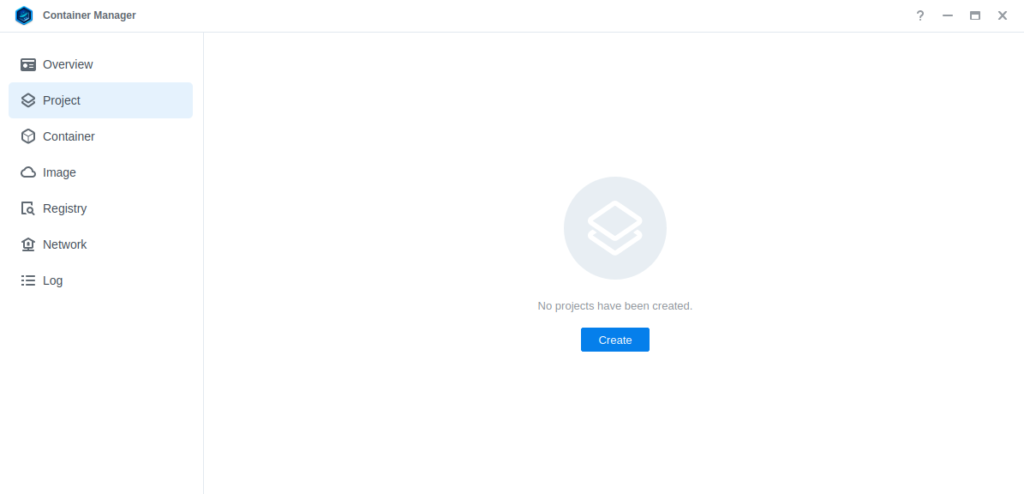
Next we are going to set up a ‘Project’ in Container Manager. Open up Container Manager and click on Project then on the right-hand side click ‘Create’.
In the next screen we will set up our General Settings, enter the following:
| Section | Setting |
|---|---|
| Project Name: | tubearchivist |
| Path: | /docker/projects/archivist-compose |
| Source: | Create docker-compose.yml |
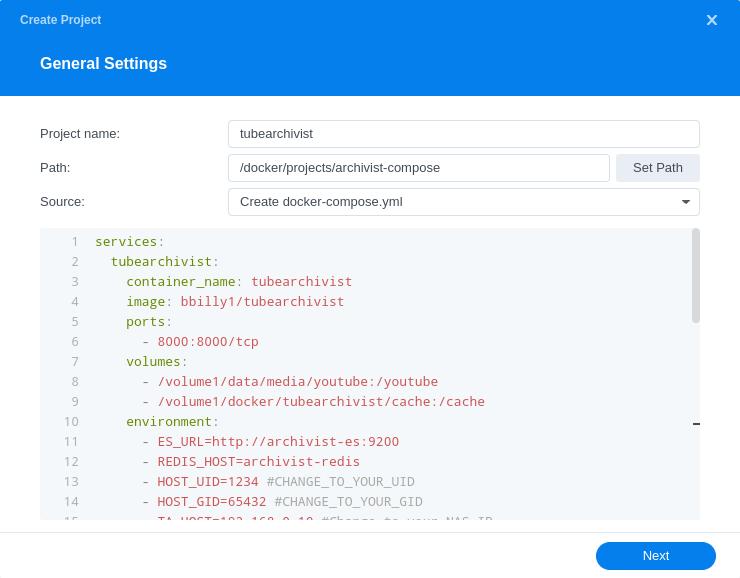
Next we are going to drop in our docker compose configuration, copy all the code in the box below and paste it into line ‘1’ just like the screenshot.
services:
  tubearchivist:
    container_name: tubearchivist
    image: bbilly1/tubearchivist
    ports:
      - 8000:8000/tcp
    volumes:
      - /volume1/data/media/youtube:/youtube
      - /volume1/docker/tubearchivist/cache:/cache
    environment:
      - ES_URL=http://archivist-es:9200
      - REDIS_CON=redis://archivist-redis:6379
      - HOST_UID=1234 #CHANGE_TO_YOUR_UID
      - HOST_GID=65432 #CHANGE_TO_YOUR_GID
      - TA_HOST=192.168.0.10:8000 #Change to your NAS IP
      - TA_USERNAME=enter-a-username #Username for login
      - TA_PASSWORD=enter-a-password #password for login
      - ELASTIC_PASSWORD=enter-a-password # set password for Elasticsearch
      - TZ=Europe/London #CHANGE_TO_YOUR_TZ
    depends_on:
      - archivist-es
      - archivist-redis
    healthcheck:
      test: ["CMD", "curl", "-f", "http://localhost:8000/api/health"]
      interval: 2m
      timeout: 10s
      retries: 3
      start_period: 30s
    security_opt:
      - no-new-privileges:true
    restart: always

  archivist-redis:
    image: redis/redis-stack-server
    container_name: archivist-redis
    expose:
      - "6379"
    environment:
      - HOST_UID=999
      - HOST_GID=100
    volumes:
      - /volume1/docker/tubearchivist/redis:/data
    depends_on:
      - archivist-es
    security_opt:
      - no-new-privileges:true
    restart: always

  archivist-es:
    image: elastic/elasticsearch:8.14.3
    container_name: archivist-es
    environment:
      - ES_JAVA_OPTS=-Xms512m -Xmx512m
      - xpack.security.enabled=true
      - discovery.type=single-node
      - path.repo=/usr/share/elasticsearch/data/snapshot
      - ELASTIC_PASSWORD=password-from-above #same password from above
    ulimits:
      memlock:
        soft: -1
        hard: -1
    volumes:
      - /volume1/docker/tubearchivist/es:/usr/share/elasticsearch/data
    expose:
      - "9200"
    security_opt:
      - no-new-privileges:true
    restart: always
Environment Variables
We are now going to amend some key variables to make sure the containers have access to our folders, and also knows where we are in the world and set up some passwords. Don’t change any other settings other than those I mention.
You will notice that the compose has three main sections as it is made up of 3 containers which rely on each other to make the overall app work.
image: bbilly1/tubearchivist
(Main Tube Archivist container)
image: redis
(Redis database server)
elastic/elasticsearch:8.14.3
(Elasticsearch search and analytics engine)
Let’s change the settings for them one at a time.
bbilly1/tubearchivist
| Variable | Value |
|---|---|
| HOST_UID | (required) The UID you obtained in the user setup guide |
| HOST_GID | (required) The GID you obtained in the user setup guide |
| TA_HOST | Enter your NAS IP Address here |
| TA_USERNAME | Create a username for your login |
| TA_PASSWORD | Create a password for your login |
| ELASTIC_PASSWORD | Create a different password for the Elastic Search container |
| TZ | (required) Your timezone wikipedia.org/wiki/List_of_tz_database_time_zones |
redis
No amendments required
bbilly1/tubearchivist-es
| Variable | Value |
|---|---|
| ELASTIC_PASSWORD | The same elastic password from the section above |
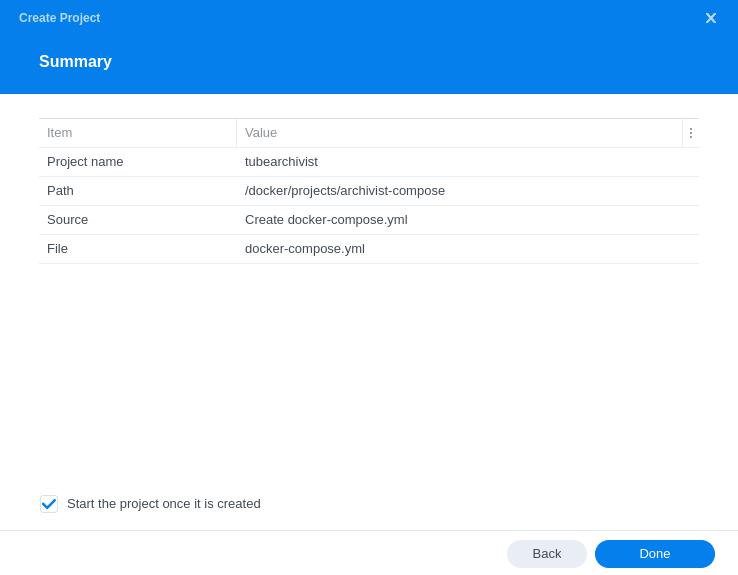
Once you have made the edits you can click ‘Next’
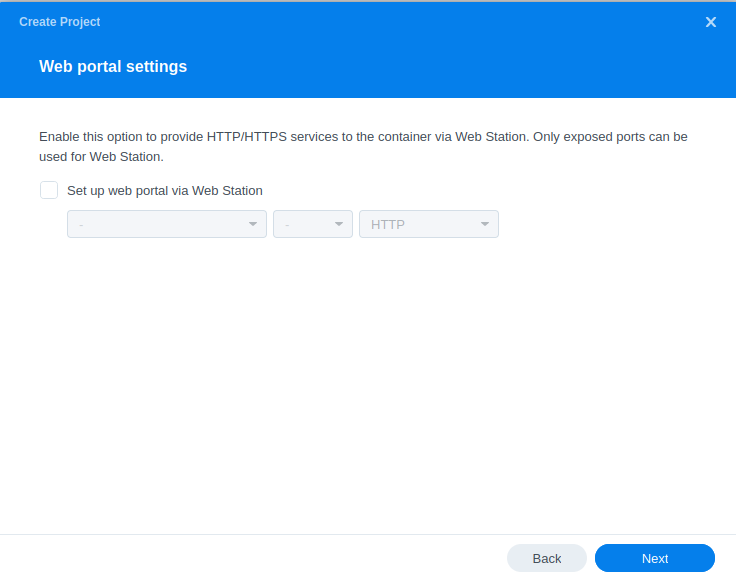
You do not need to enable anything on the ‘Web portal settings’ screen click ‘Next’ again.
On the final screen click ‘Done’ which will begin the download of the container images and once downloaded they will be launched!
The image will now be downloaded and extracted. You should see ‘Code 0’ when it has finished.
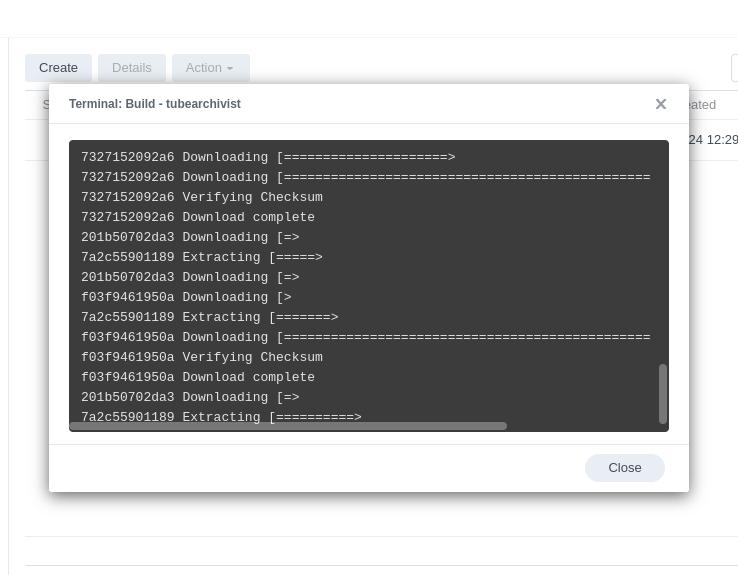
The first ever start up can take a few minutes so be patient while everything sets up, so in the interim continue below.
Firewall Exceptions
(Skip if you don’t have the Firewall configured)
If you have the Synology Firewall enabled please see this additional guide for further info on exceptions and correct set up.
Some final steps
Tube Archivist will now be running and can be found on port 8000 on your NAS IP
e.g. 192.168.0.40:8000
You should be able to log in using the Username and Password you set up in the yaml earlier
There are no other changes we need to make to the default configuration, however you can go in and make changes to your preferences.
Some key things I have found from a UI perspective.
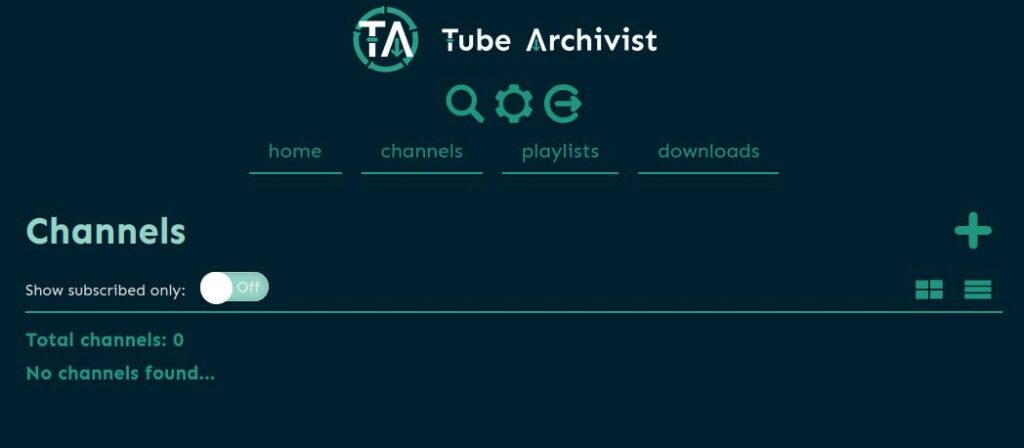
Channels, probably fairly obvious but add the URLs for full channels you want to subscribe to in this section, you can configure Archivist to then download all the back catalogue and future videos.
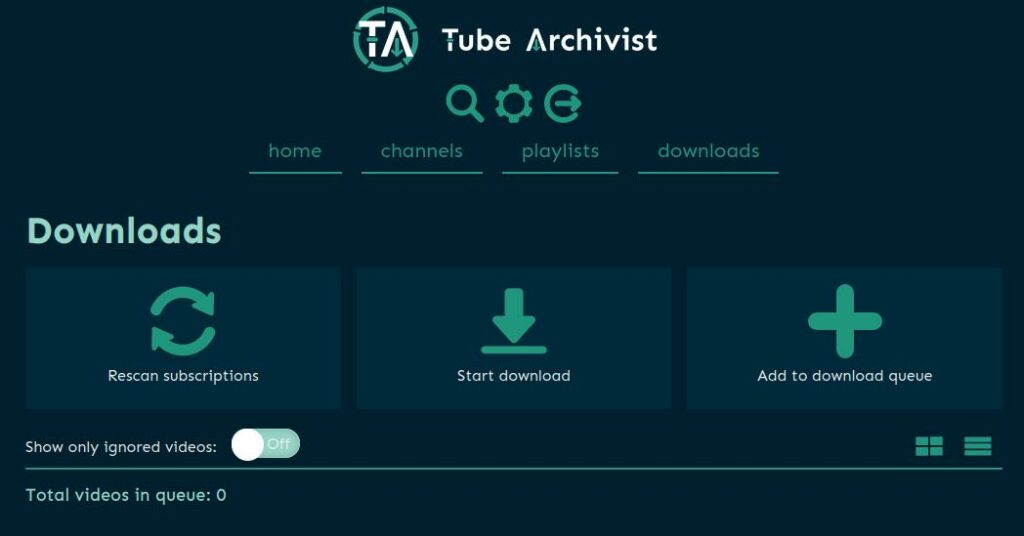
Downloads, I use this to grab individual videos using the + button on the right-hand side.
Make sure you have a look at the documentation over on the Tube Archivist site.
https://docs.tubearchivist.com/
Browser Extension
https://github.com/tubearchivist/browser-extension
Looking for some help, join our Discord community
If you are struggling with any steps in the guides or looking to branch out into other containers join our Discord community!

Buy me a beverage!
If you have found my site useful please consider pinging me a tip as it helps cover the cost of running things or just lets me stay hydrated. Plus 10% goes to the devs of the apps I do guides for every year.


Hi ! Thank you very much for this.
I’ve got this error (archivist-es) :
{“@timestamp”:”2025-04-23T05:17:16.385Z”, “log.level”:”ERROR”, “message”:”fatal exception while booting Elasticsearch”, “ecs.version”: “1.2.0”,”service.name”:”ES_ECS”,”event.dataset”:”elasticsearch.server”,”process.thread.name”:”main”,”log.logger”:”org.elasticsearch.bootstrap.Elasticsearch”,”elasticsearch.node.name”:”210079fb5883″,”elasticsearch.cluster.name”:”docker-cluster”,”error.type”:”java.lang.IllegalStateException”,”error.message”:”Unable to access ‘path.repo’ (/usr/share/elasticsearch/data/snapshot)”,”error.stack_trace”:”java.lang.IllegalStateException: Unable to access ‘path.repo’ (/usr/share/elasticsearch/data/snapshot)\n\tat org.elasticsearch.server@8.14.3/org.elasticsearch.bootstrap.FilePermissionUtils.addDirectoryPath(FilePermissionUtils.java:66)\n\tat org.elasticsearch.server@8.14.3/org.elasticsearch.bootstrap.Security.addFilePermissions(Security.java:252)\n\tat org.elasticsearch.server@8.14.3/org.elasticsearch.bootstrap.Security.createPermissions(Security.java:178)\n\tat org.elasticsearch.server@8.14.3/org.elasticsearch.bootstrap.Security.configure(Security.java:125)\n\tat org.elasticsearch.server@8.14.3/org.elasticsearch.bootstrap.Elasticsearch.initPhase2(Elasticsearch.java:202)\n\tat org.elasticsearch.server@8.14.3/org.elasticsearch.bootstrap.Elasticsearch.main(Elasticsearch.java:74)\nCaused by: java.nio.file.AccessDeniedException: /usr/share/elasticsearch/data/snapshot\n\tat java.base/sun.nio.fs.UnixException.translateToIOException(UnixException.java:90)\n\tat java.base/sun.nio.fs.UnixException.rethrowAsIOException(UnixException.java:106)\n\tat java.base/sun.nio.fs.UnixException.rethrowAsIOException(UnixException.java:111)\n\tat java.base/sun.nio.fs.UnixFileSystemProvider.createDirectory(UnixFileSystemProvider.java:438)\n\tat java.base/java.nio.file.Files.createDirectory(Files.java:699)\n\tat java.base/java.nio.file.Files.createAndCheckIsDirectory(Files.java:807)\n\tat java.base/java.nio.file.Files.createDirectories(Files.java:793)\n\tat org.elasticsearch.server@8.14.3/org.elasticsearch.bootstrap.Security.ensureDirectoryExists(Security.java:330)\n\tat org.elasticsearch.server@8.14.3/org.elasticsearch.bootstrap.FilePermissionUtils.addDirectoryPath(FilePermissionUtils.java:64)\n\t… 5 more\n”}
Hey – This looks like permission errors on the ES folders – double check they are set correctly again.. You may need to delete and create the folder again before running the chown command..
Hi Dr_Frankenstein,
First I’d like to thank you for your great tutorials !
I ran in the same issue as Thomas’ : ES container keeps crashing with the error “Unable to access path.repo” … I’ve deleted/recreated/CHOWNed the es folder in my docker/tubearchivist folder but nothing changes … any idea what could be the issue ?
I am just spinning up Pinchflat as we speak as an alternative with a view to write a guide.I personally am having issues where TAs refusing to pull any new videos of my subbed channels.
If you also wanted to try out Pinchflat it’s a simple setup vs this.
Ok, great !
I’ll give a shot at Pinchflat myself and, if I get any trouble I’ll wait for your guide !
Side note : any interest in making writing a guide for RomM (https://romm.app/) for you ‘Gaming’ section ? (I’m going to try it myself)
Ohh very nice love new recommendations going to give this a try I did have emulatorJS setup at some point!
So I also have pi hole setup on my NAS, and it is using port 8000. I’ve looked at TA’s documentation, and I saw that there are these 2 variables that can be used (I think both are needed?) to change the port to use.
TA_PORT
TA_BACKEND_PORT
I’ve added both of those to the compose file, set to port 8001, and I’ve also changed all other instances of the port to 8001. I’ve also tried this with port 9000, and another random one. However, I keep running into an issue where the tubearchivist container runs, but when I attempt to open it it says that there is not a network connection. It also seems to continuously restart itself, every 20 seconds or so.
Just wondering if you had any ideas on a possible fix? I’m not well versed in this, especially so with anything network related, so I’m assuming this is user error. I am sure that I changed all instances of the port number in your compose file, as well as added both of those variables I listed.
Thank you for your guides, I’ve followed a ton of them now and they’ve all worked great.
Hey verycoolposter 🙂
I had not realised I had an overlap until you mention it!
Sounds like you did the logical thing.. however lets try a slightly different approach.. See the below compose with a small amendment
https://paste.drfrankenstein.co.uk/?7128ab2d21b7931e#CVuM5RUWHCEXABz58H7MjYqEExQVp29tg7LEjskxZ63S
I have edited line 6 so just amending the external port to 8001 the internal should be able to remain as 8000, and then changed line 15 to point to the same port.. The healthcheck should be able to stay on 8000 as its checking inside the container…
Hey caught up on this one error where tubearchivist container will try to connect to ES but fails, throwing me:
error message: {‘error’: {‘root_cause’: [{‘type’: ‘security_exception’, ‘reason’: ‘unable to authenticate user [elastic] for REST request [/]’, ‘header’: {‘WWW-Authenticate’: [‘Basic realm=”security” charset=”UTF-8″‘, ‘ApiKey’]}}], ‘type’: ‘security_exception’, ‘reason’: ‘unable to authenticate user [elastic] for REST request [/]’, ‘header’: {‘WWW-Authenticate’: [‘Basic realm=”security” charset=”UTF-8″‘, ‘ApiKey’]}}, ‘status’: 401}
This also means when I try to enter the IP of archivist I get a “connection was reset” as archivist also keeps resetting every failed attempt.
Do you have any special characters in your ES password maybe? I only say as it mentions UTF-8 in the log
Hey, first of all thanks so much for your amazing guides!
I’m having an error with my archivist-es container, it seems that it’s trying to access /usr/share/elasticsearch/data but it can’t because the permissions on that path require root:
{“@timestamp”:”2025-03-31T00:48:32.322Z”, “log.level”:”ERROR”, “message”:”fatal exception while booting Elasticsearch”, “ecs.version”: “1.2.0”,”service.name”:”ES_ECS”,”event.dataset”:”elasticsearch.server”,”process.thread.name”:”main”,”log.logger”:”org.elasticsearch.bootstrap.Elasticsearch”,”elasticsearch.node.name”:”c37f7a8e7aa3″,”elasticsearch.cluster.name”:”docker-cluster”,”error.type”:”java.lang.IllegalStateException”,”error.message”:”Unable to access ‘path.repo’ (/usr/share/elasticsearch/data/snapshot)”,”error.stack_trace”:”java.lang.IllegalStateException: Unable to access ‘path.repo’ (/usr/share/elasticsearch/data/snapshot)\n\tat org.elasticsearch.server@8.14.3/org.elasticsearch.bootstrap.FilePermissionUtils.addDirectoryPath(FilePermissionUtils.java:66)\n\tat org.elasticsearch.server@8.14.3/org.elasticsearch.bootstrap.Security.addFilePermissions(Security.java:252)\n\tat org.elasticsearch.server@8.14.3/org.elasticsearch.bootstrap.Security.createPermissions(Security.java:178)\n\tat org.elasticsearch.server@8.14.3/org.elasticsearch.bootstrap.Security.configure(Security.java:125)\n\tat org.elasticsearch.server@8.14.3/org.elasticsearch.bootstrap.Elasticsearch.initPhase2(Elasticsearch.java:202)\n\tat org.elasticsearch.server@8.14.3/org.elasticsearch.bootstrap.Elasticsearch.main(Elasticsearch.java:74)\nCaused by: java.nio.file.AccessDeniedException: /usr/share/elasticsearch/data/snapshot\n\tat java.base/sun.nio.fs.UnixException.translateToIOException(UnixException.java:90)\n\tat java.base/sun.nio.fs.UnixException.rethrowAsIOException(UnixException.java:106)\n\tat java.base/sun.nio.fs.UnixException.rethrowAsIOException(UnixException.java:111)\n\tat java.base/sun.nio.fs.UnixFileSystemProvider.createDirectory(UnixFileSystemProvider.java:438)\n\tat java.base/java.nio.file.Files.createDirectory(Files.java:699)\n\tat java.base/java.nio.file.Files.createAndCheckIsDirectory(Files.java:807)\n\tat java.base/java.nio.file.Files.createDirectories(Files.java:793)\n\tat org.elasticsearch.server@8.14.3/org.elasticsearch.bootstrap.Security.ensureDirectoryExists(Security.java:330)\n\tat org.elasticsearch.server@8.14.3/org.elasticsearch.bootstrap.FilePermissionUtils.addDirectoryPath(FilePermissionUtils.java:64)\n\t… 5 more\n”}
Hey Hug seeing someone with an identical issue on Discord, which is odd as we are locked to a specific version so its not an update issue. Can you try re-applying the permissions again after deleting and recreating the ES folder. The folder will be owned by the elasticsearch user.
uid=1000(elasticsearch) gid=0(root)