Last updated on 19 March 2025
Important or Recent Updates
| Historic Updates | Date |
|---|---|
| New DSM7.2 Container Manager Update | 01/05/2023 |
| Guide rewritten moving to a Project rather than the slower method via the UI giving you more flexibility. Also includes updates to improve security which is only possible via projects. | 25/10/2023 |
| Somehow at some point a paragraph about forwarding port 32400 went missing, I had never added it! But it’s in now!! | 13/06/2024 |
| Changed ‘version’ variable to ‘docker’ this will stop in container server updates! | 01/07/2024 |
| Reworded the first section to check around whether you have a hardware capable NAS and to follow the other guide even if you don’t have a Plex Pass. | 08/08/2024 |
Some upcoming changes in Plex’s prices at the end of April 2025 – If you have not grabbed a Lifetime Plex Pass now is the time to do it. Great video from Alex below!
In this guide I am going to take you through the setup of Plex in Container Manager.
Does my Synology support Hardware Transcoding?
Before we do anything else, you should see if your model of Synology has hardware transcoding capabilities even if you don’t plan on using them at the moment! You need to do a quick lookup via the linked Google Sheet below, this is updated by Plex and makes it super easy to look up your model of NAS.
If you find that hardware transcoding is not available you can continue following the guide here, if it does support it, and you plan on buying a Plex Pass in the future follow the other guide from the menu.
Let’s Begin
In order to use this guide successfully you will need to complete the two preceding guides which will get your folder structure and Docker, user setup. In addition, if you already have the original Synology Plex Package installed you will need to uninstall it first.
Folder Setup
Let’s start by getting some folders set up for the container to use. Open up File Station create the following.
/docker/projects/plex-compose
/docker/plex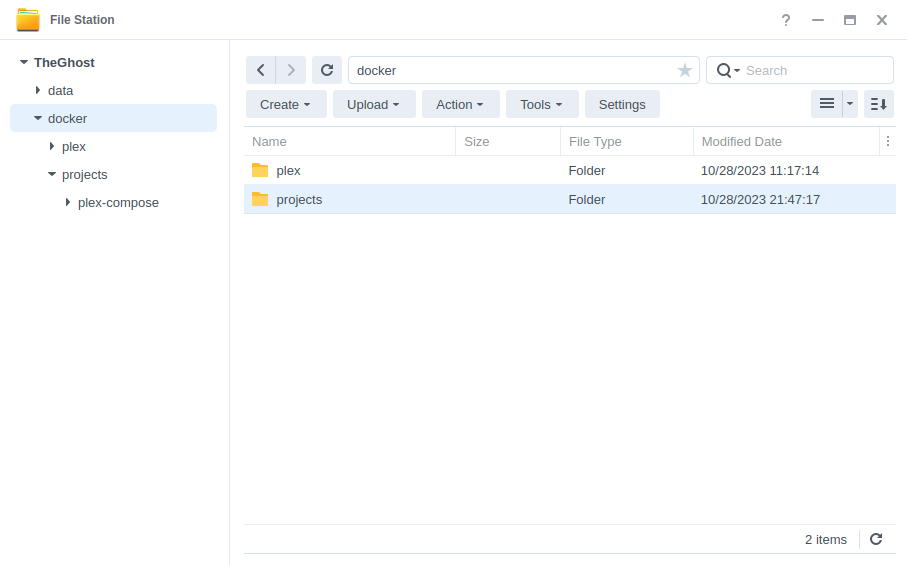
Container Manager
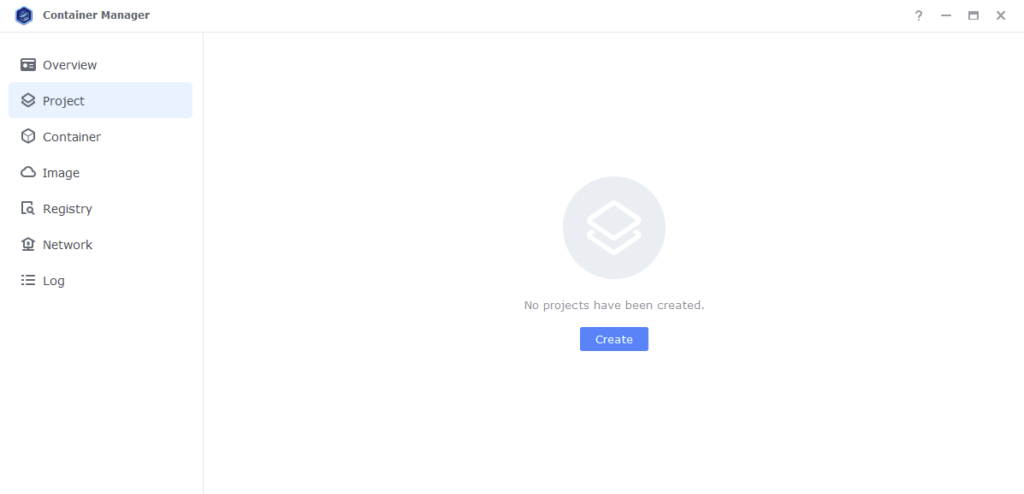
Next we are going to set up a ‘Project’ in Container Manager. Open up Container Manager and click on Project then on the right-hand side click ‘Create’.
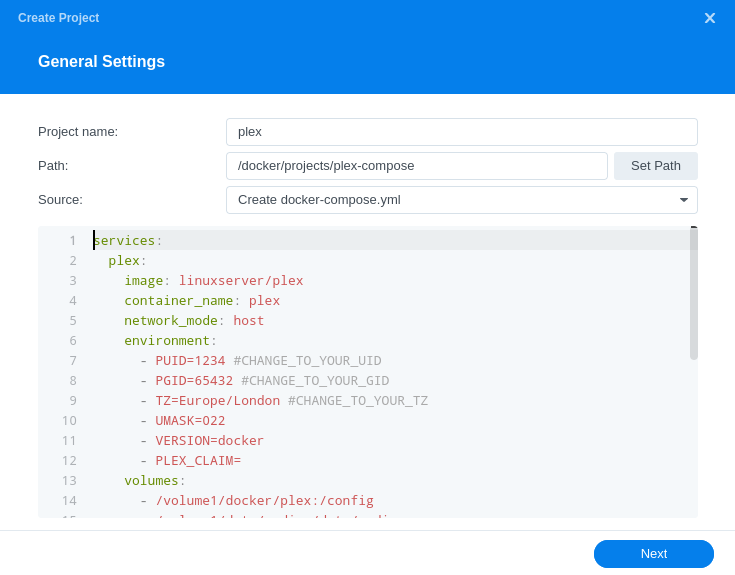
In the next screen we will set up our General Settings, enter the following:
| Section | Setting |
|---|---|
| Project Name: | plex |
| Path: | /docker/projects/plex-compose |
| Source: | Create docker-compose.yml |
Next we are going to drop in our docker compose configuration copy all the code in the box below and paste it into line ‘1’ just like the screenshot.
What on earth is a Docker Compose?
Docker Compose allows us to define how Docker should set up one or more containers within a single configuration file. This file is yaml formatted and Container Manager uses the Projects feature to manage them.
services:
  plex:
    image: linuxserver/plex
    container_name: plex
    network_mode: host
    environment:
      - PUID=1234 #CHANGE_TO_YOUR_UID
      - PGID=65432 #CHANGE_TO_YOUR_GID
      - TZ=Europe/London #CHANGE_TO_YOUR_TZ
      - UMASK=022
      - VERSION=docker
      - PLEX_CLAIM=
    volumes:
      - /volume1/docker/plex:/config
      - /volume1/data/media:/data/media
    security_opt:
      - no-new-privileges:true
    restart: unless-stopped
A note on Network Mode
You will notice that for Plex we don’t put it on the normal bridge network, this is because DSM reserves the DLNA ports Plex requires in order to use DLNA. So we run in Host mode, so it can share the ports.
Environment Variables
We need to make some changes in order for the container to have the correct permissions to save its configuration files and to have access to your media.
| Variable | Value |
|---|---|
| PUID | (required) The UID you obtained in the user setup guide |
| PGID | (required) The GID you obtained in the user setup guide |
| TZ | (required) Your timezone wikipedia.org/wiki/List_of_tz_database_time_zones |
| PLEX_CLAIM | Please note the PLEX_CLAIM variable is optional and not always required. You can remove this line if you don’t need it or come back and add it if you are unable to sign in to your server on start up. To get the code go to https://plex.tv/claim and sign in, then put the code you receive after the ‘PLEX_CLAIM=’. You have 4 mins to finish the guide after doing this, so best to grab it just before running the project. |
Volumes
I have pre-filled this section to pass the correct paths, the only thing that you may need to change is the /volume1/ if your file paths are on a different volume.
Click ‘Next’
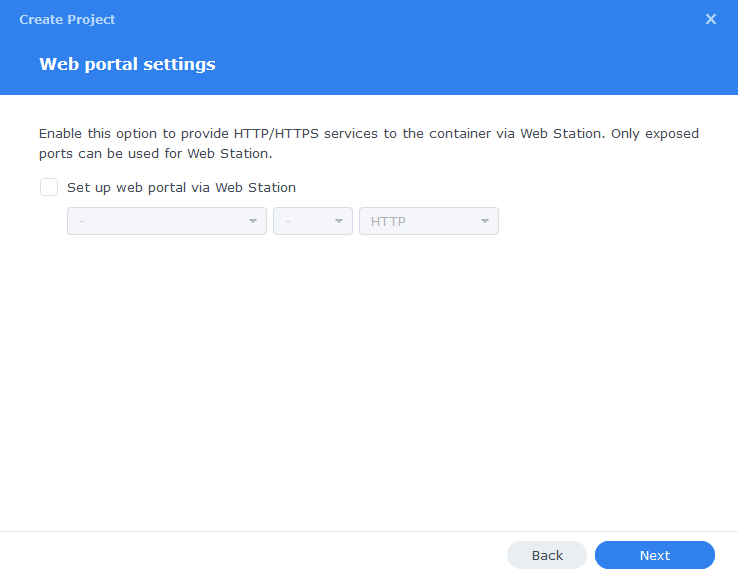
You do not need to enable anything on the ‘Web portal settings’ screen click ‘Next’ again.
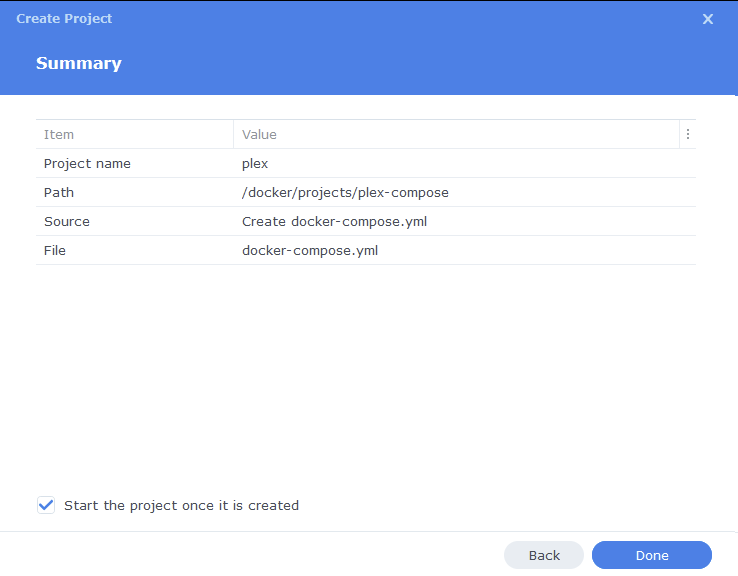
On the final screen click ‘Done’ which will begin the download of the container images and once downloaded they will be launched!
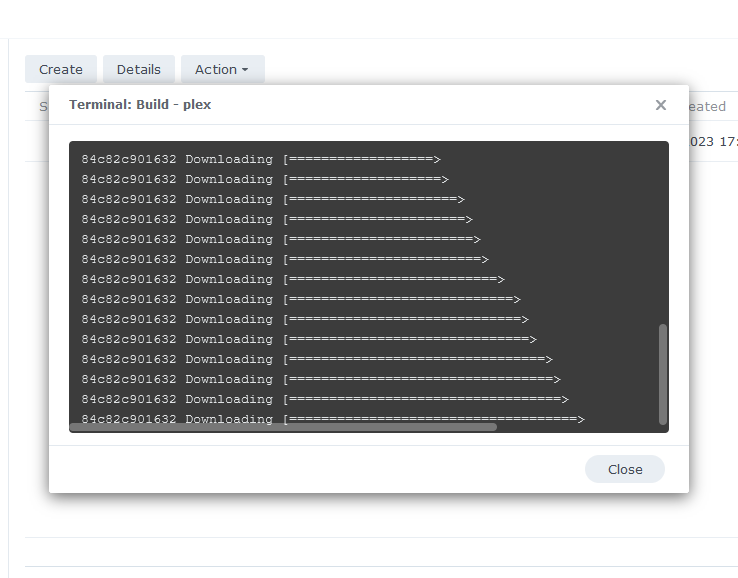
The image will now be downloaded and extracted. You should see ‘Code 0’ when it has finished.
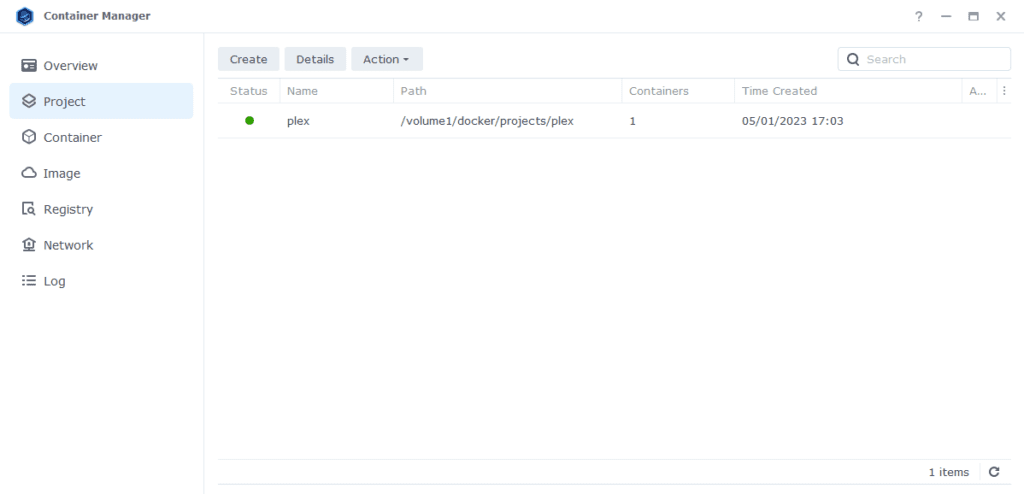
You will now see your Plex running and should have a green status on the left-hand side.
Firewall Exceptions
(Skip if you don’t have the Firewall configured)
If you have the Synology Firewall enabled please see this additional guide for further info on exceptions and correct set up.
Port Forwarding
In order to use Plex remotely and stream your local media you need to forward port 32400 from your Router to the NAS IP on the same port. This varies for everyone’s router so check the manual on how to do this.
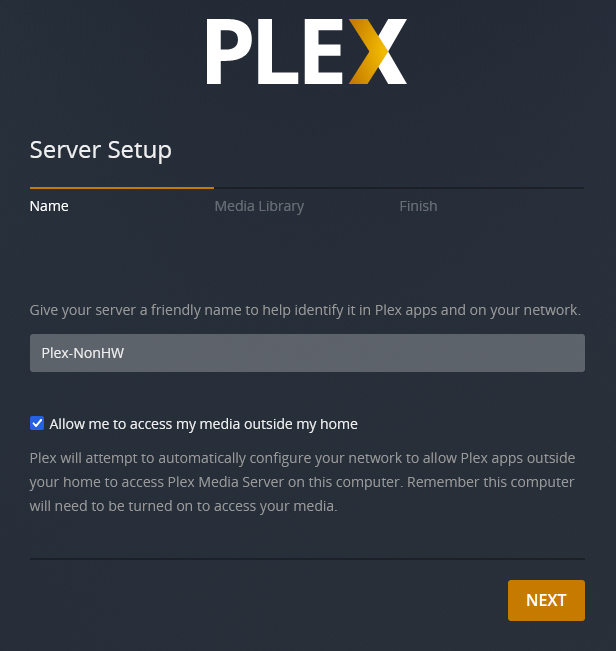
Initial Plex Setup
After a few minutes you should be able to access the server and go through the Plex setup by going to the IP of your NAS in your browser followed by port 32400/web/
e.g. 192.168.0.45:32400/web/
You will be asked to sign in or sign up for an account if you don’t have one already.
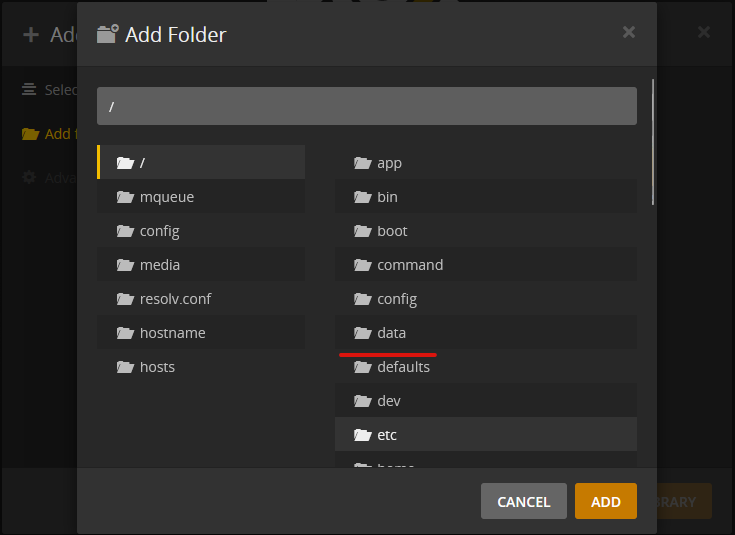
You should now be able to add your media which will be in the /data folder within Plex
That’s it you are all setup. When a new server update is available you will just need to restart the container, and it will automatically download the latest update.
Looking for some help, join our Discord community
If you are struggling with any steps in the guides or looking to branch out into other containers join our Discord community!

Buy me a beverage!
If you have found my site useful please consider pinging me a tip as it helps cover the cost of running things or just lets me stay hydrated. Plus 10% goes to the devs of the apps I do guides for every year.


I accidently during the process of adding the folder for my library did the default / folder. I cant seem to edit it to data/media/movies now that ive done this.
Not sure how I can fix this, I just get the error that my changes couldnt be saved when I try to change the folder.
Any help appreciated
Hey Bit – You should be able to stop the Project and then edit the YAML to the correct folders. Then once you Save and Build the path should be available in the Container.