Last updated on 28 February 2025
Important or Recent Updates
| Update | Date |
|---|---|
| New guide now that NZBGet is under development again | 18/12/2023 |
What is NZBGet?
NZBGet is an efficient, open-source Usenet software designed for downloading binary content from Usenet newsgroups. No matter how simple or complex your setup is, NZBGet is a lightweight application that has been optimized for speed and performance on any device.
Useful external links for this guide
NZBGet Documentation
NZBGet Container GitHub
Let’s Begin
In this guide I will take you through the steps to get NZBGet up and running in Container Manager. We will be using the new Projects (Docker Compose) feature to get this running as it will save you time vs manual setup using the normal UI
In order for you to successfully use this guide please complete the three preceding guides
- Docker Package, SSD and Memory Recommendations
- Step 1: Directory Setup Guide
- Step 2: Setting up a restricted Docker user
- Step 3: Setting up a Docker Bridge Network (synobridge)
Folder Setup
Let’s start by getting some folders set up for the containers to use. Open up File Station create the following.
/docker/projects/nzbget-compose
/docker/nzbget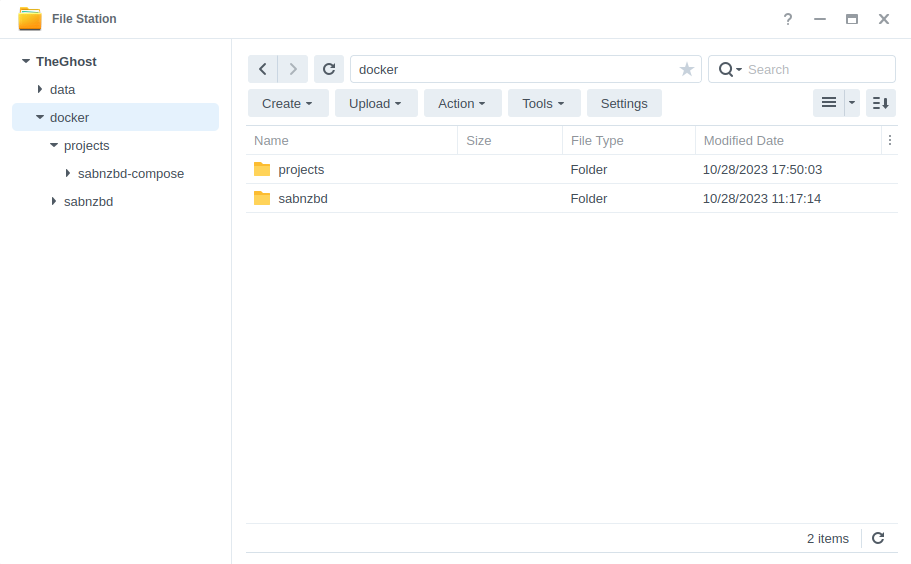
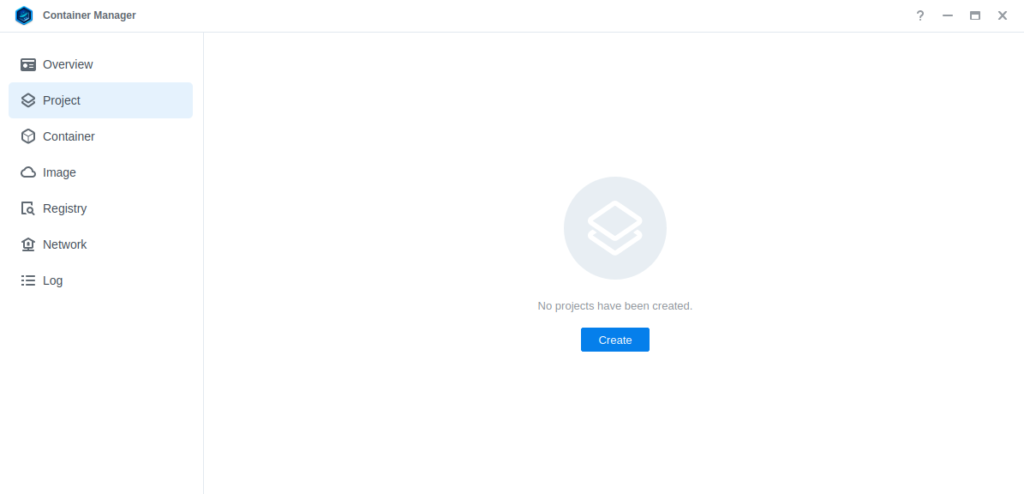
Container Manager
Next we are going to set up a ‘Project’ in Container Manager. Open up Container Manager and click on Project then on the right-hand side click ‘Create’.
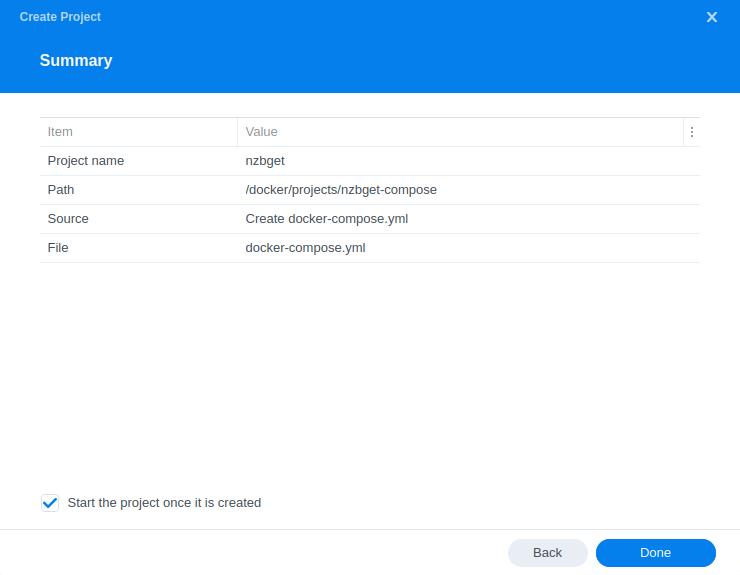
In the next screen we will set up our General Settings, enter the following:
| Section | Setting |
|---|---|
| Project Name: | nzbget |
| Path: | /docker/projects/nzbget-compose |
| Source: | Create docker-compose.yml |
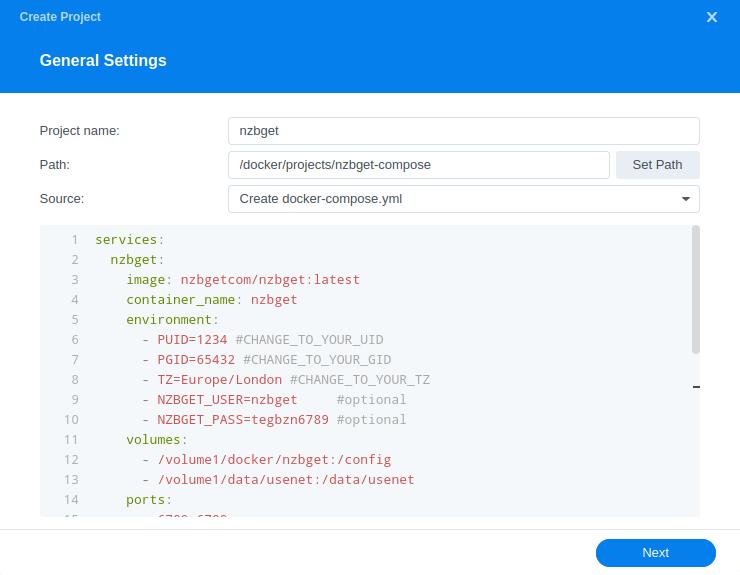
Next we are going to drop in our docker compose configuration, copy all the code in the box below and paste it into line ‘1’ just like the screenshot.
services:
  nzbget:
    image: nzbgetcom/nzbget:latest
    container_name: nzbget
    environment:
      - PUID=1234 #CHANGE_TO_YOUR_UID
      - PGID=65432 #CHANGE_TO_YOUR_GID
      - TZ=Europe/London #CHANGE_TO_YOUR_TZ
      - NZBGET_USER=CHANGEME #WEBUI LOGIN
      - NZBGET_PASS=CHANGEME #WEBUI PASSWORD
    volumes:
      - /volume1/docker/nzbget:/config
      - /volume1/data/usenet:/data/usenet
    ports:
      - 6789:6789/tcp
    network_mode: synobridge
    security_opt:
      - no-new-privileges:true
    restart: always
Environment Variables
We are now going to amend some key variables to make sure the container has access to our folders and also knows where we are in the world. Don’t change any other settings other than those I mention.
| Variable | Value |
|---|---|
| PUID | (required) The UID you obtained in the user setup guide |
| PGID | (required) The GID you obtained in the user setup guide |
| TZ | (required) Your timezone wikipedia.org/wiki/List_of_tz_database_time_zones |
| NZBGET_USER | Change your username |
| NZBGET_PASS | Change your password |
Once you have made the edits you can click ‘Next’
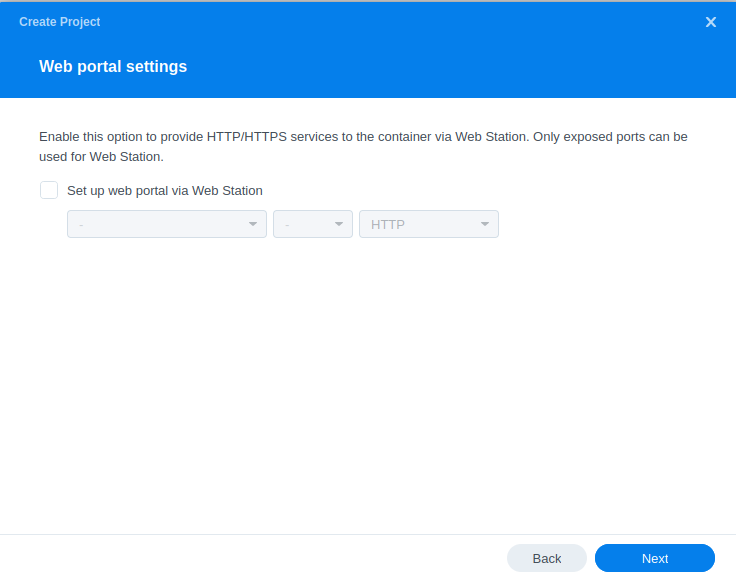
You do not need to enable anything on the ‘Web portal settings’ screen click ‘Next’ again.
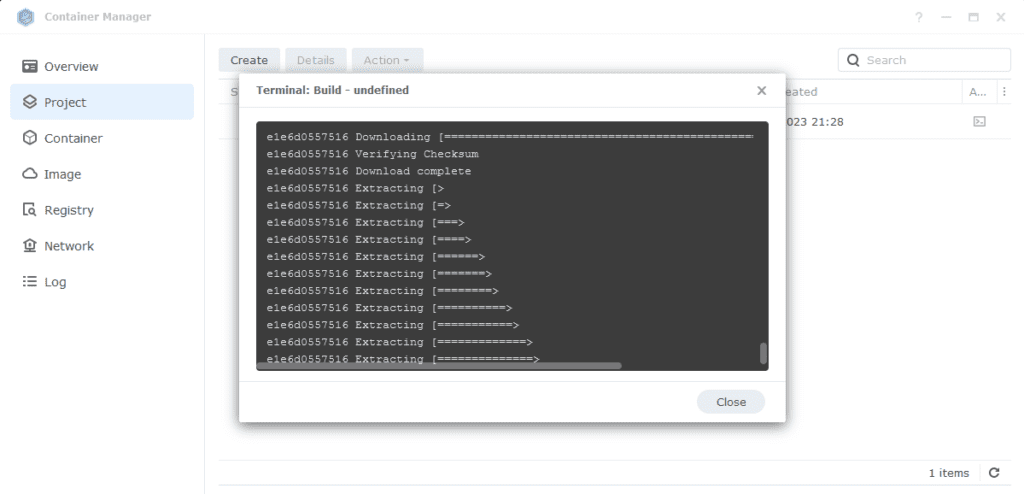
On the final screen click ‘Done’ which will begin the download of the container images and once downloaded they will be launched!
The image will now be downloaded and extracted. You should see ‘Code 0’ when it has finished.
Firewall Exceptions
(Skip if you don’t have the Firewall configured)
If you have the Synology Firewall enabled please see this additional guide for further info on exceptions and correct set up.
Some final steps
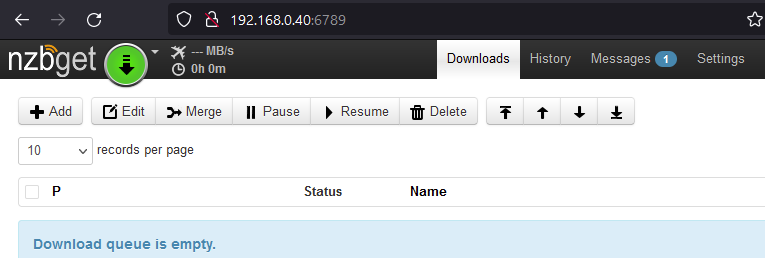
NZBGet will now be running on port 6789 you can connect to it by going to the IP address of your NAS with that port
e.g. 192.168.0.40:6789
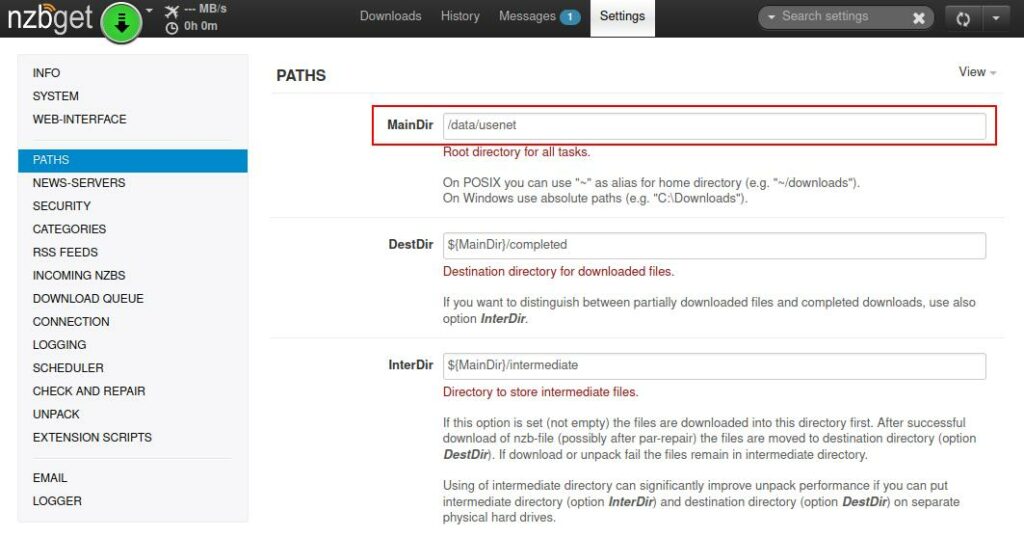
Once you have logged in with the username and password you specified you need to change the default download path. Go into Settings > PATHS as amend as per the table / screenshot.
| Path | Path to enter |
|---|---|
| MainDir | /data/usenet |
You are now configured to get downloads working, there are quite a few options in the configuration sections of the app you can find explanations of the settings in the official documentation
https://nzbget.com/documentation/
Looking for some help, join our Discord community
If you are struggling with any steps in the guides or looking to branch out into other containers join our Discord community!

Buy me a beverage!
If you have found my site useful please consider pinging me a tip as it helps cover the cost of running things or just lets me stay hydrated. Plus 10% goes to the devs of the apps I do guides for every year.


what are the recommended ports for the news server screen and do we need to forward the ports?
Hi Stephon – Your provider will give you the ports you can use, no forwarding required its an outgoing connection.
Firstly, THANK YOU for doing these, they are super easy to follow. I just had a question about updates, I noticed a newer NZBGet version exists in which I assume pulling the latest docker image would update me, but I’m wondering if config will reset? I know mounted folders wont be affected, but I think the UI settings are otherwise inside the image, have you tried this before?
Hey, glad they have been useful! – You are perfectly safe to update the containers the settings are all stored in the /docker/nzbget folder 🙂
These guides have been FANTASTIC, easily the best ones I’ve found on setting up ‘arrs and Synology ins and outs. Kudos to you and your clean and clear technical writing.
My one problem: I’m using NZBGet, and as of now when something downloads, it saves/stays in the /usenet/completed/movies folder, AS WELL as Radarr creating a copy and saving it to /data/media/movies. So I’m doubled up for whatever reason. Could you advise? I’m not sure why it’s not deleting the original file.
Hey Sean – Thanks for the feedback 🙂
So seen this question a lot with Torrents but a bit more rare for Usenet. Can you check your logs for any permission errors for when it tried to delete the hard link on the Usenet side. Happy to take a look for you if you want to dump them into my https://paste.drfrankenstein.co.uk (I won’t publish the reply with the logs)
Thank you for the offer to check. I just grabbed a section of the logs that I hope helps and uploaded to you
You will need to drop me the link the site supplies as its so private I can’t see it 🙂
AH shoot, sorry
[Snip]
Weird – as it clearly shows in the logs it deleting the file at the end of its clean up. Who is showing as the owner of the file when looking via Filestation. I wonder if its a permissions issue
Sorry for the delay, was traveling.
I ran another download form Radarr/NZBget to answer the question. The file that ends up in the Usenet completed folder is showing owned by me, the primary admin account. The file that gets copied into data/media/movies is showing owned by my dockerlimited account. I re-checked the containers for both Radarr and NZBget and they’re both configured with the UID/GID of dockerlimited, neither for the primary admin account.
It’s unusual for it to be owned by your main user as the PUID/PGID should set the dockerlimited user for all files created by the container.
Hey closing the loop here, I figured out what I messed up! In the various containers, I got sloppy and copy/pasted the wrong GID, using the dockerlimited one instead of the dockergroup one. Corrected and re-built, and now things are transferring as they should
Nice one easily done 🙂
i get 3 errors when following your setup, config, file structure, and now nzgbget setup ….
i followed step 1 directory setup
then ran through all the rest for the networking and containers and watchtower etc.
got to nzbget setup
followed that
launched it, changed the main dir setting as instructed
reloaded nzbget
and then i get 3 errors related to file permissions –
error Fri Oct 18 2024 14:37:20 nzbget.conf(46): Invalid value for option “NzbDir” (/data/usenet/nzb): could not read information for directory /data/usenet/nzb: errno 13, Permission denied
error Fri Oct 18 2024 14:37:20 nzbget.conf(52): Invalid value for option “QueueDir” (/data/usenet/queue): could not read information for directory /data/usenet/queue: errno 13, Permission denied
error Fri Oct 18 2024 14:37:20 nzbget.conf(55): Invalid value for option “TempDir” (/data/usenet/tmp): could not read information for directory /data/usenet/tmp: errno 13, Permission denied
i dont recall creating those sub directories under usenet.
do i need to do that?
or is this a permissions thing blocking nzbget from doing this?
Hey Ryan – will come back on your other comment shortly but likely the same problem.
1) double check your PUID and PGID are the correct way around as this catches people out pretty frequently!
2) Jump back to the User and Group guide/step and towards the bottom use the permissions fix on both the /volume1/data and /volume1/docker/nzbget folders this should clear up the error for you.
Is this able to be configured to run through gluetun for VPN purposes, or is this not necessary? I tried adding this to the gluetun project, but got an error that port 6789 was already assigned.
Thank you,
Captn
There is no real need to run usenet through a VPN as you are only downloading posts with no sharing and all via TLS so you should be good.