Last updated on 31 December 2024
Important or Recent Updates
| Historic Updates | Date |
|---|---|
| Rewrite for Container Manager on DSM7.2 | 08/07/2023 |
| Added an addition element to the compose to restrict the container from gaining additional privileges | 21/10/2023 |
| Added umask variable | 25/10/2023 |
What is Tautulli?
Tautulli is a 3rd party application that you can run alongside your Plex Media Server to monitor activity and track various statistics. Most importantly, these statistics include what has been watched, who watched it, when and where they watched it, and how it was watched.
Let’s Begin
In this guide I will take you through the steps to get Tautulli up and running in Container Manager. We will be using the new Projects (Docker Compose) feature to get this running as it will save you time vs manual setup using the normal UI
In order for you to successfully use this guide please complete the preceding guides.
- Docker Package, SSD and Memory Recommendations
- Step 1: Directory Setup Guide
- Step 2: Setting up a restricted Docker user
- Step 3: Setting up a Docker Bridge Network (synobridge)
Folder Setup
Let’s start by getting some folders set up for the containers to use. Open up File Station create the following.
/docker/projects/tautulli-compose
/docker/tautulli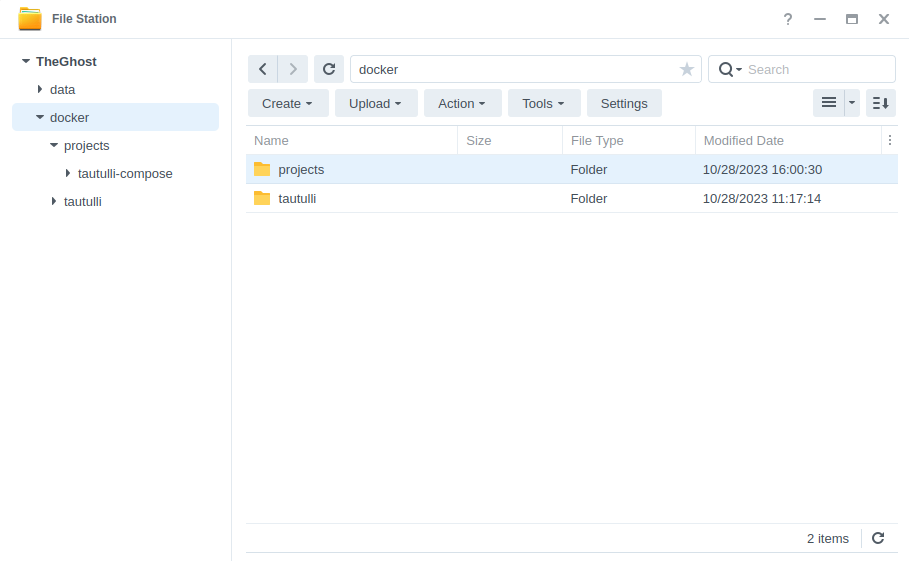
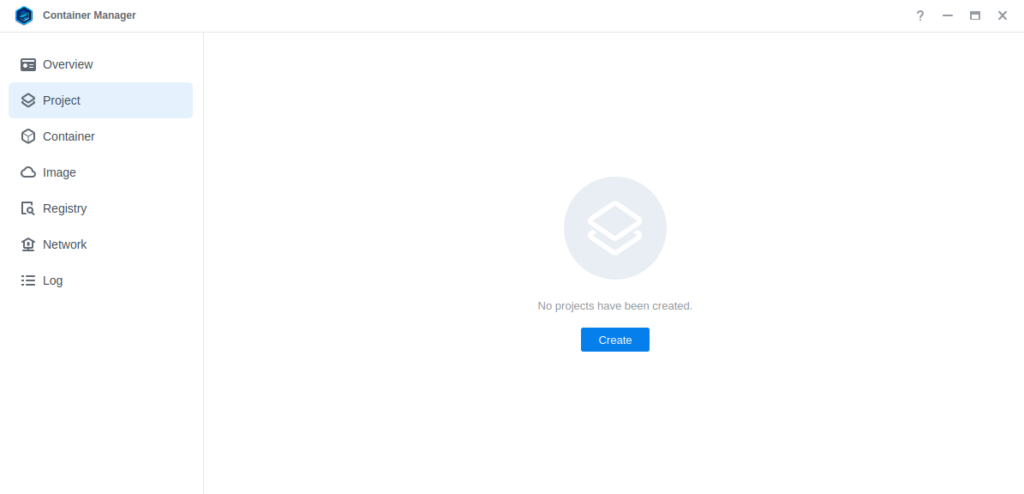
Container Manager
Next we are going to set up a ‘Project’ in Container Manager. Open up Container Manager and click on Project then on the right-hand side click ‘Create’.
In the next screen we will set up our General Settings, enter the following:
| Section | Setting |
|---|---|
| Project Name: | tautulli |
| Path: | /docker/projects/tautulli-compose |
| Source: | Create docker-compose.yml |
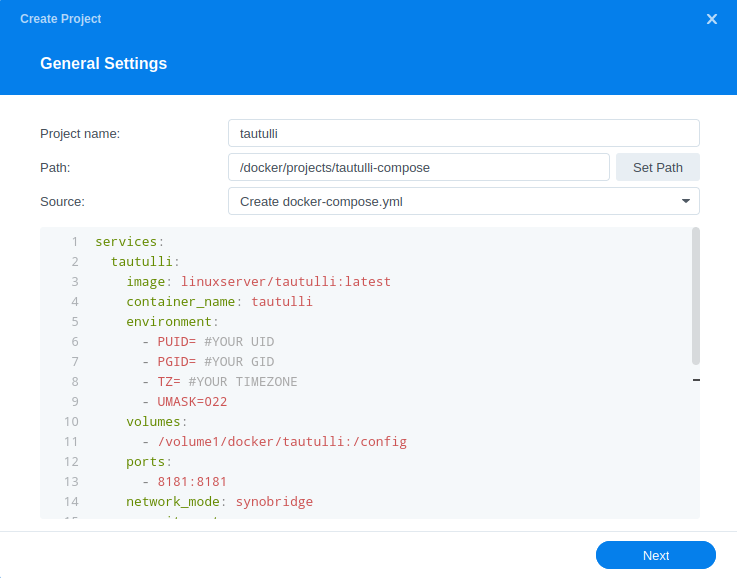
Next we are going to drop in our docker compose configuration, copy all the code in the box below and paste it into line ‘1’ just like the screenshot.
services:
  tautulli:
    image: linuxserver/tautulli:latest
    container_name: tautulli
    environment:
      - PUID=1234 #CHANGE_TO_YOUR_UID
      - PGID=65432 #CHANGE_TO_YOUR_GID
      - TZ=Europe/London #CHANGE_TO_YOUR_TZ
      - UMASK=022
    volumes:
      - /volume1/docker/tautulli:/config
    ports:
      - 8181:8181/tcp
    network_mode: synobridge
    security_opt:
      - no-new-privileges:true
    restart: always
Environment Variables
We are now going to amend some key variables to make sure the container has access to our folders and also knows where we are in the world. Don’t change any other settings other than those I mention.
| Variable | Value |
|---|---|
| PUID | (required) The UID you obtained in the user setup guide |
| PGID | (required) The GID you obtained in the user setup guide |
| TZ | (required) Your timezone wikipedia.org/wiki/List_of_tz_database_time_zones |
Once you have made the edits you can click ‘Next’
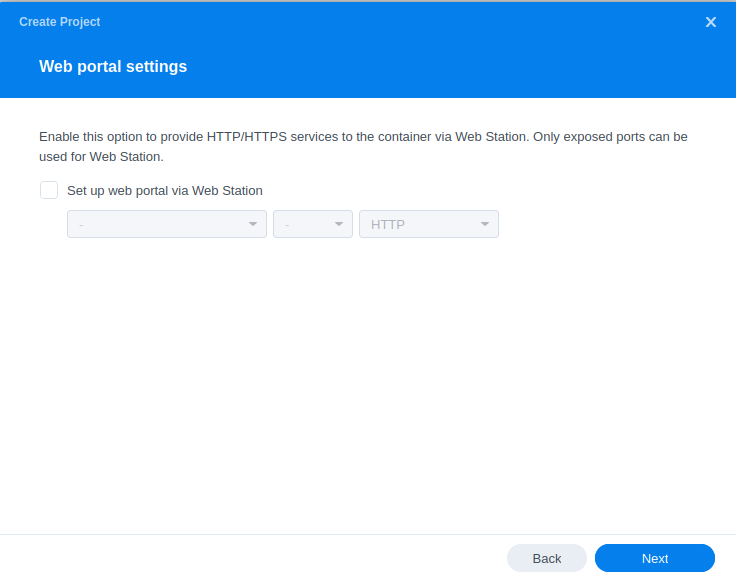
You do not need to enable anything on the ‘Web portal settings’ screen click ‘Next’ again.
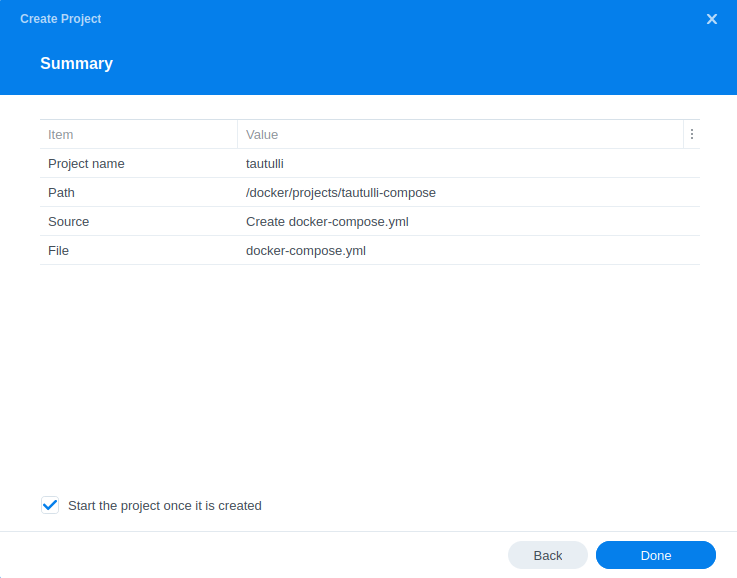
On the final screen click ‘Done’ which will begin the download of the container images and once downloaded they will be launched!
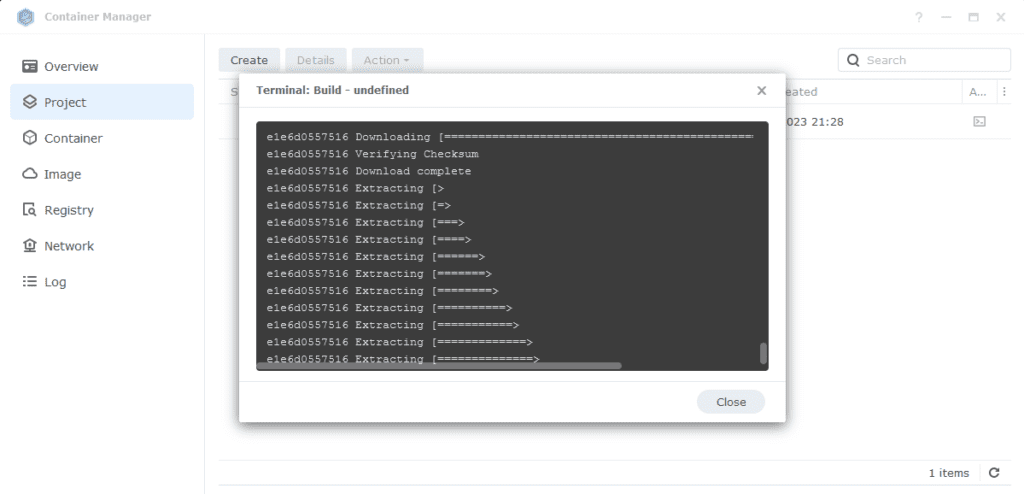
The image will now be downloaded and extracted. You should see ‘Code 0’ when it has finished.
Firewall Exceptions
(Skip if you don’t have the Firewall configured)
If you have the Synology Firewall enabled please see this additional guide for further info on exceptions and correct set up.
All Finished
You should now be able to access Tautulli via the IP of your NAS followed by the port 8181 and go through its nice and easy welcome config.
e.g. 192.168.0.40:8181
Looking for some help, join our Discord community
If you are struggling with any steps in the guides or looking to branch out into other containers join our Discord community!

Buy me a beverage!
If you have found my site useful please consider pinging me a tip as it helps cover the cost of running things or just lets me stay hydrated. Plus 10% goes to the devs of the apps I do guides for every year.


many people (including me) have been switched to Jellyfin because of plex costs. I think we need a good tutorial for jellystat.
Hey nice I had not seen this! So many projects available now we are spoilt!
Time has not been on my side in the last few months so just keeping on top of comments and Discord. It looks like they have a docker compose, in the interim here is a modified version based on the folders you would need to create. Just adjust the password field for postgres sections and update your timezone
https://paste.drfrankenstein.co.uk/?5a152afb2b03fc32#2a4TddWADjeTEGqUwMagxQQ7MHKHUWaoFzXmL5a18XP9
Have you seen/heard of JellyStat (a Tautulli-like client for JellyFin)? https://github.com/CyferShepard/Jellystat
Oh very nice – I will pop that on the list!!
Can you do a Kometa install
Ha, so we have a few people running Kometa on Discord (I was using PMM for a little while and then removed it from my setup)
Let me drop it in a ‘mini guide’ from the one I have in our Members Guides also on Discord..
thank you! love your work
Hey I have been looking for the mini guide havent found it yet do you mind sharing a link to it?
Sorry just checked and my guide I made on Discord is actually massively out of date, its all based on Plex Meta Manager so predates anything that has changed since around November 2023! Time Flies!