Last updated on 21 April 2025
Important or Recent Updates
| Historic Updates | Date |
|---|---|
| Fresh new guide by popular demand | 28/09/2023 |
| Updated with new steps to obtain and change WebUI password | 21/11/2023 |
| Issue with passwords has been fixed in 4.6.2 so removed tty line from yaml | 29/11/2023 |
| Added TORRENTING_PORT= variable to save a step updating it in the UI | 09/04/2025 |
What is qBittorrent?
qBittorrent is a torrent downloader used to both manage torrent downloading and seeding.
If you are looking to combine a VPN with this set up see the GlueTUN guide on the left Menu
Useful external links for this guide
Linuxserver qBittorrent Container GitHub
qBittorrent Forums
Let’s Begin
In this guide I will take you through the steps to get qBittorrent up and running in Docker
In order for you to successfully use this guide, please complete the three preceding guides
- Docker Package, SSD and Memory Recommendations
- Step 1: Directory Setup Guide
- Step 2: Setting up a restricted Docker user
- Step 3: Setting up a Docker Bridge Network (synobridge)
Folder Setup
Let’s start by getting some folders set up for the containers to use. Open up File Station create the following.
/docker/projects/qbit-compose
/docker/qbittorrent
Container Manager
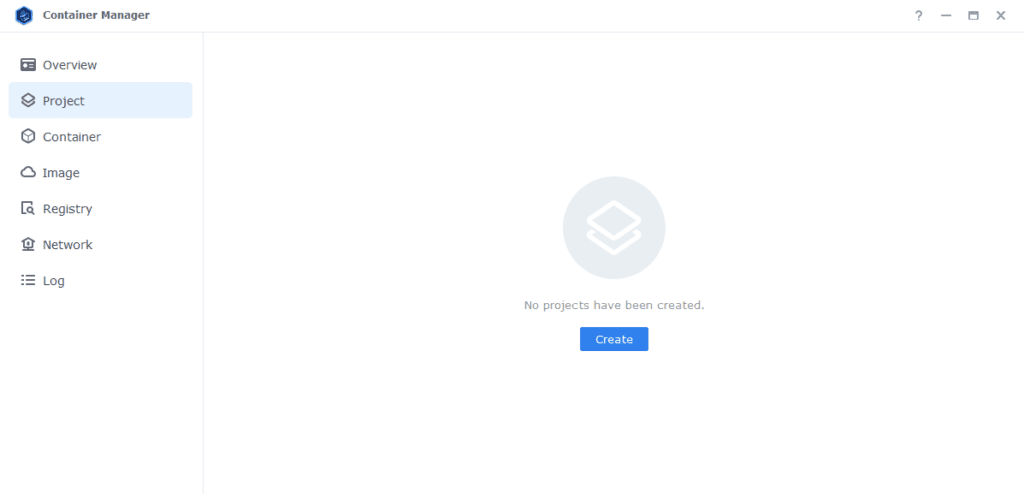
Next we are going to set up a ‘Project’ in Container Manager, a project is used when you want one or more to all be loaded together and uses Docker Compose to do this.
Open up Container Manager and click on Project then on the right-hand side click ‘Create’
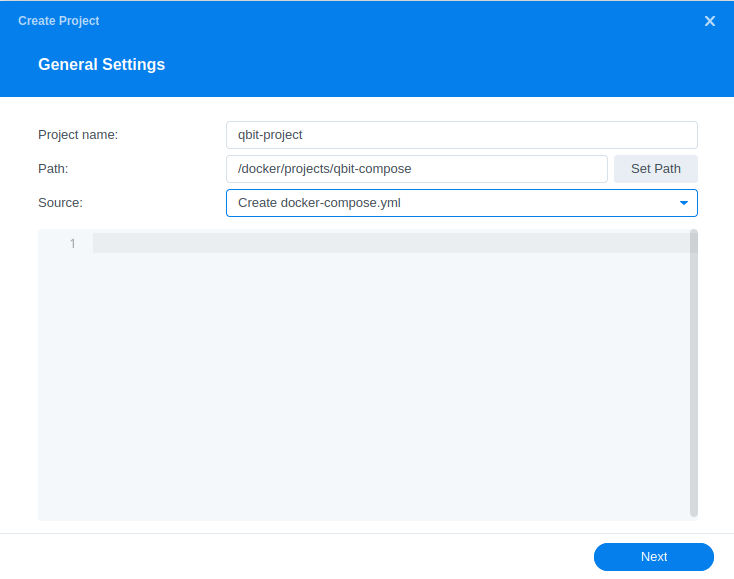
In the next screen we will set up our General Settings, enter the following:
| Section | Setting |
|---|---|
| Project Name: | qbit-project |
| Path: | /docker/projects/qbit-compose |
| Source: | Create docker-compose.yml |
Next we are going to drop in our docker compose configuration copy all the code in the box below and paste it into line ‘1’ just like the screenshot
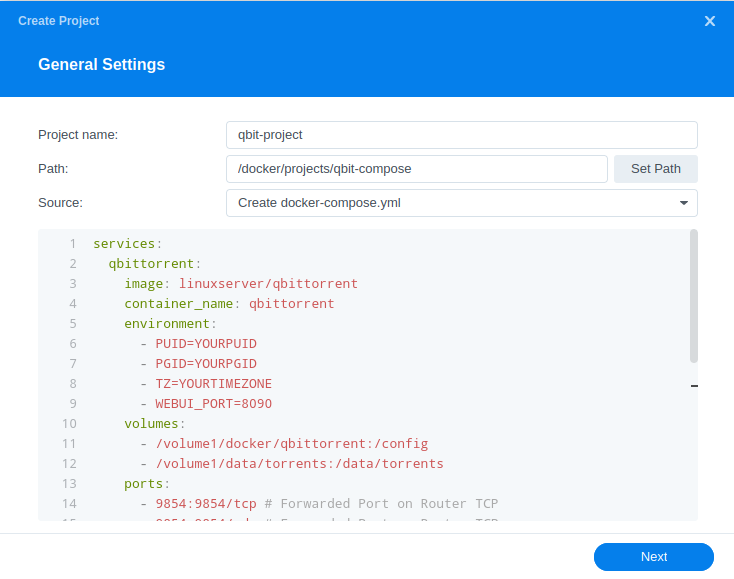
services:
  qbittorrent:
    image: linuxserver/qbittorrent:latest
    container_name: qbittorrent
    environment:
      - PUID=1234 #CHANGE_TO_YOUR_UID
      - PGID=65432 #CHANGE_TO_YOUR_GID
      - TZ=Europe/London #CHANGE_TO_YOUR_TZ
      - WEBUI_PORT=8090
      - TORRENTING_PORT=9854
    volumes:
      - /volume1/docker/qbittorrent:/config
      - /volume1/data/torrents:/data/torrents
    ports:
      - 9854:9854/tcp # Forwarded Port on Router TCP
      - 9854:9854/udp # Forwarded Port on Router TCP
      - 8090:8090/tcp # port for qbittorrent webui
    network_mode: synobridge
    restart: always
Environment Variables
We are now going to amend some key variables to make sure the container has access to our folders and also knows where we are in the world. Don’t change any other settings other than those I mention.
| Variable | Value |
|---|---|
| PUID | (required) The UID you obtained in the user setup guide |
| PGID | (required) The GID you obtained in the user setup guide |
| TZ | (required) Your timezone wikipedia.org/wiki/List_of_tz_database_time_zones |
Ports
Nothing to change here, the web UI will run on port 8090 and the ports we will be using for the torrent protocol will be 9854 for TCP and UDP.
Volumes
By default, I have assumed you have your config files stored on /volume1 if these are located on another volume amend this line accordingly.
Click ‘Next’
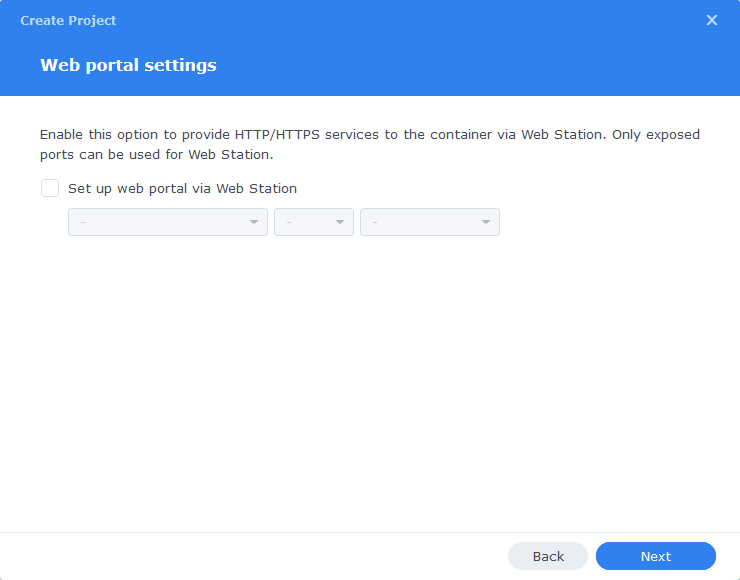
You do not need to enable anything on the ‘Web portal settings’ screen click ‘Next’ again
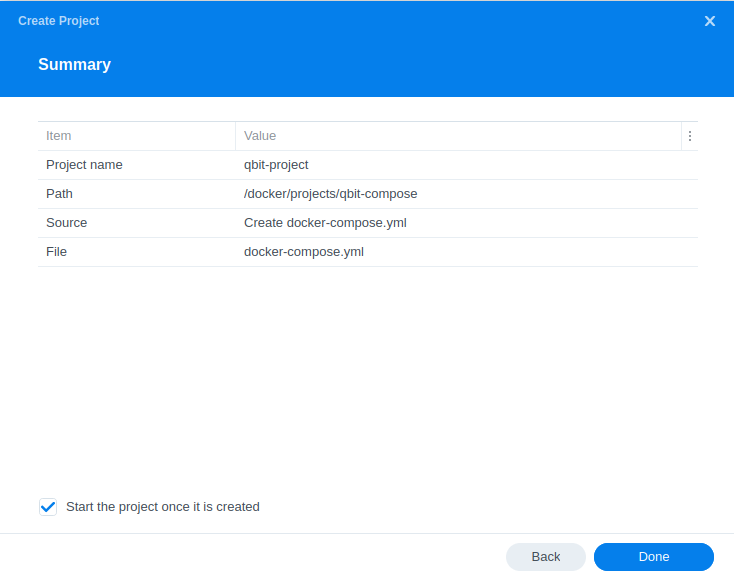
On the final screen click Done which will begin the download of the container images and once downloaded they will be launched!
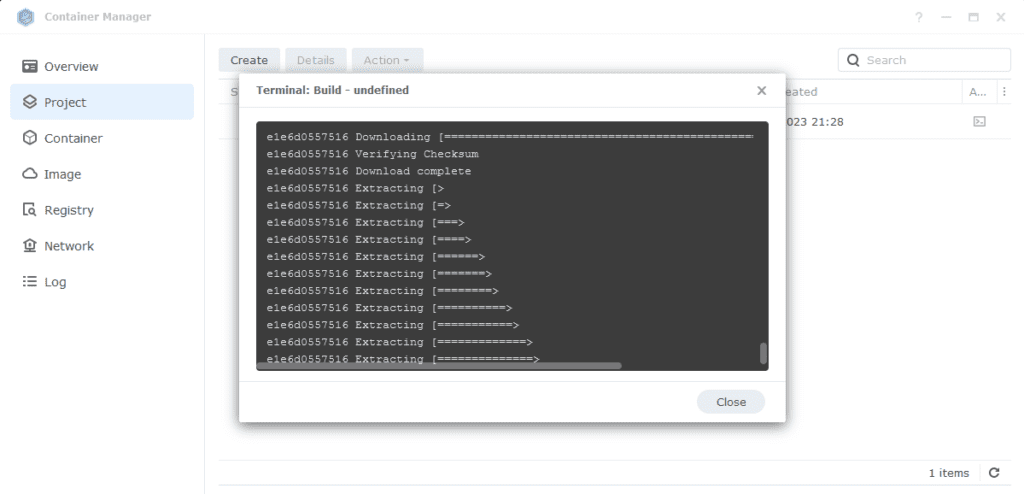
The images will now be downloaded and extracted. You should see ‘Code 0’ when it has finished.
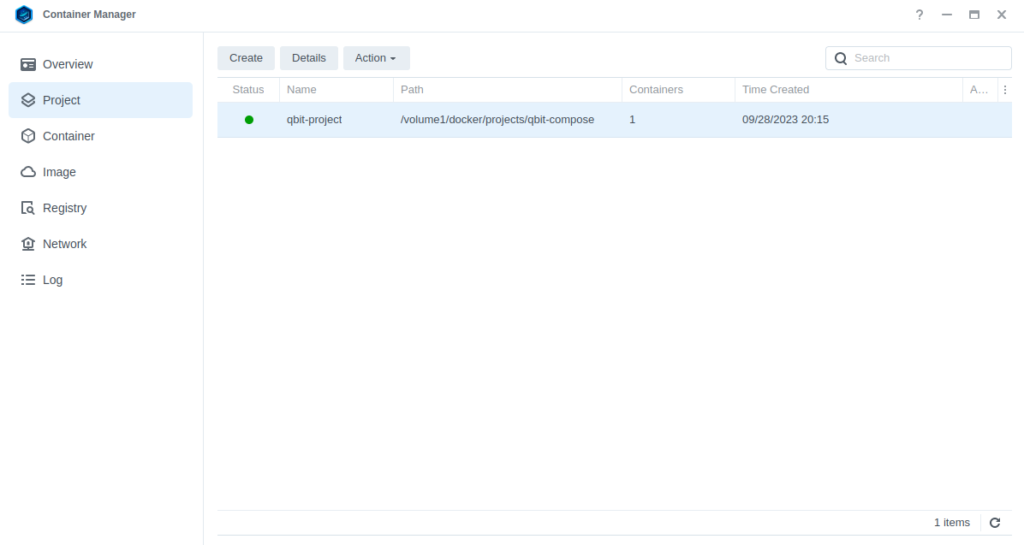
You will now see your qbit-project running with a green status on the left-hand side.
Firewall Exceptions
(Skip if you don’t have the Firewall configured)
If you have the Synology Firewall enabled please see this additional guide for further info on exceptions and correct set up.
Changing the default WebUI login and password
If you skip this step you won’t be able to log in.
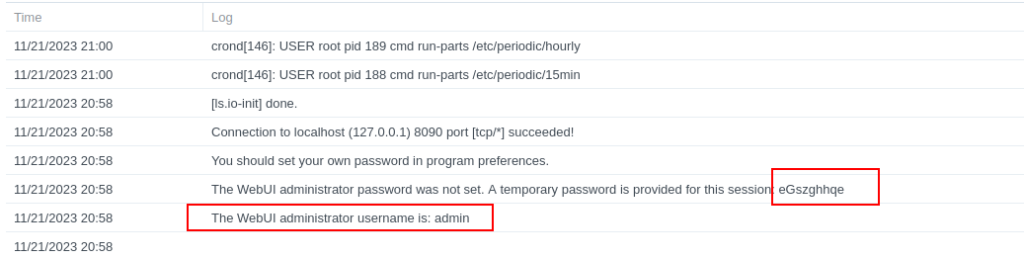
Now the container has started open it in the Docker UI by clicking the qbittorrent container select ‘details’ and then view the ‘log’ tab. Within the logs you will see the login details.
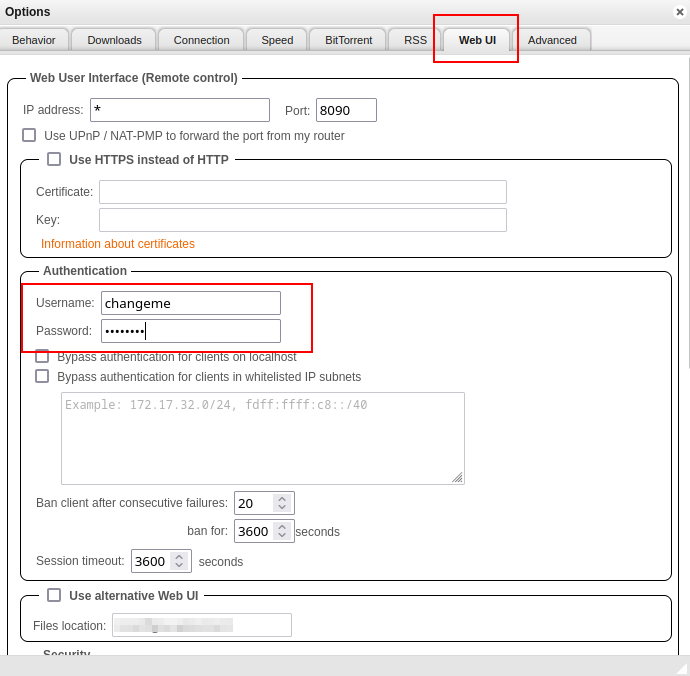
Now before doing any more of the guide go to the Web UI by going to the IP of your NAS followed by port 8090 and log in. Then on the WebUI tab change the defaults to your own and save them.
Now continue on..
Router Port Forwarding
As you can imagine there are thousands of possible router configs out there, so you will need to check the manual for your own.
Essentially you need to Port Forward port 9854 TCP and UDP to your NAS IP address. This will make you connectable for all peers. Most routers support UPnP or NAT-PNP which will automatically set up ports however it’s usually more secure to turn these off and do it manually.
Final qBittorrent Setup
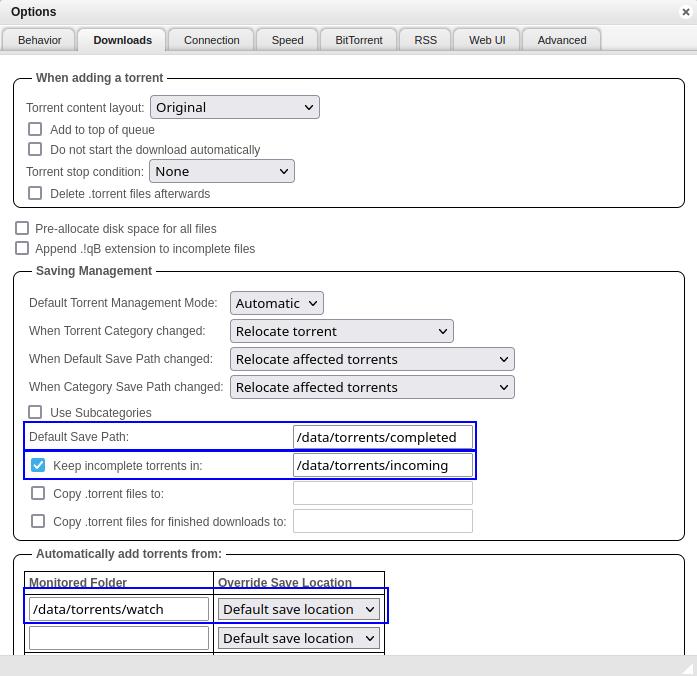
As we have used /data/torrents as the mount point for our downloads we need to make sure qBittorrent uses this same file path. Open the settings and edit the following paths and save.
| Option | Original Value | New Value |
|---|---|---|
| Default Save Path | /downloads | /data/torrents/completed |
| Keep incomplete torrents in | /downloads/incomplete | /data/torrents/incoming |
| Monitored Folder (optional) | blank | /data/torrents/watch |
In prior versions of this guide I had a command to unzip RAR and ZIP files, I have removed this as it is not reliable, check out Unpackerr from the menu.
I am not going to walk through all the other settings as you can customise these as you wish.
That’s it.
WARNING!

Do not port forward or set up a reverse proxy for qBittorrents WebUI so it directly faces the internet - we have seen 5 or 6 people with compromised instances running Crypto mining. Always use something like Tailscale or a direct WireGuard or OpenVPN connection into your network.
FAQs
Q: I am getting the ‘errored’ status for all my torrents
This is very likely a permissions issue, go to the User and Group guide and see the permission fixes towards the bottom.
Q: Everything seems to be connected but nothing is downloading.
Try grabbing the Ubuntu torrent as that is a sure fire way of testing as generally it has over 3k seeds.
Looking for some help, join our Discord community
If you are struggling with any steps in the guides or looking to branch out into other containers join our Discord community!

Buy me a beverage!
If you have found my site useful please consider pinging me a tip as it helps cover the cost of running things or just lets me stay hydrated. Plus 10% goes to the devs of the apps I do guides for every year.


I have qbittorrent up and running now (thanks!) but realized I really want to get a VPN configured. Your GlueTUN guide starts from scratch, though. Is there a way to add GlueTUN to my existing setup, so I don’t need to start all over with qbittorrent? I’ve got a bunch of active torrents I’d rather not lose, plus I’d rather not lose the settings I’ve configured.
Hey – all your qbit config will already be stored in your docker share, so just delete the container. Do the VPN version of the guide and qbit will pick up where you left off. Just make sure you do the step to bind it to the TUN0 device once its running.,
Thanks! It’s all up and running now.
Do you have a guide for configuring autoextract, once the torrent is complete? qbittorrent has a run “Run external program on torrent finished” option and I’ve seen a few command line options floating around out there, but there are a lot of them and they don’t usually explain what they are doing or what other programs they may need, so it’s hard to be sure which one would work correctly for Synology/Docker/qbittorrent.
If you regularly grab rar releases see my unpackerr guide as it will usually be better than other commands
Thanks, that worked well.
Hi there!
For some reason, every once in a while (I haven’t been looking to see if there is a pattern), items that are in qbittorrent get stuck on ‘Downloading metadata’. I have the workflow set up where I can add items to my Plex watch list, and it’ll pipe through and show up in qbittorrent. But then it gets stuck there. I have to go into container manager, stop the vpn-project, start it again, for it to work. I’m stumped as to why it randomly stops working. Any ideas?
Hey – When you restart the containers do those torrents then start to download? If so next time it happens export your GlueTUN logs as it must be losing connection to your VPN provider thus cutting of qbits access to the internet.
Love the guides. I’m having an issue with remote access for the QBittorent webui. I can access the webui locally with no issue and downloading works, but if I leave I am unable to connect. I have port forwarded both 8090 and Plex’s, but I can only access Plex. I’ve set up matching port forward rules that point to the NAS (does it need to be the synobridge instead?) and firewall rules on both the router and NAS. Any suggestions would be appreciated. Thanks
Hey – So nothing to setup for the Bridge – ensure you do open up the 8090 port for the Firewall. Personally I would get either Tailscale or WGEasy set up rather than expose qBittorrent to the internet. However, as long as the firewall is opened and likewise the router you should be able to connect using your WAN IP : 8090
Hey Dr _Frankenstein
Amazing Guide, very simple and straightforward but its just my luck that I have ran into an error with qBittorrent.
I am unable to add qBittorrent as a Download Client as it always says Authentication Failed.
Not sure where I went wrong as I can log into qBittorrent WebUI with the dockerlimited username and password.
Any help would be amazing. 🙂
Hi Timothy – You mention the dockerlimited username and password – did you use the details qibt provided in the log to then change to your own.. I suspect you may have a typo somewhere – you can reset the login details again by following the below – your config file is in /docker/qbittorrent
https://github.com/qbittorrent/qBittorrent/wiki/I-forgot-my-UI-lock-password
It will then give you temp login details in the log file again to log back in and then change.
Thanks for the quick response.
I did change the temporary username and password after starting qBittorrent via checking the log.
I changed the username to dockerlimited as its just easy for me to remember. xD
So I am able to log into qBittorrent WebUI but I am unable to add qBittorrent into Rader > Settings > Download Clients as when I do it says Authentication Failed
Hey Dr_Frankenstein
I have fixed it with the help of a fellow discord member from your channel.
You are correct, there was a typo within the Port. I had it set as 8080 instead of 8090.
As soon as I changed that it was working correctly. 😀
Its been an amazing guide to follow for someone who is new to the NAS scene.
This is the way!
Seen you on Discord 🙂