| Update | Date |
|---|---|
| First version of the setup | 01/08/2021 |
| Updated the general formatting Gave the guide a once over with LanguageTool | 14/03/2022 |
| Added ‘books’ | 15/07/2022 |
Please note – before starting make sure you have installed the Docker package from Package Center
When passing folders into a Docker container each mount point is treated as its own filesystem.
This means when moving files between two mount points Docker will do a Copy, then Delete operation. Meaning you are creating a full duplicate of a file while its being ‘moved’ creating unwanted disk IO and temporarily taking up double the space. (especially when seeding torrents after copying to the final folders)
In order to avoid this we need to set up a clean directory structure that allows us to just have one folder or share mounted to our containers.
If you are starting with these guides and have existing media you may need to move around your data in line with this setup, I recommend creating all the folders below using File station to avoid potential permission issues later.
Directory Structure
With this setup all of your media will sit within a single share, you can call this whatever you want but in all the guides it will be called ‘data’. If you change its name you will need to adjust any steps or compose files from my guides accordingly.
Open up the control panel then in ‘Shared Folder’ hit ‘Create’

On screen 1 fill out the name as ‘data’

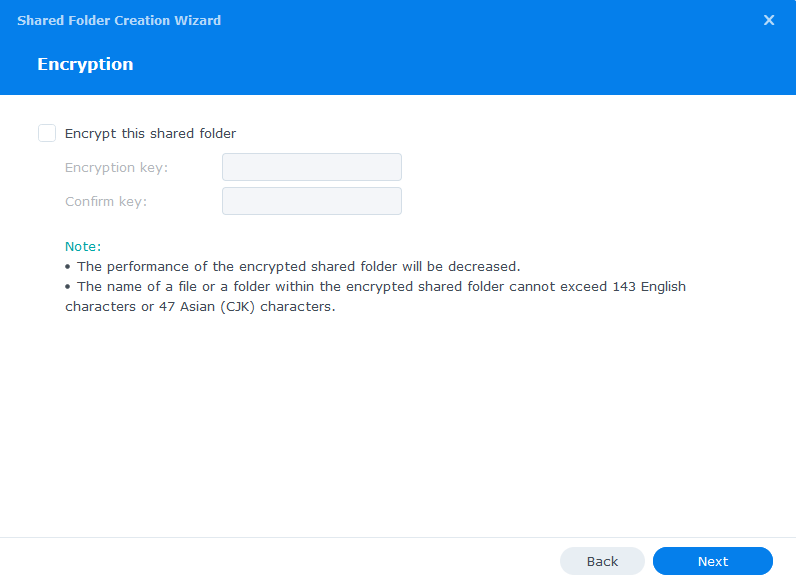
Screen 2 we leave the folder unencrypted
Screen 3 – Enable data checksums as this will help catch any issues with files during data scrubbing.

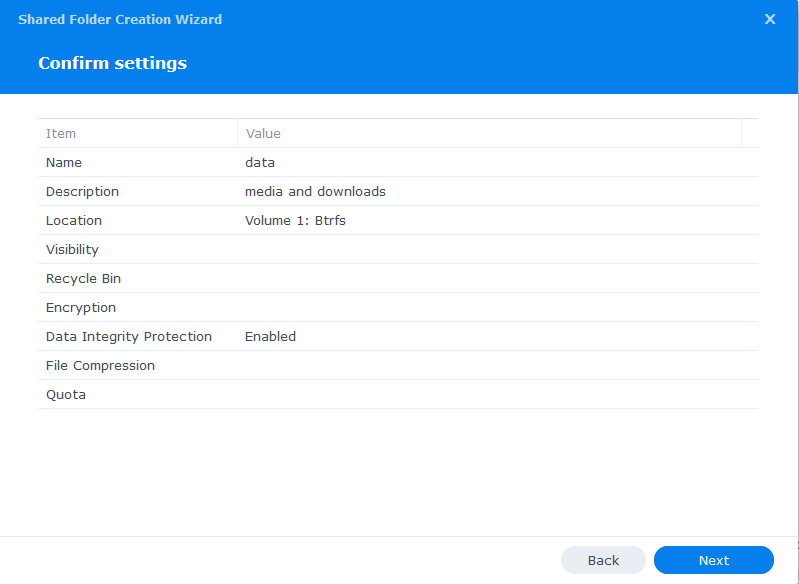
Screen 4 – just click next past the summary
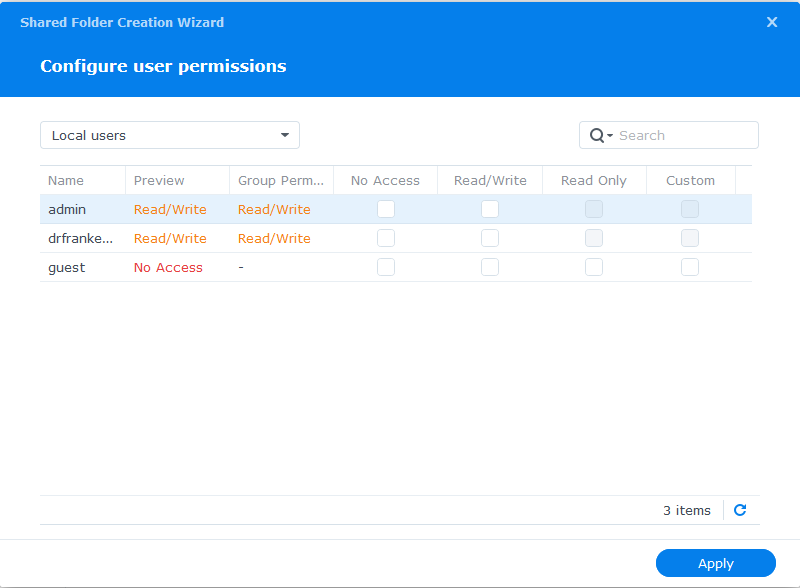
On the final screen we don’t need to change any user permissions yet, we will do that in the second guide.
The Sub-folders
Now we have our main ‘data’ directory we need to create a number of sub-folders to hold our media and downloaded files. You can amend this depending on whether you are using Torrents or Usenet (Newsgroups) or both.
You will initially create 3 folders within /data
- media
- torrents
- usenet
Then under /data/media create
- movies
- music
- tv
- books
Then under /data/torrents create
- completed
- incoming
- watch
Then under /data/usenet create
- completed
- intermediate
- nzb
- queue
Your folder tree should now look like this.
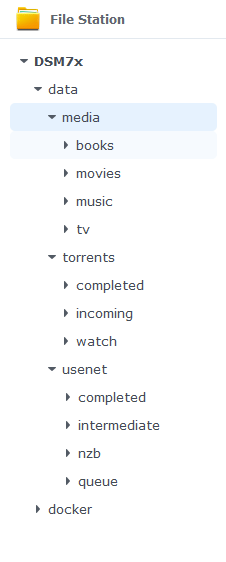
That’s all your folders’ setup, you can now move onto step 2 where we will set up a Docker user.
Step 2: Setting up a restricted Docker user
Looking for some help, join our Discord community
If you are struggling with any steps in the guides or looking to branch out into other containers join our Discord community!
Buy me a beverage!
If you have found my site useful please consider pinging me a tip as it helps cover the cost of running things or just lets me stay hydrated.

