Last updated on 23 September 2025
Important or Recent Updates
| Historic Updates | Date |
|---|---|
| Updated guide for Container Manager and using MacVLAN | 13/05/2023 |
| Added a new section to ensure DSM continues having network access. | 02/06/2023 |
| Guide updated so you can choose between Macvlan or Bridge mode | 12/08/2023 |
| Added additional security option to the compose to restrict the container from gaining new privileges | 25/10/2023 |
| Removed the requirement for the synobridge as this container can just use its own bridge, and added the Host network mode, so all three are a choice. | 21/01/2024 |
| remove the requirement for the docker user as this container has no method to run via a mapped user | 04/07/2024 |
| Aligned the Macvlan settings with the PiHole guide | 01/08/2024 |
What is AdGuard Home?
AdGuard Home is network-wide ad blocking solution. After you set it up, it’ll cover all your home devices, it even includes a parental control solution. Just like a PiHole it acts as your home network DNS server and will block advertising on any site you visit.
This guide will get you set up with AdGuard and cover some basic initial settings, I recommend checking out the documentation for all the various features available.
Host vs Macvlan vs Bridge Network Modes
Host:
Host mode uses your NAS underlying network to run the containers network services, so it will be reliant on the NAS not using any of the required ports for the container. However, this makes it easy to set up, but you need to make sure no other service is using the required ports. All your clients will appear correctly as independent devices and stats.
Macvlan:
This gives you the benefit of AdGuard having its own IP address on your network, all clients appear with their real IP addresses allowing you to assign specific rules and give you some nicer stats just like Host mode. However, one downside is that your NAS will not be able to use AdGuard for DNS, due to the additional security features of Macvlan and its communication with its host. This is generally not an issue unless you wanted to use your AD blocking with Tailscale.
Bridge Mode:
The main benefit of Bridge Mode will be the ease of setup however you will find that all clients on your network will appear under the same IP as the Bridge 172.20.0.1. This won’t impact ad blocking, but it will mean you can’t apply device specific rules etc.
Let’s Begin
In order for you to successfully use this guide you will need to check that your Router allows you to change your network DNS servers, this is usually found in the DHCP settings.
Folder Setup
Let’s start by getting some folders set up for the container to use. Open up File Station create the following.
/docker/projects/adguard-compose
/docker/adguard
/docker/adguard/work
/docker/adguard/conf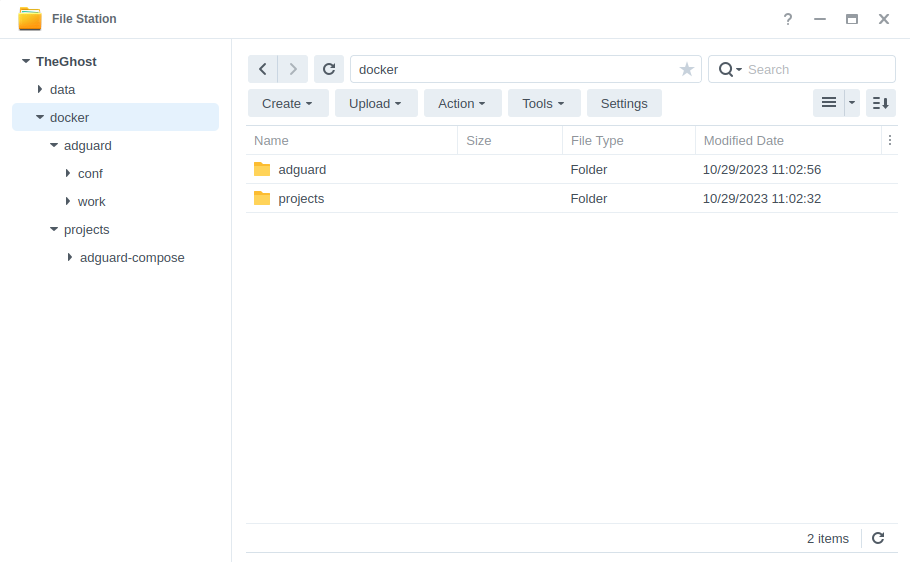
Container Manager
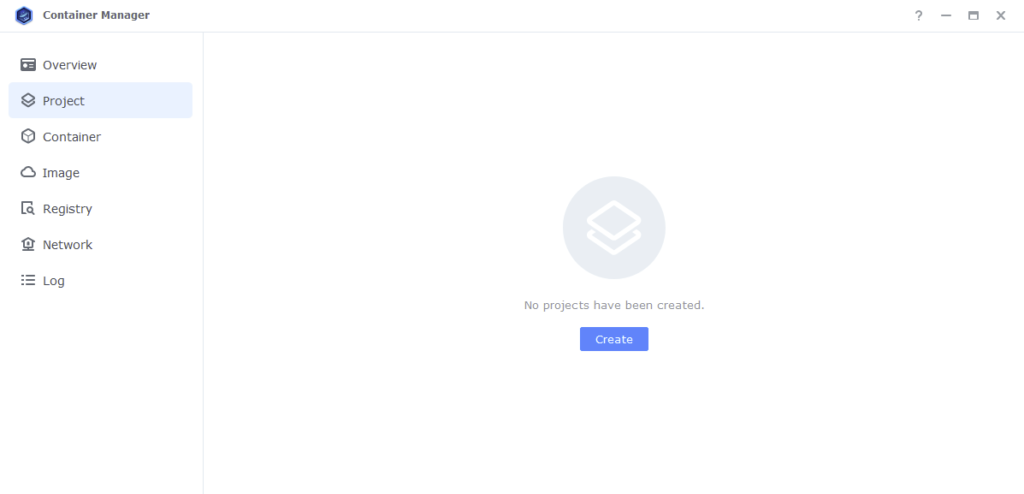
Next we are going to set up a ‘Project’ in Container Manager. Open up Container Manager and click on Project then on the right-hand side click ‘Create’.
In the next screen we will set up our General Settings, enter the following:
| Section | Setting |
|---|---|
| Project Name: | adguard |
| Path: | /docker/projects/adguard-compose |
| Source: | Create docker-compose.yml |
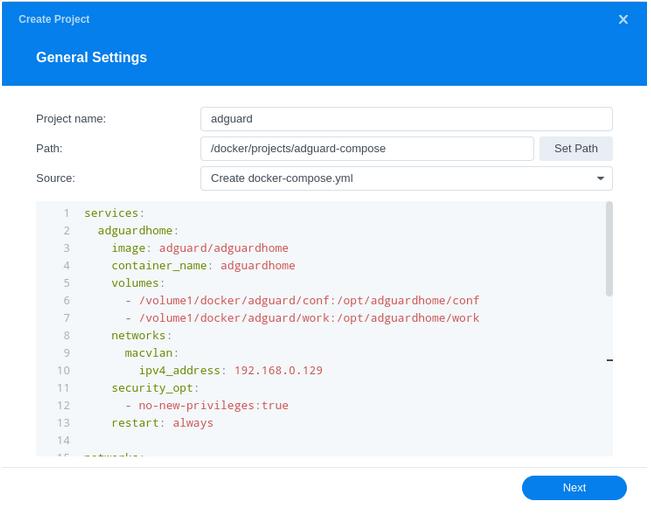
Next we are going to drop in our docker compose configuration, copy all the code in from the appropriate version of the container you want to run below and paste it into line ‘1’ just like the screenshot.
What on earth is a Docker Compose?
Docker Compose allows us to define how Docker should set up one or more containers within a single configuration file. This file is yaml formatted and Container Manager uses the Projects feature to manage them.
Please note if you have a bonded network connection (two LAN ports bonded into one) then try using ‘bond0’ in the network set up element of this guide.
Host Mode
services:
  adguardhome:
    image: adguard/adguardhome
    container_name: adguardhome-host
    volumes:
      - /volume1/docker/adguard/conf:/opt/adguardhome/conf
      - /volume1/docker/adguard/work:/opt/adguardhome/work
    network_mode: host
    security_opt:
      - no-new-privileges:true
    restart: always
Macvlan
services:
  adguardhome:
    image: adguard/adguardhome
    container_name: adguardhome-macvlan
    volumes:
      - /volume1/docker/adguard/conf:/opt/adguardhome/conf
      - /volume1/docker/adguard/work:/opt/adguardhome/work
    networks:
      macvlan:
        ipv4_address: 192.168.0.129
    security_opt:
      - no-new-privileges:true
    restart: always

networks:
  macvlan:
    name: macvlan
    driver: macvlan
    driver_opts:
      parent: eth0
    ipam:
      config:
        - subnet: "192.168.0.0/24"
          ip_range: "192.168.0.254/24"
          gateway: "192.168.0.1"
Bridge Mode
services:
  adguardhome:
    image: adguard/adguardhome
    container_name: adguardhome-bridge
    volumes:
      - /volume1/docker/adguard/conf:/opt/adguardhome/conf
      - /volume1/docker/adguard/work:/opt/adguardhome/work
    ports:
      - 53:53/udp
      - 3000:3000/tcp
    security_opt:
      - no-new-privileges:true
    restart: always
If you are setting up the Bridge or Host Mode versions you can now press next and jump ahead in the guide to Web portal settings for Macvlan continue on below.
Settings Amendments for the Macvlan
OK we now need to make some further edits to the compose and sort out DNS for DSM
External DNS for DSM
Containers on a Macvlan cannot be accessed by the host they reside on (without network changes under the hood), this mean DSM cannot use AdGuard for its own DNS requests. It’s better to put DSM on an external DNS provider to avoid it having any issues connecting to the Internet if your AdGuard is down.
Go into the DSM Control Panel > Network and then in the ‘Manually configure DNS server’ set two good quality DNS providers such as Quad9 9.9.9.9 and Cloudflare1.1.1.1

Now you can make some edits to the compose information before moving on
| Section | Explanation |
|---|---|
| ipv4_address: 192.168.0.122 | Change to the IP address you want to use for the container. Make sure this is available and not in use by another device on your network. |
| parent: eth0 | This defines the network interface the container should use, I have used eth0 which will be the first Ethernet port on your NAS. If you want to use a different port change it accordingly. Note! If you have Virtual Machine Manager installed change this to ovs_eth0 |
| subnet: “192.168.0.0/24” | We need to change this in line with your networks’ subnet – in the example I have used 192.168.0.0/24. The super quick way to work out what to use is just take the IP of your NAS and change the final digit before the /24 to 0 |
| ip_range: “192.168.0.254/24” | This has to be changed to the highest available IP address within the range of your subnet. Again if your network is in the 192 range the final number used from the subnet above can be changed to 254 and added to this section. |
| gateway: “192.168.0.1” | This will be the IP address of your Router/Gateway/DHCP Server |
Once you have made the edits you can click ‘Next’
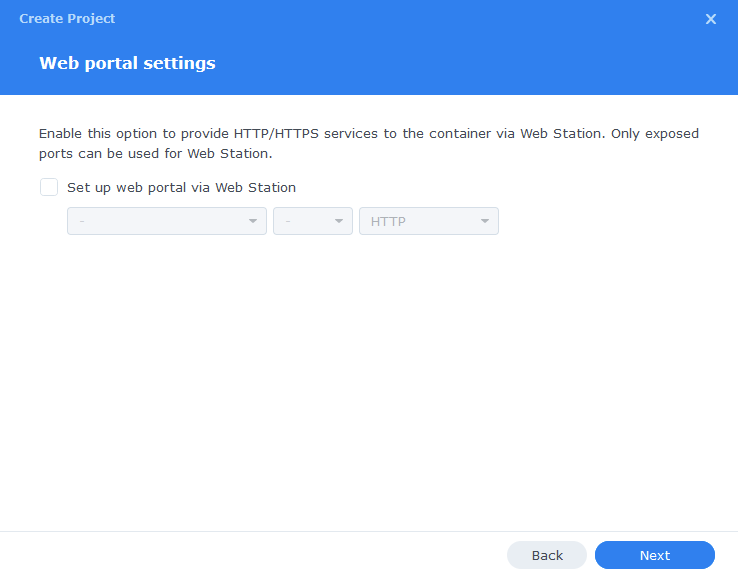
Web portal settings
You do not need to enable anything on the ‘Web portal settings’ screen click ‘Next’ again.
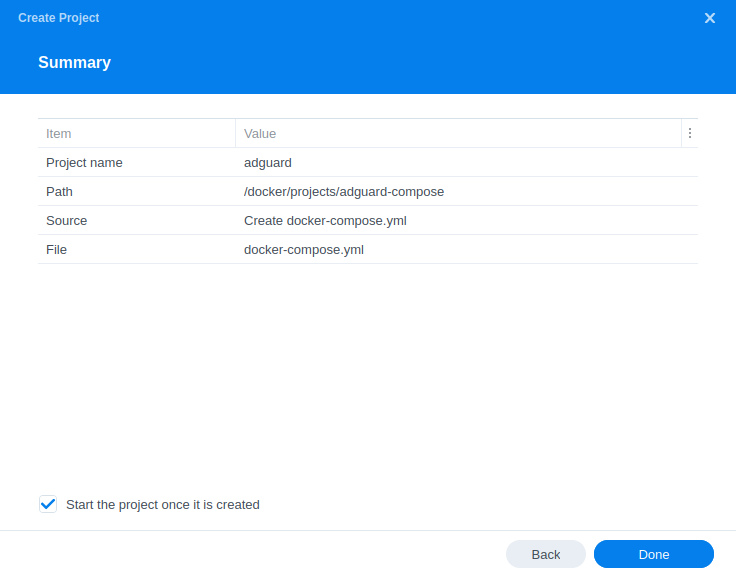
On the final screen click ‘Done’ which will begin the download of the container images and once downloaded they will be launched!
The image will now be downloaded and extracted. You should see ‘Code 0’ when it has finished.
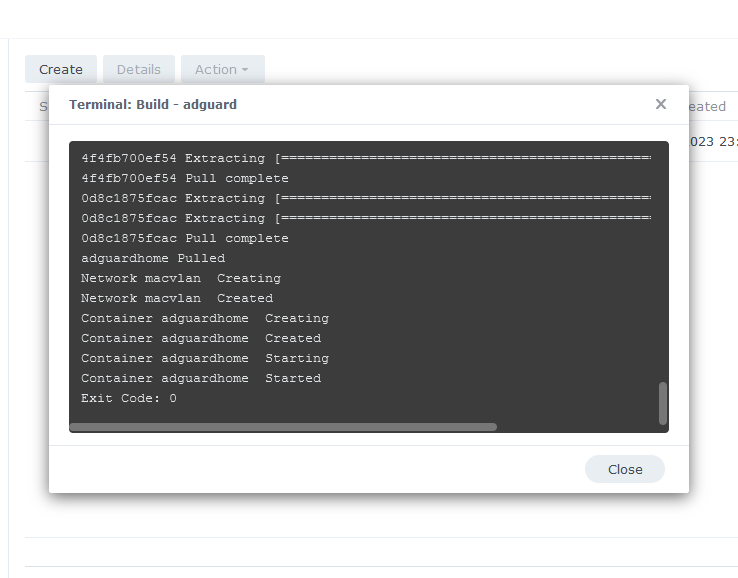
You will now see your AdGuard running and should have a green status on the left-hand side.
You should now be able to access the web interface via
Macvlan = the IP you specified in the compose followed by the port 3000
OR
Bridge or Host = Your NAS IP followed by the port 3000
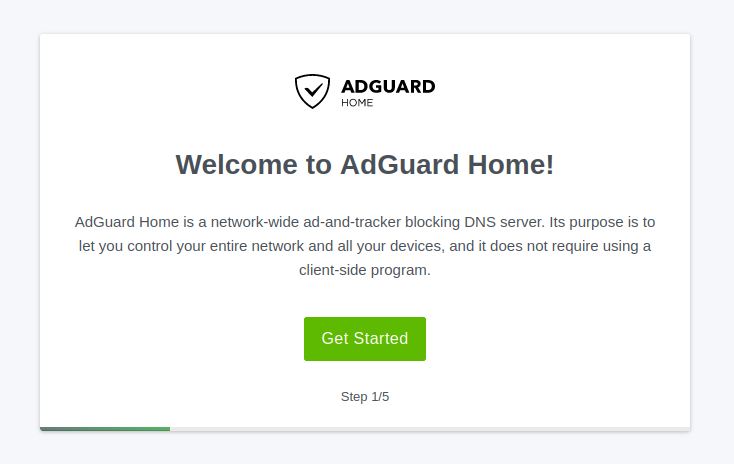
Initial Setup
You will now do some initial setup steps
Step 1 – click ‘Get Started’
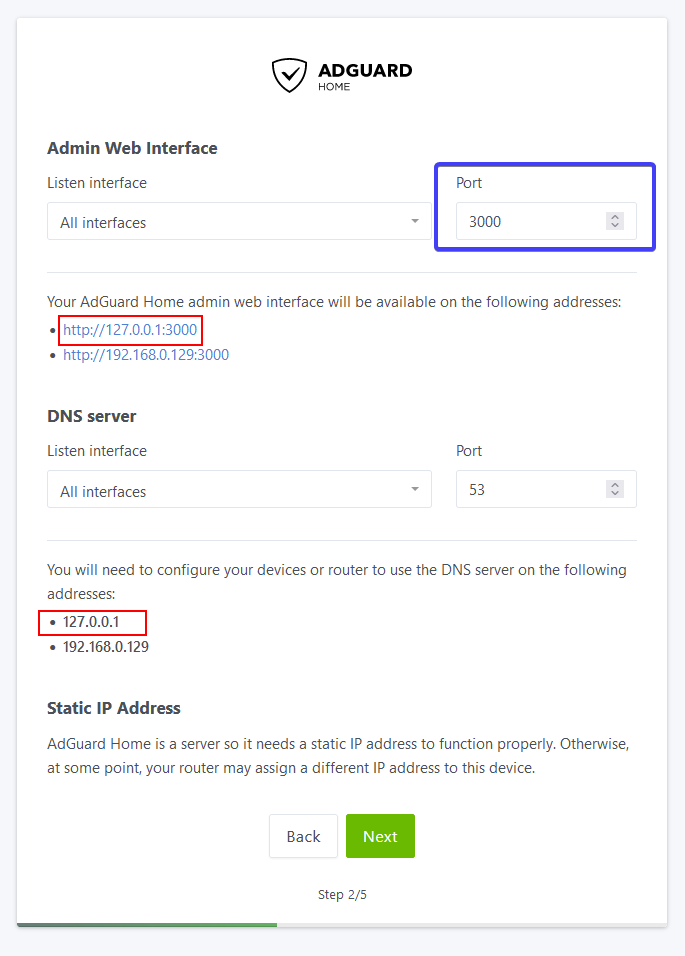
Step 2 – You will be asked to choose the network interfaces AdGuard will listen to for DNS requests and the Web Interface. Leave these set to ‘All Interfaces’ but change the Port for the Web Interface from 80 to 3000.
You will notice the IPs highlighted in Red in the screenshot will be either 127.0.0.1 or 172.20.0.1 do not use these as suggested by the UI as they will not work.
Click ‘Next’
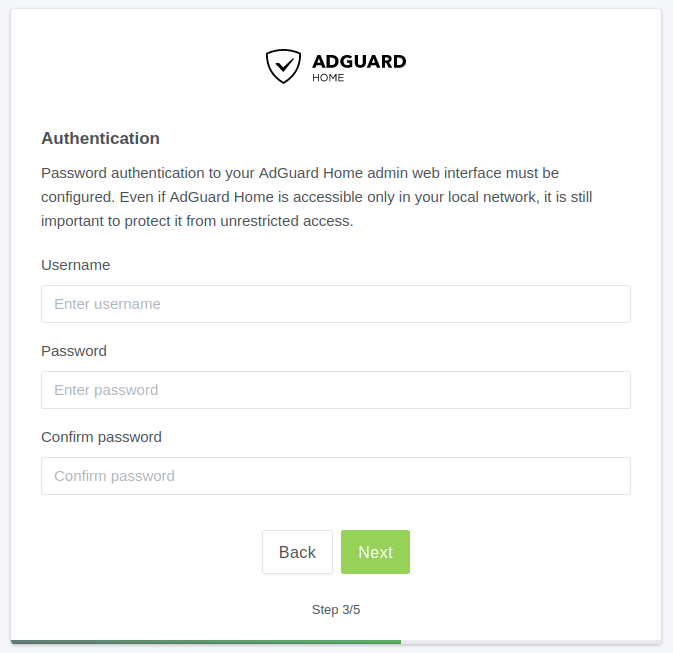
Step 3 – You will be required to set up a Username and Password to access the Web UI. Fill these in (You could follow the Vaultwarden guide to get a password manager setup if you don’t have one already)
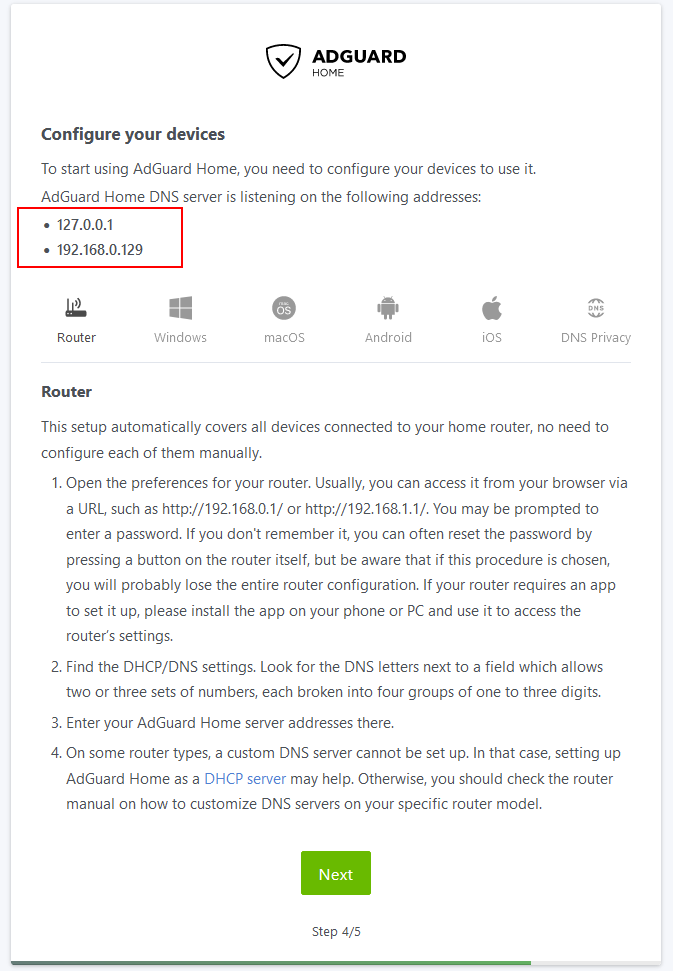
Step 4 – Configure your devices
The DNS address to use on your device or router/dhcp server will be
Bridge Mode or Host Mode = IP address of your NAS
MACVLAN Mode = IP address you assigned in the compose file
The addresses shown on the final screen in Red may show different IPs use the one I suggest above.
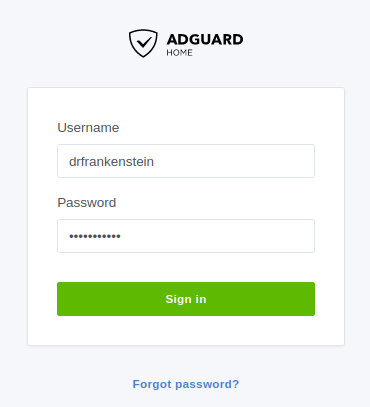
Click on Open Dashboard and you will be taken to the login screen.
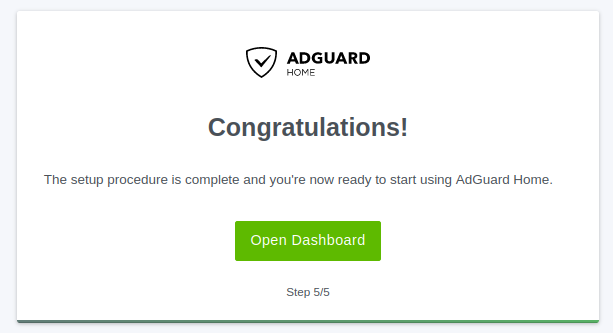
Now log in to your account.
Once your devices start to update with the new DNS server IP you will begin seeing traffic in your Dashboard. (This can take up to 24 hours)
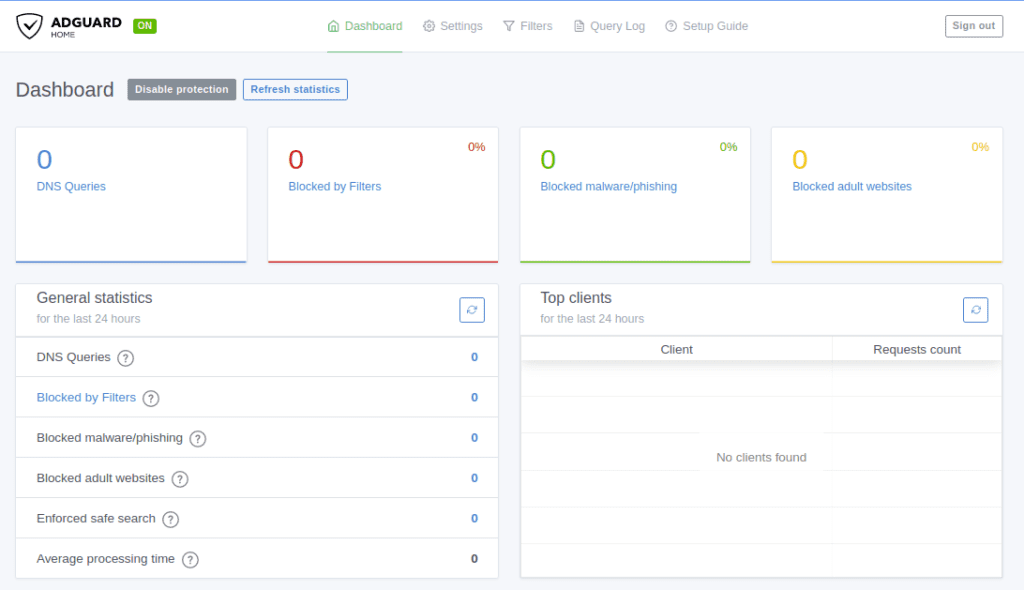
From here you can set up some initial settings such as additional ‘Filters’ (blocklists) or define additional upstream DNS providers who handle the requests that make it past the filters in Settings > DNS Settings.
More settings can be found here
You are ready to roll 🙂
FAQ:
What ports does AdGuard use?
The ports below are used by AdGuard, if you use Bridge Mode above and want to use any of the additional services you will need to add them.
| Port | Protocol | Used For |
|---|---|---|
| 53 | TCP/UDP | DNS |
| 853 | TCP | DNS over TLS |
| 443 | TCP | HTTPS/DNS over HTTPS |
| 784 | UDP | DNS over QUIC |
| 8853 | UDP | DNS over QUIC |
| 67 | IPv4 UDP | DHCP – Only used when the ipv4 DHCP server is enabled. |
| 68 | TCP | DHCP – Only used when the ipv4 DHCP server is enabled. |
| 68 | UDP | DHCP – Only used when the ipv4 DHCP server is enabled. |
| 547 | IPv6 UDP | DHCP – Only used when the ipv6 DHCP server is enabled. |
| 3000 | TCP | For the WebUI |
Looking for some help, join our Discord community
If you are struggling with any steps in the guides or looking to branch out into other containers join our Discord community!
Buy me a beverage!
If you have found my site useful please consider pinging me a tip as it helps cover the cost of running things or just lets me stay hydrated. Plus 10% goes to the devs of the apps I do guides for every year.

