
Last updated on 22 November 2025
Important or Recent Updates
| Update | Date |
|---|---|
| New guide | 02/11/2024 |
| Added additional section to GlueTUN compose | 09/11/2024 |
| Changed the default TMDB intergration to be turned off | 30/11/2024 |
| Adjusted wording of the guide now that current version is out of Beta and also the config.yml is not created automatically. | 03/03/2025 |
| Bumped the healthcheck wait time from 20 seconds to 60 seconds to allow for more time on first ever start up. | 06/05/2025 |
| Added a note around SSD Endurance | 22/11/2025 |
What is Bitmagnet?
A self-hosted BitTorrent indexer, DHT crawler, content classifier and torrent search engine with web UI, GraphQL API and Servarr stack integration.
You can integrate Bitmagnet with your media stack by adding it to Prowlarr or directly to Radarr etc.
System Requirements and SSD Endurance
Make sure you have a look at the System Requirements and other FAQ items as you will likely want to run this on an SSD volume with plenty of space available as the database will grow to over time. My own copy as of November 2025 is 181 GB without any cover art being scraped!
You will need to make sure the SSD you use has a high TBW value as Bitmagnet will eat through TB’s of data over time. For example a Crucial P3 1TB only has 220TBW value so is not suited for this kind of workload.
https://bitmagnet.io/faq.html#what-are-the-system-requirements-for-bitmagnet
There is an official Discord server as well if you have any specific questions not covered by the guide or the wiki.
In this guide there are two compose versions, one runs without GlueTUN and one with, it is entirely up to you if you need to use a VPN. (See the FAQ)
Let’s Begin
In this guide I will take you through the steps to get Bitmagnet up and running in Container Manager. We will be using the Projects (Docker Compose) feature to get this running as it will save you time vs manual setup using the normal UI
In order for you to successfully use this guide please complete the three preceding guides and make note of the recommendations.
- Docker Package, SSD and Memory Recommendations
- Step 1: Directory Setup Guide
- Step 2: Setting up a restricted Docker user
- Step 3: Setting up a Docker Bridge Network (synobridge)
Folder Setup
Let’s start by getting some folders set up for the container to use. Open up File Station create the following.
/docker/projects/bitmagnet-compose
/docker/bitmagnet/postgres
/docker/bitmagnet/config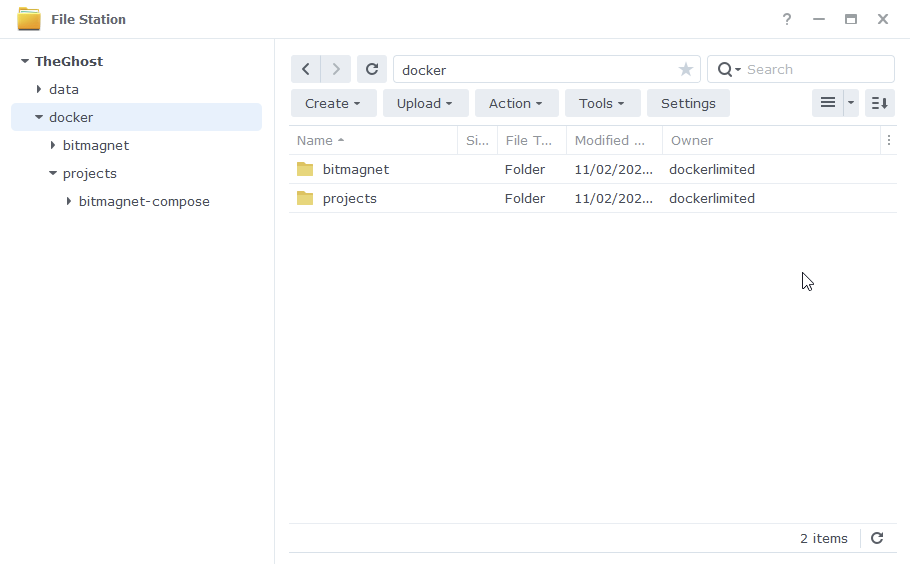
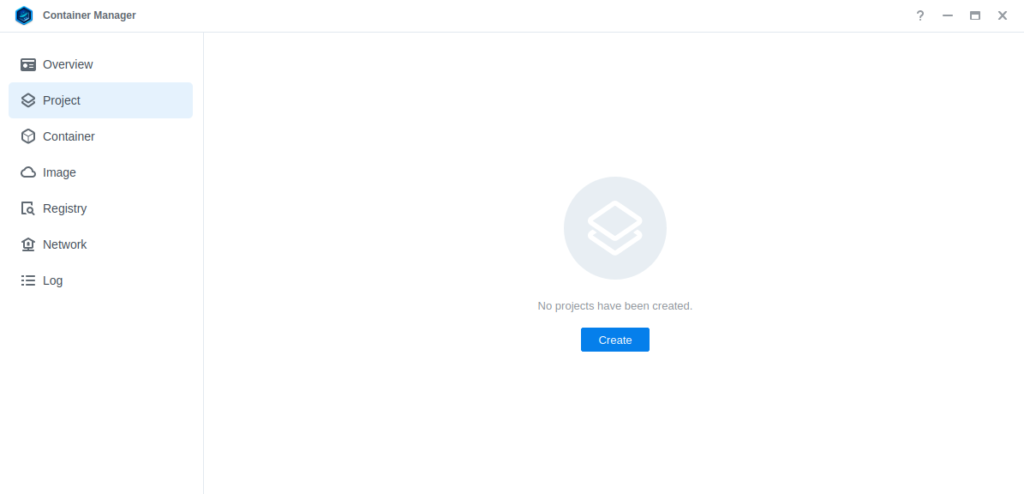
Container Manager
Next we are going to set up a ‘Project’ in Container Manager. Open up Container Manager and click on Project then on the right-hand side click ‘Create’.
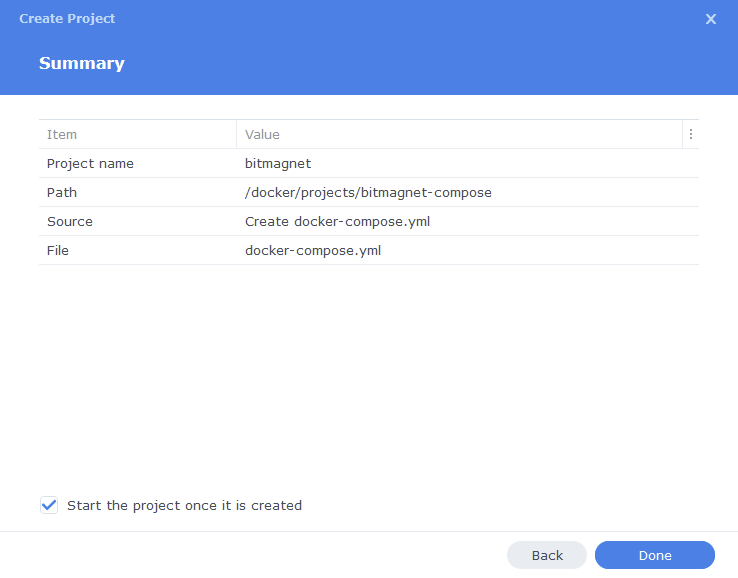
In the next screen we will set up our General Settings, enter the following:
| Section | Setting |
|---|---|
| Project Name: | bitmagnet |
| Path: | /docker/projects/bitmagnet-compose |
| Source: | Create docker-compose.yml |
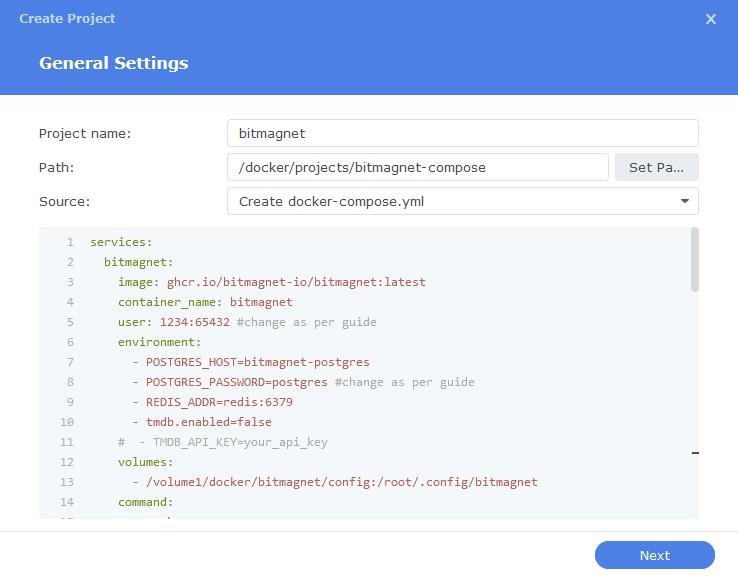
Next we are going to drop in our docker compose configuration, decide if you want to use Bitmagnet with or without a VPN and copy the appropriate compose below.
Non VPN Compose
services:
  bitmagnet:
    image: ghcr.io/bitmagnet-io/bitmagnet:latest
    container_name: bitmagnet
    user: 1234:65432 #change as per guide
    environment:
      - POSTGRES_HOST=bitmagnet-postgres
      - POSTGRES_PASSWORD=postgres #change as per guide
      - TMDB_ENABLED=false
    #  - TMDB_API_KEY=your_api_key
    volumes:
      - /volume1/docker/bitmagnet/config:/root/.config/bitmagnet
    command:
      - worker
      - run
      # Run all workers:
      - --all
    ports:
      - 3333:3333
    network_mode: synobridge
    security_opt:
      - no-new-privileges:true
    depends_on:
      bitmagnet-postgres:
        condition: service_healthy
    restart: always

  bitmagnet-postgres:
    image: postgres:16-alpine
    container_name: bitmagnet-postgres
    volumes:
      - /volume1/docker/bitmagnet/postgres:/var/lib/postgresql/data
    environment:
      - POSTGRES_PASSWORD=postgres #change as per guide
      - POSTGRES_DB=bitmagnet
      - PGUSER=postgres
    healthcheck:
      test:
        - CMD-SHELL
        - pg_isready
      start_period: 60s
      interval: 10s
    shm_size: 1g
    network_mode: synobridge
    security_opt:
      - no-new-privileges:true
restart: alwaysVPN (GlueTUN) Compose
This setup is a little different to the way we would normally add a container to GlueTUN, we are actually going to tell Bitmagnet to use the VPN container from a separate compose. This makes the assumption you have followed one of the GlueTUN guides from the left menu and have a functional connection.
We don’t normally assign specific IPs to containers however for us to split the Bitmagnet container onto our VPN and the Postgres database to remain local and still remain connectable we will assign an IP to it. As we will be using our Synobridge network I have pre-assigned a suitable IP that is high enough to remain out of the way of up to 119 other containers so you are very unlikely to have a conflict.
services:
  bitmagnet:
    image: ghcr.io/bitmagnet-io/bitmagnet:latest
    container_name: bitmagnet
    user: 1234:65432 #change as per guide
    environment:
      - POSTGRES_HOST=bitmagnet-postgres
      - POSTGRES_PASSWORD=postgres #change as per guide
      - TMDB_ENABLED=false
    #  - TMDB_API_KEY=your_api_key
    volumes:
      - /volume1/docker/bitmagnet/config:/root/.config/bitmagnet
    command:
      - worker
      - run
      # Run all workers:
      - --all
    network_mode: container:gluetun
    security_opt:
      - no-new-privileges:true
    depends_on:
      bitmagnet-postgres:
        condition: service_healthy
    restart: always

  bitmagnet-postgres:
    image: postgres:16-alpine
    container_name: bitmagnet-postgres
    volumes:
      - /volume1/docker/bitmagnet/postgres:/var/lib/postgresql/data
    environment:
      - POSTGRES_PASSWORD=postgres #change as per guide
      - POSTGRES_DB=bitmagnet
      - PGUSER=postgres
    healthcheck:
      test:
        - CMD-SHELL
        - pg_isready
      start_period: 20s
      interval: 10s
    shm_size: 1g
    networks:
      synobridge:
        ipv4_address: 172.20.0.121 # Assign the desired IP here
    security_opt:
      - no-new-privileges:true
    restart: always

networks:
  synobridge:
external: trueEnvironment Variables
We are now going to amend a couple of key variables to make sure the container is running as our dockerlimited user and the database has a unique password (Note the postgres database will run as its own internal user)
| Variable | Value |
|---|---|
| user | Amend the UID (1234) and GID (65432) to the ones you obtained for your dockerlimited user |
| POSTGRES_PASSWORD | Enter a password for the database, make sure you do this on the two lines in the compose for the Bitmagnet and Postgres container. (Some people have had issues with special characters so try to stick to alphanumeric characters) |
| TMDB_ENABLED | I have changed this to be false (off) by default this means your database wont contain all the cover and movie and series information making it smaller. |
| TMDB_API_KEY | Optionalal to add your own key from TMDB if you want to see art for shows and movies, I don’t personally use this. https://kb.synology.com/en-au/DSM/tutorial/How_to_apply_for_a_personal_API_key_to_get_video_info |
Once you have made the edits you can click ‘Next’.
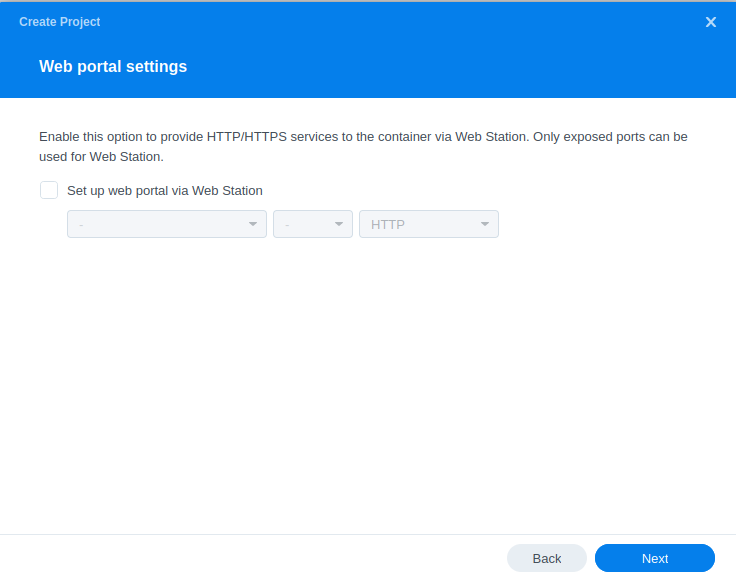
You do not need to enable anything on the ‘Web portal settings’ screen click ‘Next’ again.
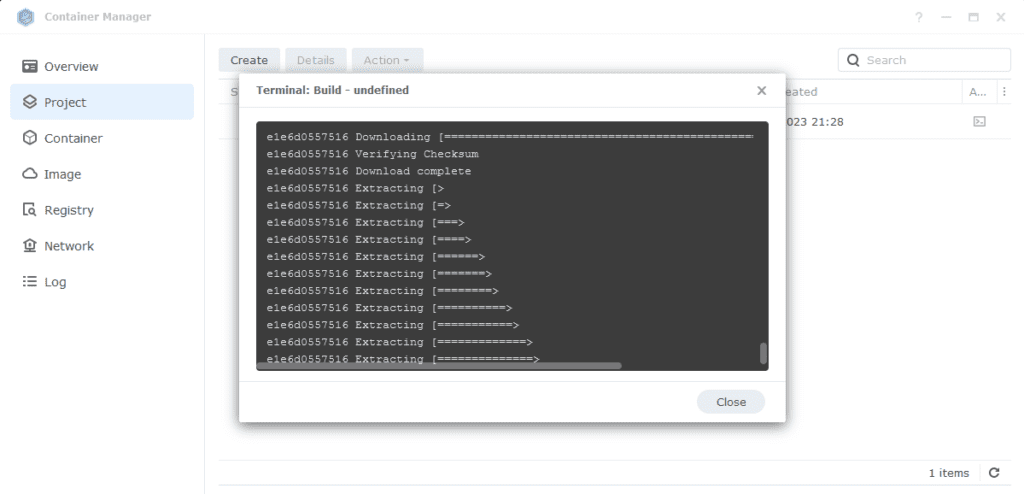
On the final screen click ‘Done’ which will begin the download of the container images and once downloaded they will be launched!
The images will now be downloaded and extracted. You should see ‘Code 0’ when it has finished.
Firewall Exceptions
(Skip if you don’t have the Firewall configured)
If you have the Synology Firewall enabled please see this additional guide for further info on exceptions and correct set up.
Adding Bitmagnet Ports to GlueTUN
If you went with the VPN Compose you have one more thing to change, if not skip ahead.
You will now need to add the WebUI and optional database ports to your GlueTUN project compose, this will involve stopping the GlueTUN Project, and then dropping in the ports below into the section shown in the screenshot.
You can then start up / build the GlueTUN project and then restart the Bitmagnet project to link things up.
      - 3333:3333 #Bitmagnet
      #- 5432:5432 database only if you want to look in it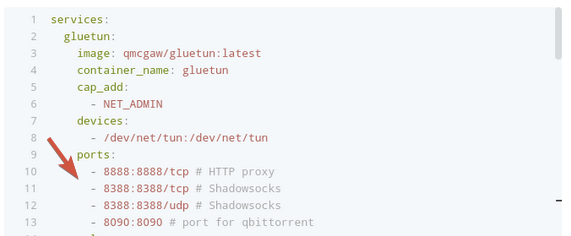
In additional to the above you may need to layer an additional part into GlueTUN compose if you have trouble with the database connecting. This will go after the network mode line
    extra_hosts:
- bitmagnet-postgres:172.20.0.121Up and Running!
Bitmagnet will now be running on port 3333 you can connect to it by going to the IP address of your NAS with that port
e.g. 192.168.0.40:3333
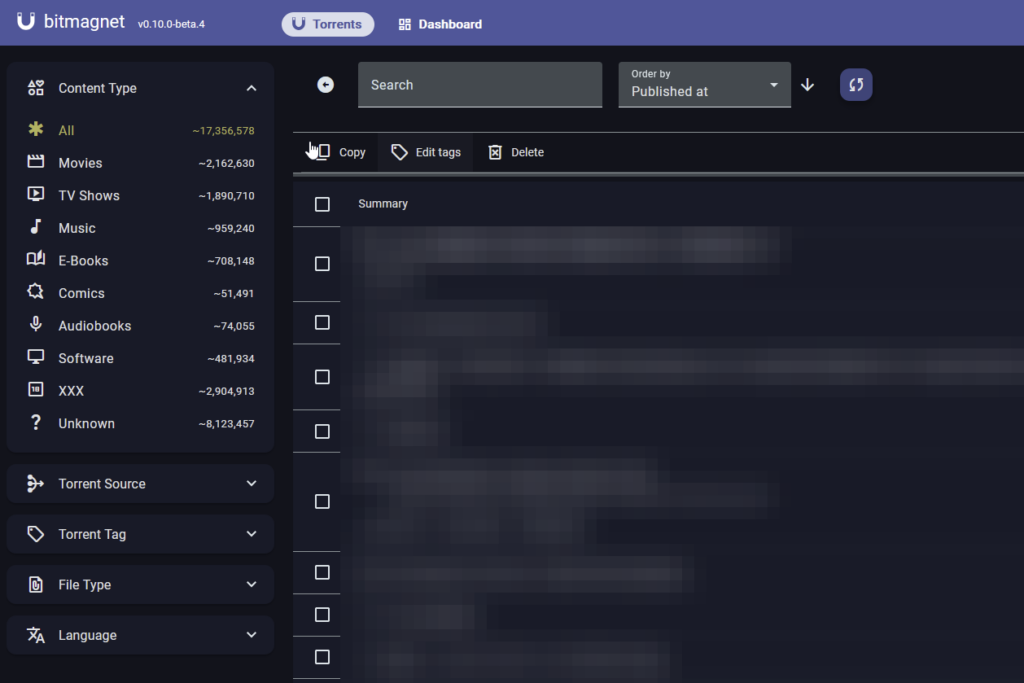
After 30 seconds or so you should start to see new torrents appearing in the content types on the left-hand side and in the main list. Scanning the DHT takes time so at this point its just as case of being patient while it does its thing.
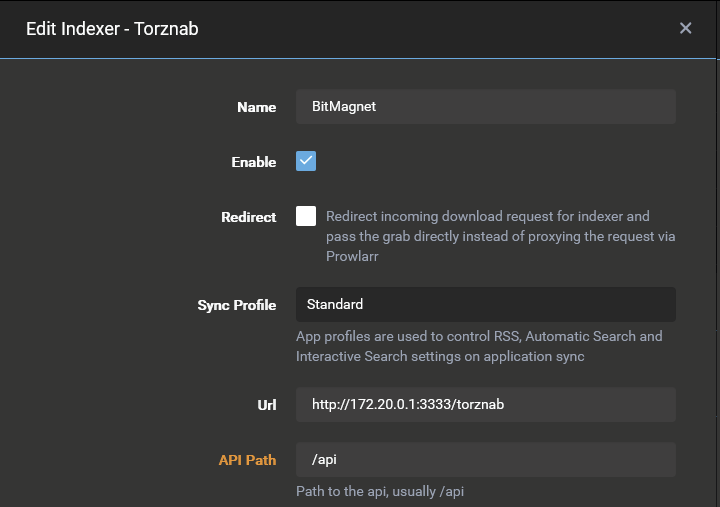
You can now add this as an indexer to Prowlarr or directly to your individual Radarr, Sonarr containers. You will add as a custom Torznab Indexer using the synobridge gateway IP.
http://172.20.0.1:3333/torznab
Optional Extra Configs
You will can create a config.yml file in /docker/bitmagnet/config which allows you to make some further customisation to the UI and settings. For example if you want to block specific items appearing in the catalogue such as adult torrents you can add banned words. See the links for the Documentation and GitHub at the top of the guide.
Database Export
Thanks to Erik in the comments for this export compose – it will backup the database to an SQL file for you in case you ever need to import the database again.
services:
  bitmagnet_backup:
    image: postgres:16
    container_name: bitmagnet_backup
    network_mode: bridge
    networks:
      - synobridge
    volumes:
      - /volume1/data/backup:/backup
    environment:
      - PGPASSWORD=YourPostgresPassword
    command: |
      sh -c "pg_dump -h 172.20.0.121 -U postgres \
             --column-inserts \
             --data-only \
             --on-conflict-do-nothing \
             --rows-per-insert=1000 \
             --table=metadata_sources \
             --table=content \
             --table=content_attributes \
             --table=content_collections \
             --table=content_collections_content \
             --table=torrent_sources \
             --table=torrents \
             --table=torrent_files \
             --table=torrent_hints \
             --table=torrent_contents \
             --table=torrent_tags \
             --table=torrents_torrent_sources \
             --table=key_values \
             bitmagnet > /backup/backup.sql"

networks:
  synobridge:
external: trueLooking for some help, join our Discord community
If you are struggling with any steps in the guides or looking to branch out into other containers join our Discord community!
Buy me a beverage!
If you have found my site useful please consider pinging me a tip as it helps cover the cost of running things or just lets me stay hydrated.

