Last updated on 23 September 2025
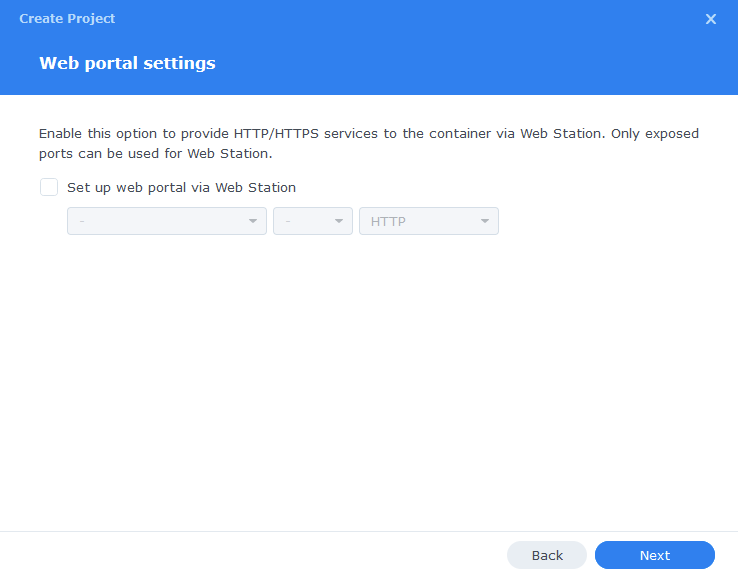
Web portal settings
You do not need to enable anything on the ‘Web portal settings’ screen click ‘Next’ again.
On the final screen click ‘Done’ which will begin the download of the container images and once downloaded they will be launched!

The image will now be downloaded and extracted. You should see ‘Code 0’ when it has finished.
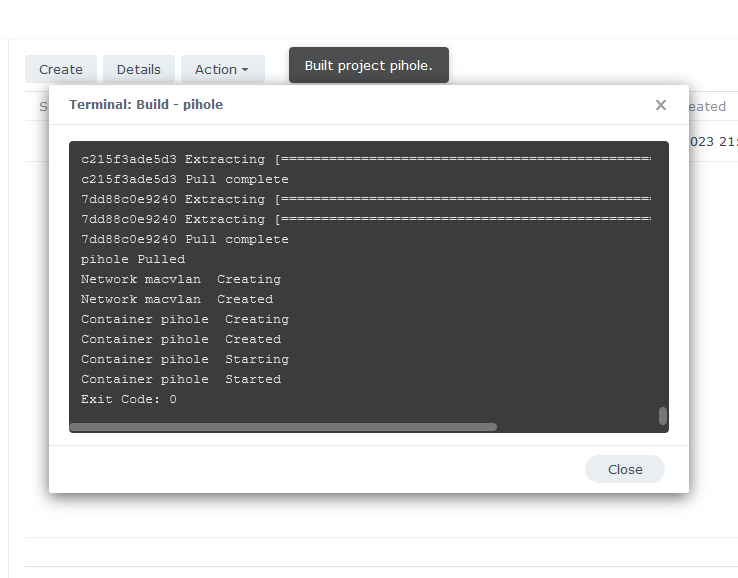
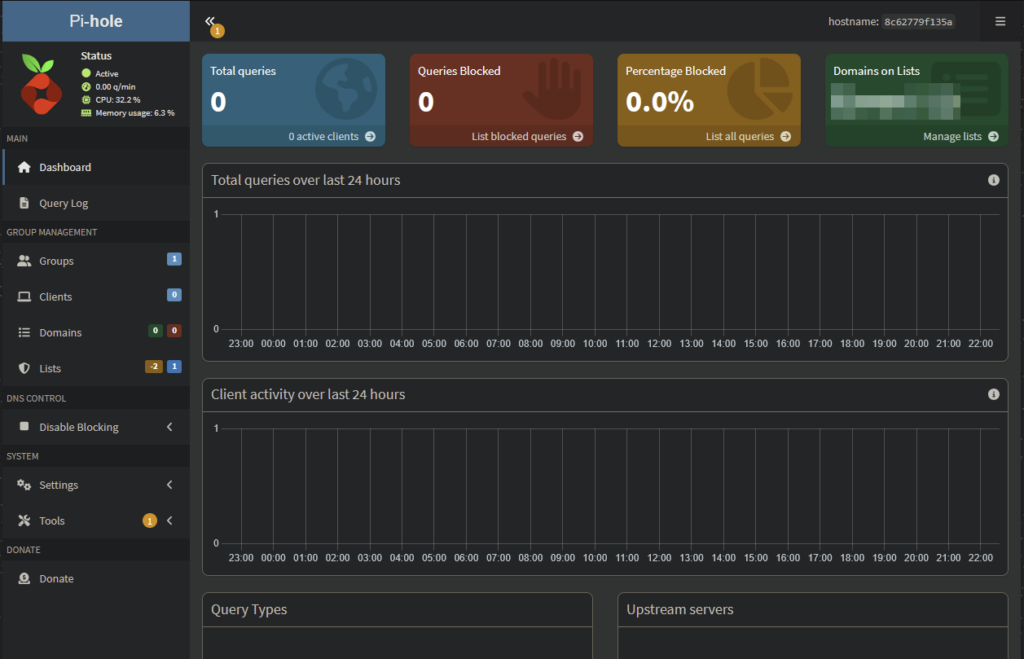
You will now see your Pi-hole running and should have a green status on the left-hand side.
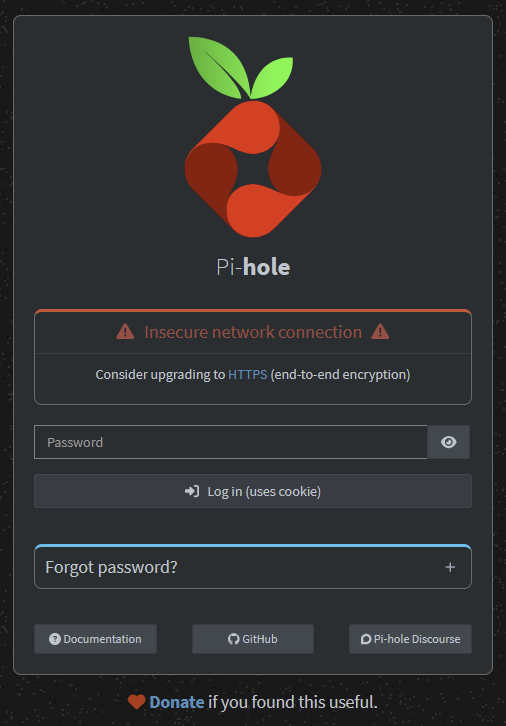
Accessing the Web UI
The web interface will now be available via the following methods. If you use the https address you will need to accept the self-signed certificate warning in your browser.
| Network Mode | Access method |
|---|---|
| Host | http://nasIP:8000/admin |
| Bridge | http://nasIP:8000/admin https://nasIP:8443/admin |
| Macvlan | http://macvlanIP/admin https://macvlanIP/admin |
You can access the UI with the password you specified in the compose.
Update your Router DNS
Now you need to add the appropriate IP address to your router or DHCP Server settings the IP you use will depend on which network method you used to set up Pi-hole
Note: some routers have both WAN and LAN DNS settings, you will just be changing your local LAN setting.
Bridge or Host = Use your NAS IP address.
Macvlan = The address you chose for the container on the line ‘ipv4_address:’
It can take some time for all of your devices to move over the new DNS settings so be patient, and you will gradually start to see your stats begin to start.
Add some block lists
Don’t go crazy with block lists as adding 10 million blocked URLs is largely a waste of time stick to some good quality core lists from these sites
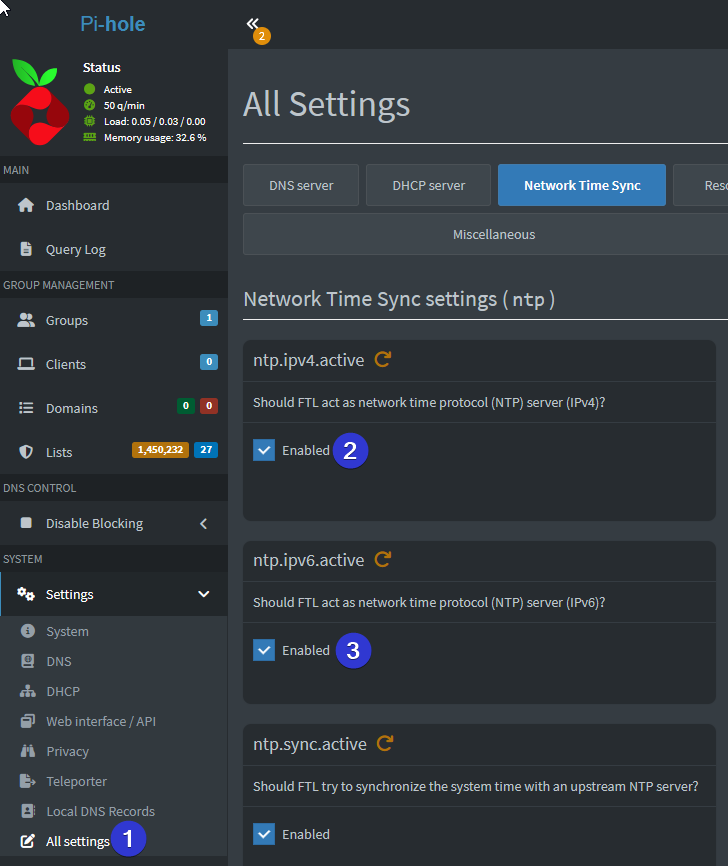
Disable NTP Server
It’s generally unlikely you need this feature and you will receive errors in the log if you don’t expose the port etc. So if you see the errors you can disable this in the All Settings > Network Time Sync option
That’s it you are now blocking ads network wide!
Looking for some help, join our Discord community
If you are struggling with any steps in the guides or looking to branch out into other containers join our Discord community!
Buy me a beverage!
If you have found my site useful please consider pinging me a tip as it helps cover the cost of running things or just lets me stay hydrated.

