Last updated on 5 April 2025
Important or Recent Updates
| Historic Updates | Date |
|---|---|
| Updated guide for Container Manager and using Macvlan | 14/05/2023 |
| Added a new section to ensure DSM continues having network access. | 02/06/2023 |
| Guide updated so you can choose between Macvlan or Bridge mode | 12/08/2023 |
| Added additional security option to the compose to restrict the container from gaining new privileges | 25/10/2023 |
| Fixed issues I introduced with the recent changes in my mission to make things more secure. It was so secure I broke it! Added the appropriate permissions/capabilities at start up for the container. | 29/10/2023 |
| Removed the requirement for the synobridge as this container can just use its own bridge, and added the Host network mode, so all three are a choice. | 28/01/2024 |
| Removed the WEB_UID and WEB_GID from the config to avoid issues with ID’s conflicting inside the container. I will update again once I have some time to work around this. | 03/04/2024 |
| Some minor amends to sync up the information across this guide and the AdGuard one | 01/08/2024 |
| Removed two unneeded capabilities from the bridge version of the docker compose as they are not required. | 16/11/2024 |
| Guide updated for the all new v6 of Pi-hole (Note if you upgrade from v5 you effectively have to change all the compose settings in line with the new guide so might be worth just scrapping and starting fresh unless you really need stats etc Please note as recommended by the Pi-hole dev team I have added a Watchtower exclusion label to the compose so you can do manual updates. Automated ones could result in you losing internet access if a bad update takes place. Edited again today as I left in a variable that is not required in Host and Macvlan mode “DNSMASQ_LISTENING” sorry. | 20/02/2025 |
| Had a rethink of the Guide, and it has been rewritten to include an overdue request of including Unbound! | 24/02/2025 |
| Fixed my idiocracy adjusted the MACVLAN section to actually put Unbound on the same network.. Facepalm! | 16/03/2025 |
| I need to do some more testing of Unbound as part of the guide and I don’t currently have a lot of time so to avoid issues I have removed it from the guide for now. | 18/03/2025 |
What is Pi-hole?
If you are looking to get advertising and tracking blocked across all the devices on your network a Pi-hole will have you covered. It’s a locally hosted Domain Name Server and uses block lists to stop adverts.
This guide will get you set up with Pi-hole and cover some basic initial settings, I recommend checking out the documentation for all the various features available.
Host vs Bridge vs Macvlan Network Modes
You need to decide which mode of Networking you want to use, I have outlined the key points below in general order of preference.
Host:
Host mode uses your NAS underlying network to run the containers network services, so it will be reliant on the NAS not using any of the required ports for the container. However, this makes it easy to set up, but you need to make sure no other service is using the required ports. All your clients will appear correctly as independent devices and stats.
Bridge Mode:
The main benefit of Bridge Mode will be the ease of setup however you will find that all clients on your network will appear under the same IP as the Bridge 172.20.0.1. This won’t impact ad blocking, but it will mean you can’t apply device specific rules etc.
Macvlan:
This gives you the benefit of Pi-hole having its own IP address on your network, all clients appear with their real IP addresses allowing you to assign specific rules and give you some nicer stats. However, one downside is that your NAS will not be able to use Pi-hole for DNS, due to the additional security features of Macvlan and its communication with its host. This is generally not an issue unless you wanted to use your Ad blocking with Tailscale.
Please note if you have a bonded network connection (two LAN ports bonded into one) then try using ‘bond0’ in the network set up element of this guide.
Let’s Begin
In order for you to successfully use this guide you will need to check that your Router allows you to change your network DNS servers, this is usually found in the DHCP settings.
Please follow the initial guide below to get a restricted Docker user set up, then come back here.
Folder Setup
Let’s start by getting some folders set up for the container to use. Open up File Station create the following.
/docker/projects/pihole-compose
/docker/pihole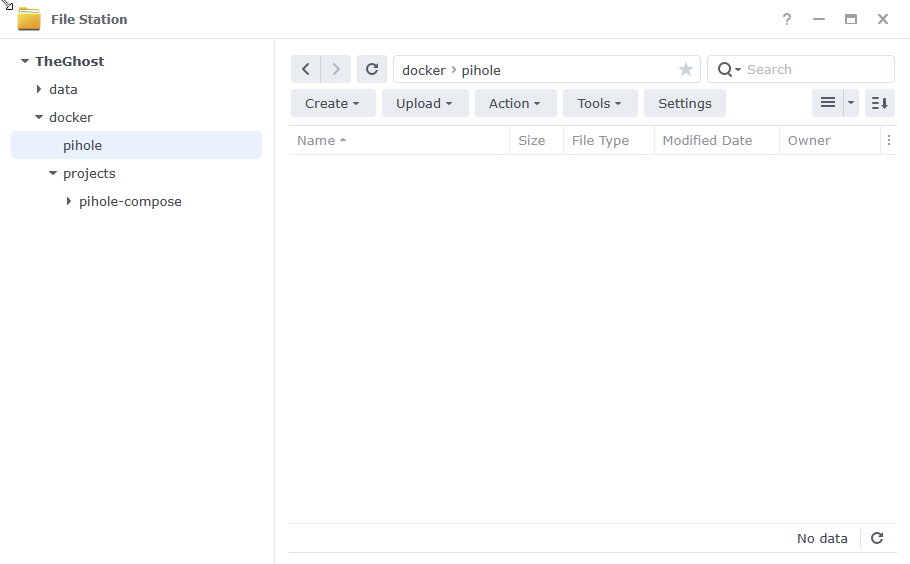
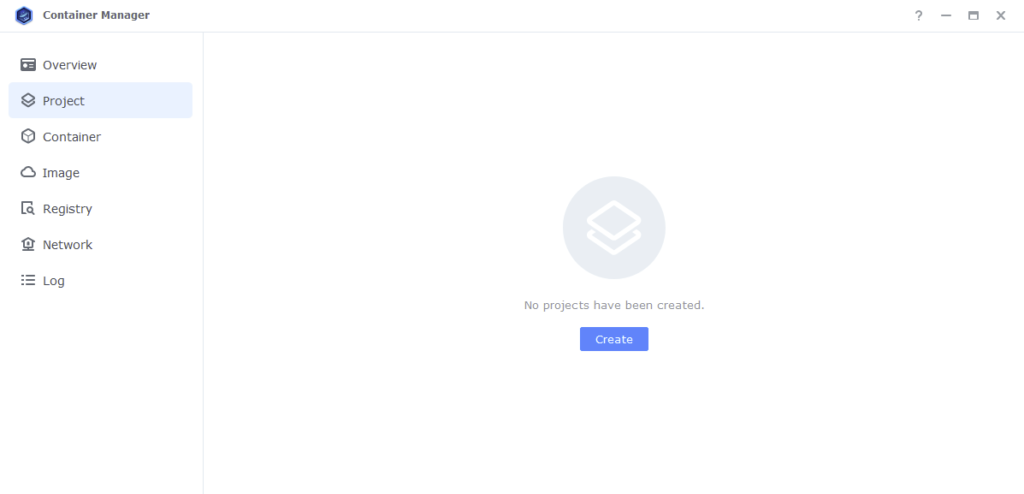
Container Manager
Next we are going to set up a ‘Project’ in Container Manager. Open up Container Manager and click on Project then on the right-hand side click ‘Create’.
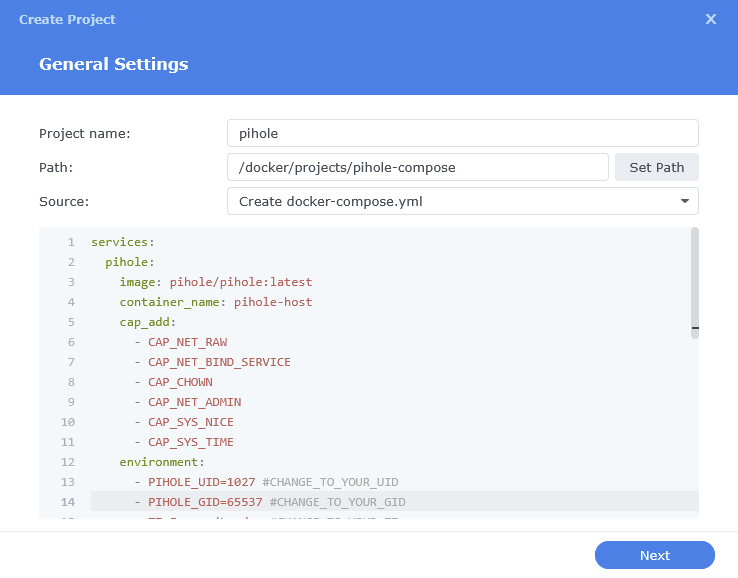
In the next screen we will set up our General Settings, enter the following:
| Section | Setting |
|---|---|
| Project Name: | pihole |
| Path: | /docker/projects/pihole-compose |
| Source: | Create docker-compose.yml |
The code section of the below will be blank until we move to the next step.
Next we are going to drop in our docker compose configuration. You now need to decide if you are going to go with Host, Bridge Mode or Macvlan. Jump to the appropriate page to follow the setup.
Host – Page 2
Bridge – Page 3
Macvlan – Page 4
Hi,
I have been using pi-hole for a while but decided to update my config based on your guide changes. I got it to work but I came across a few issues:
Both bridge and macvlan:
-The server kept trying to restart in a loop until I removed the ‘security_opt’ lines.
macvlan:
-I couldn’t use ‘network_mode’ and ‘networks’ at the same time due to them being mutually exclusive (according to Portainer). I removed ‘network_mode’ and it worked.
Also, is there any way to gain access via the DSM reverse proxy? I guess not but maybe you know of a way.
Thanks a lot,
Baldy
OK – Looks like I went over the top with the security line switched it around to give specific access rather than lock it down.
cap_add:
– CAP_NET_RAW
– CAP_NET_BIND_SERVICE
– CAP_CHOWN
Interesting around the network mode as it works for me in Container Manager – I will remove it for Portainer users to avoid issues in the future as it must be a bug or’feature’.
The Proxy element I will have to come back on as wanted to get this fixed before heading out for the day.
This helped clear the port 53 already being used error message. Thank you and Dr. F so much! What a great site!
PS
After failing to get Pihole working I tried Plex and that worked perfectly, so it’s not all bad!
Just reading your other comment now 🙂
Dear Dr F – I have hit a problem having followed your guide and installed Pihole in a container and started it:
The PiHole web interface comes up ok but doesn’t seem to be able to do much. Pihole shows the error as:
PHP error (2): fsockopen(): unable to connect to 127.0.0.1:4711 (Connection refused) in /var/www/html/admin/scripts/pi-hole/php/FTL.php:47
The Synology keeps chugging away and neer stops chugging. The container log alternates between:
Stopping pihole-FTL
and:
pihole-FTL: no process found.
The initial container startup log looks as if it is doing what it should, starting things, updating gravity etc, and includes:
[i] pihole-FTL (no-daemon) will be started as pihole
s-rc: info: Service pihole-FTL successfully started
Everthing else seems to start OK until:
/bin/bash: Line1: 301 Hangup /usr/bin/pihole-FTL no-daemon > /dev/null 2>&1
Stopping pihole-FTL
Pihole-FTL: no process found
Pihole and FTL version are then confirmed to be the latest, then the log keeps repeating
Stopping pihole-FTL
Pihole-FTL: no process found
Stopping pihole-FTL
Pihole-FTL: no process found
Stopping pihole-FTL
Pihole-FTL: no process found
until I stop the container manually.
I set up the folders, Dockers group and Docker user, and SynologyDocker bridge as per your guides. The YAML is:
services:
pihole:
image: pihole/pihole:latest
container_name: pihole
environment:
– PIHOLE_UID=1027
– PIHOLE_GID=65536
– WEB_UID=1027
– WEB_GID=65536
– TZ=GB
– WEBPASSWORD=X?X?X?X?X?
– DNSMASQ_LISTENING=local
– WEB_PORT=8000
– DNSMASQ_USER=pihole
– FTLCONF_LOCAL_IPV4=192.168.0.8
volumes:
– /volume1/docker/pihole/dnsmasq.d:/etc/dnsmasq.d
– /volume1/docker/pihole/pihole:/etc/pihole
ports:
– 53:53/udp
– 8000:8000
network_mode: SynologyDocker
security_opt:
– no-new-privileges:true
restart: unless-stopped
Any idea what I have done wrong?
Thanks for nay help……
Seen a couple of comments with the same issue over a couple of days, makes me wonder if it’s an issue with the PiHole docker release from 5 days ago
Can you edit this line and let me know if it makes any difference to start up
image: pihole/pihole:2023.05.2
Having the same issue, changing the above line didn’t do anything 🙁
Try removing the security lines mentioned by baldy. I am going to see if I can reproduce the issues
Try removing the ‘security_opt’ lines. That resolved the issue for me.
Hey
I have just updated the compose details to fix my clear issues I introduced in the recent updates. You should find it works perfectly now.
Thank you Dr F and Baldy – PiHole starts in both Bridge and Macvlan modes when I use your new YAML without the security lines.
But…..
Some of the tabs on the Settings page don’t work – API, Privacy, and Teleporter. This means that
1) I can’t import my settings from the other PiHole I have running on a RPi (which is running Pi-hole v5.17, FTL v5.23, Web Interface v5.20.1 – the Synology Docker versions are Pi-hole v5.17.2 FTL v5.23 Web Interface v5.20.2).
2) On the Settings/DNS tab, although I can select “Use Conditional Forwarding” I can’t enter the required network details.
Is this deliberate/inevitable or an error?
Something else must be going on here as both my personal versions on my 1821+ and NUC work with the same compose however when I spin up on my VirtualDSM instance I also can’t click into those tabs. I will keep digging as something has changed other than my breaking amendments when trying to improve security which are now not an issue.
Can you upload your log file for either of the install types please
paste.drfrankenstein.co.uk and then post the URL as a reply
You won’t believe this… Clear your browser cache.
I opened on a fresh Chrome install and the tabs work fine but on Firefox they don’t until I cleared my cache
Hi
Did clear your cache then reinstall PiHole? Just clearing my Chrome cache without reinstalling didn’t fix it.
Log file of container uploaded –
https://paste.drfrankenstein.co.uk/?4f00b16fdb8ff105#ESkiV7oY1dZaCSKTJFpPypZCwBRgtM9dya2r7hKAye6w
Thanks.
Hi Dr F
Further to my last comments and log upload (as yet unmoderated so I can’t reply to them):
I wiped all Pihole projects and containers, cleared Chrome’s cache, rebooted the Synology, made a new PiHole macvlan project, rebuilt and restarted the PiHole macvlan container, et voila – PiHole seems now to be working as it should, with all tabs and boxes showing and working. Even the CPU temperature is now showing!
Yay!
Just one last tiny thing (not important but……) –
PiHole shows the hostname as the Synology’s MAC address rather than the name I have given it. What am I missing?
Thanks for your help
TJ
OK cool glad it’s working. I set up 6 times yesterday with numerous changes and the cache clear immediately sorted mine.
When I get onto a bigger screen I will tweak the guide as editing in mobile is a mare. In the interim this should give the container a hostname just add to the top of the yaml as shown and Build the container.
services:
pihole:
image: pihole/pihole:latest
hostname: pihole
container_name: pihole
cap_add:
– CAP_NET_RAW
– CAP_NET_BIND_SERVICE
– CAP_CHOWN
Triffic.
I can now see which of my 3 PiHoles I’m looking at.
This new PiHole on a DS720+ wil replace one of the 2 RPis I have been using. (Why? Because it’s there and I can!)
I have learned a lot. Thanks
TJ
I am having trouble parsing this part of the guide:
“Line 15
FTLCONF_LOCAL_IPV4= – This will be the IP address of the container which will be setting a bit further down change this to match (Line 22)”
I went down to the Macvlan section and under Line 22 it says to choose an ip address. So I picked one of the ips I have set aside for stuff like this and built the project. Everything went fine buuuuuuut the site won’t resolve and in the pihole container log it says “pihole-FTL: no process found” over and over, so I stopped the project.
Hold fire I think I effed up here as I added new lines to the compose yesterday and didn’t adjust the wording / line numbers. Can you circle back just to make sure you are in line with the amended guide I just published.
I don’t see any changes on my end, even after a hard refresh. The instructions for Line 15 for the bridge setup is still unclear. Here are links to my YAML and the pihole log.
YAML: https://paste.drfrankenstein.co.uk/?8aec61d4531f0593#YNXCGTVETsCwgHi53vqQ8wG1W489vyP4vNHZC5njFGH
Log: https://paste.drfrankenstein.co.uk/?210e25b874e7b229#5pUzRSksSn9mQ3DYuDFifKw3Pfw8KbuV15d9W51r8UHS
Hey OK I should have asked which method you were using, and yes now re-reading that section my edits don’t actually make sense as you are using bridge mode. I will clear that up now.
Essentially you just need to enter the IP address of your NAS in line 15 when using Bridge Mode. Do that and build the container again and you should be working.
Dang, I put my NAS ip into line and still get the same error, over and over.
TJ Above (Below?) has had the exact same issue can you try swapping the image to the previous release
Edit this line and let me know if it makes any difference to start up
image: pihole/pihole:2023.05.2
Changed the line in the YAML and got this new error while building the project:
Error response from daemon: driver failed programming external connectivity on endpoint pihole (long string of numbers and letters but it won’t let me copy and paste): Bind for 0.0.0.0:53 failed: port is already allocated
OK was this before or after you set up AdGuard?
All of this was from before (except for the last bit of instruction you gave me). I’m going to stick with AdGuard going forward.
No worries – I will see if TJ comes back and going to spin up a fresh copy here to see if I can replicate the issues.
I’m getting an error when trying to enable this as a DHCP server,
“FTL failed to start due to process is missing required capability NET_ADMIN”
I’ve tried setting the DNSMASQ_USER to root, but it makes no difference. I’ve also tried changing DNSMASQ_LISTENING to single, with no effect.
Whereabouts in the config do I need to add the “–cap-add=NET_ADMIN”
Cheers
Hey, are you using the bridge or macvlan version? I am out at the moment if you have a look at the compose section of the Gluetun guide you will see where to position that part.
Keep in mind that if you are using the macvlan version the NAS won’t be able to get an ip from the server as they are separated.
I have an amendment incoming for the guide to bridge the macvlan to the host not sure if this will help DHCP wise though.
The user should ideally stay as pihole and will work correctly if the UID and GID have appropriate permissions to the config folder.