Last updated on 23 September 2025
Important or Recent Updates
| Historic Updates | Date |
|---|---|
| Updated guide for Container Manager and using Macvlan | 14/05/2023 |
| Added a new section to ensure DSM continues having network access. | 02/06/2023 |
| Guide updated so you can choose between Macvlan or Bridge mode | 12/08/2023 |
| Added additional security option to the compose to restrict the container from gaining new privileges | 25/10/2023 |
| Fixed issues I introduced with the recent changes in my mission to make things more secure. It was so secure I broke it! Added the appropriate permissions/capabilities at start up for the container. | 29/10/2023 |
| Removed the requirement for the synobridge as this container can just use its own bridge, and added the Host network mode, so all three are a choice. | 28/01/2024 |
| Removed the WEB_UID and WEB_GID from the config to avoid issues with ID’s conflicting inside the container. I will update again once I have some time to work around this. | 03/04/2024 |
| Some minor amends to sync up the information across this guide and the AdGuard one | 01/08/2024 |
| Removed two unneeded capabilities from the bridge version of the docker compose as they are not required. | 16/11/2024 |
| Guide updated for the all new v6 of Pi-hole (Note if you upgrade from v5 you effectively have to change all the compose settings in line with the new guide so might be worth just scrapping and starting fresh unless you really need stats etc Please note as recommended by the Pi-hole dev team I have added a Watchtower exclusion label to the compose so you can do manual updates. Automated ones could result in you losing internet access if a bad update takes place. Edited again today as I left in a variable that is not required in Host and Macvlan mode “DNSMASQ_LISTENING” sorry. | 20/02/2025 |
| Had a rethink of the Guide, and it has been rewritten to include an overdue request of including Unbound! | 24/02/2025 |
| Fixed my idiocracy adjusted the MACVLAN section to actually put Unbound on the same network.. Facepalm! | 16/03/2025 |
| I need to do some more testing of Unbound as part of the guide and I don’t currently have a lot of time so to avoid issues I have removed it from the guide for now. | 18/03/2025 |
| Added the NTP server port and environment variable so you can choose if you need it or not | 05/09/2025 |
What is Pi-hole?
If you are looking to get advertising and tracking blocked across all the devices on your network a Pi-hole will have you covered. It’s a locally hosted Domain Name Server and uses block lists to stop adverts.
This guide will get you set up with Pi-hole and cover some basic initial settings, I recommend checking out the documentation for all the various features available.
Host vs Bridge vs Macvlan Network Modes
You need to decide which mode of Networking you want to use, I have outlined the key points below in general order of preference.
Host:
Host mode uses your NAS underlying network to run the containers network services, so it will be reliant on the NAS not using any of the required ports for the container. However, this makes it easy to set up, but you need to make sure no other service is using the required ports. All your clients will appear correctly as independent devices and stats.
Bridge Mode:
The main benefit of Bridge Mode will be the ease of setup however you will find that all clients on your network will appear under the same IP as the Bridge 172.20.0.1. This won’t impact ad blocking, but it will mean you can’t apply device specific rules etc.
Macvlan:
This gives you the benefit of Pi-hole having its own IP address on your network, all clients appear with their real IP addresses allowing you to assign specific rules and give you some nicer stats. However, one downside is that your NAS will not be able to use Pi-hole for DNS, due to the additional security features of Macvlan and its communication with its host. This is generally not an issue unless you wanted to use your Ad blocking with Tailscale.
Please note if you have a bonded network connection (two LAN ports bonded into one) then try using ‘bond0’ in the network set up element of this guide.
Let’s Begin
In order for you to successfully use this guide you will need to check that your Router allows you to change your network DNS servers, this is usually found in the DHCP settings.
Please follow the initial guide below to get a restricted Docker user set up, then come back here.
Folder Setup
Let’s start by getting some folders set up for the container to use. Open up File Station create the following.
/docker/projects/pihole-compose
/docker/pihole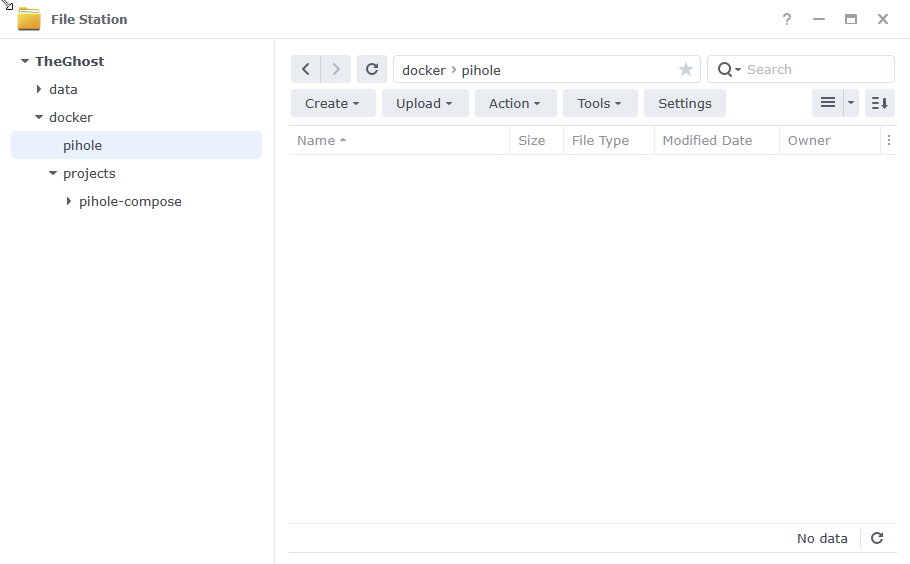
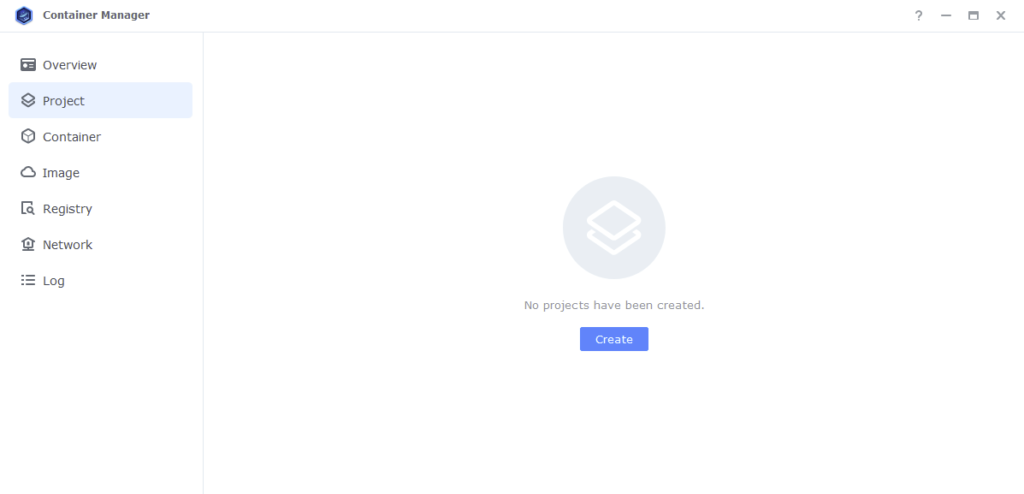
Container Manager
Next we are going to set up a ‘Project’ in Container Manager. Open up Container Manager and click on Project then on the right-hand side click ‘Create’.
In the next screen we will set up our General Settings, enter the following:
| Section | Setting |
|---|---|
| Project Name: | pihole |
| Path: | /docker/projects/pihole-compose |
| Source: | Create docker-compose.yml |
The code section of the below will be blank until we move to the next step.
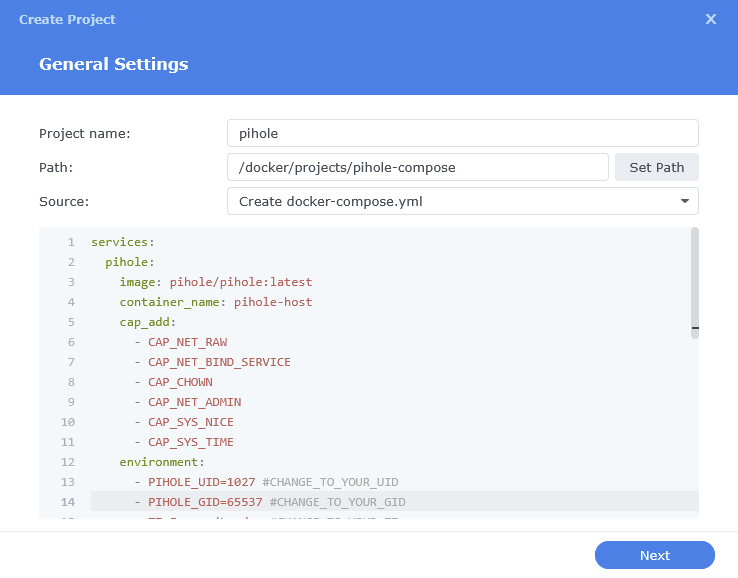
Next we are going to drop in our docker compose configuration. You now need to decide if you are going to go with Host, Bridge Mode or Macvlan. Jump to the appropriate page to follow the setup.
Host – Page 2
Bridge – Page 3
Macvlan – Page 4