Last updated on 19 March 2025
Important or Recent Updates
| Historic Updates | Date |
|---|---|
| New DSM7.2 Container Manager Update | 01/05/2023 |
| Added additional security option to the compose to restrict the container from gaining new privileges as well as umask variable | 25/10/2023 |
| Somehow at some point a paragraph about forwarding port 32400 went missing, I had never added it! But it’s in now!! | 13/06/2024 |
| Changed ‘version’ variable to ‘docker’ this will stop in container server updates! | 01/07/2024 |
In this guide I am going to take you through the setup of Plex in Docker using Container Manager.
Some upcoming changes in Plex’s prices at the end of April 2025 – If you have not grabbed a Lifetime Plex Pass now is the time to do it. Great video from Alex below!
Plex Pass
You will only benefit from hardware transcoding if you have an active Plex Pass either monthly or lifetime. If you don’t have one you can either follow this guide or jump over to the non hardware transcoding version.
Does my Synology support Hardware Transcoding?
Before we do anything else, you need to make sure your model of Synology has hardware transcoding capabilities. You need to do a quick lookup via the linked Google Sheet below, this is updated by Plex and makes it super easy to look up your model of NAS.
If you find that hardware transcoding is not available on your model you can jump back over to the standard guide on the menu.
Let’s Begin
As usual, it’s important you complete the two proceeding guides which will get your folder structure and docker, user setup.
Folder Setup
Let’s start by getting some folders set up for the container to use. Open up File Station create the following.
/docker/projects/plex-compose
/docker/plex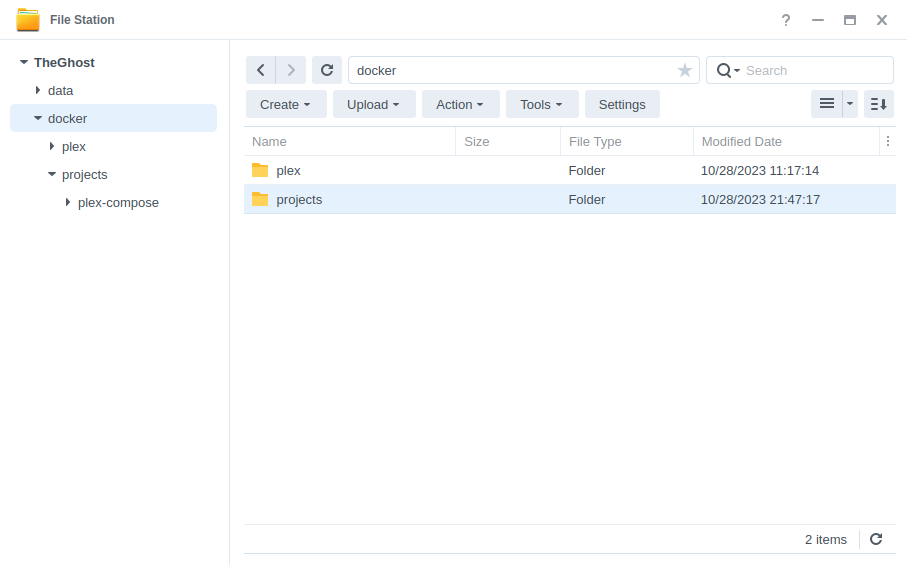
Container Manager
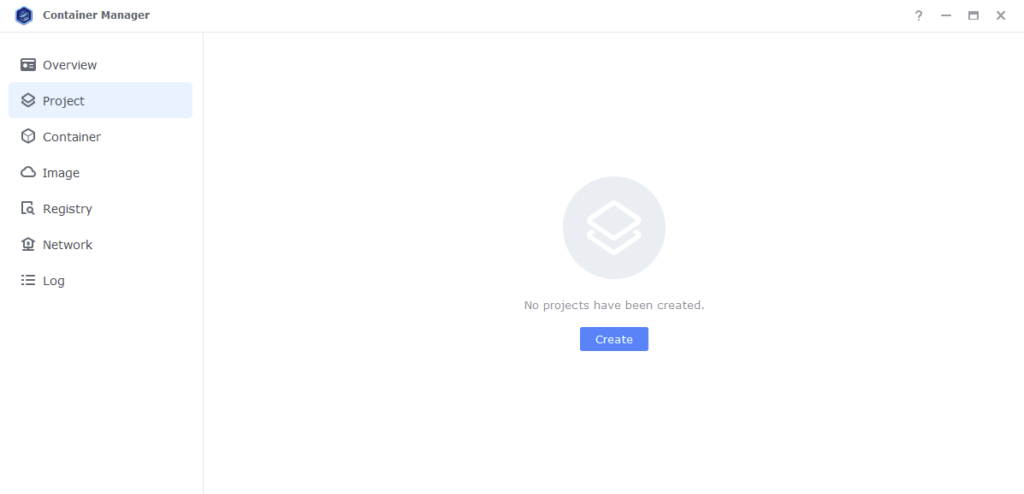
Next we are going to set up a ‘Project’ in Container Manager. Open up Container Manager and click on Project then on the right-hand side click ‘Create’.
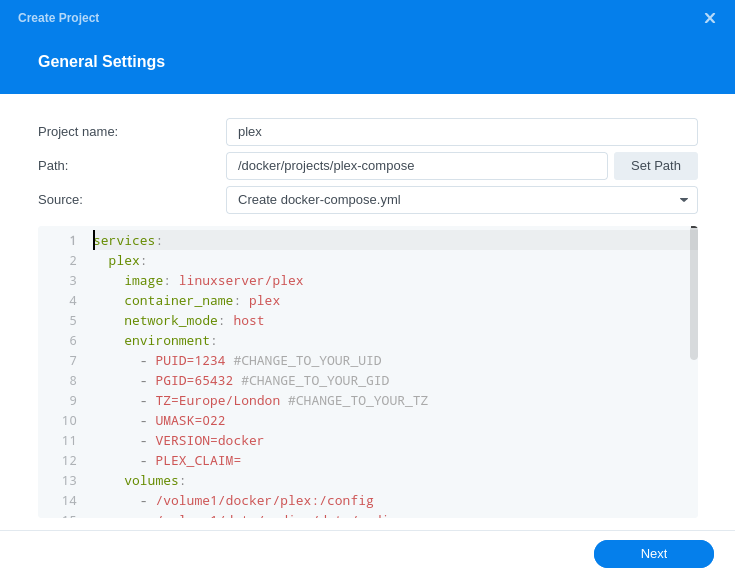
In the next screen we will set up our General Settings, enter the following:
| Section | Setting |
|---|---|
| Project Name: | plex |
| Path: | /docker/projects/plex-compose |
| Source: | Create docker-compose.yml |
Next we are going to drop in our docker compose configuration copy all the code in the box below and paste it into line ‘1’ just like the screenshot.
services:
  plex:
    image: linuxserver/plex:latest
    container_name: plex
    network_mode: host
    environment:
      - PUID=1234 #CHANGE_TO_YOUR_UID
      - PGID=65432 #CHANGE_TO_YOUR_GID
      - TZ=Europe/London #CHANGE_TO_YOUR_TZ
      - UMASK=022
      - VERSION=docker
      - PLEX_CLAIM= #Your Plex Claim Code
    volumes:
      - /volume1/docker/plex:/config
      - /volume1/data/media:/data/media
    devices:
      - /dev/dri:/dev/dri
    security_opt:
      - no-new-privileges:true
    restart: always
A note on Network Mode
You will notice that for Plex we don’t put it on the normal bridge network, this is because DSM reserves the DLNA ports Plex requires in order to use DLNA. So we run in Host mode, so it can share the ports.
Environment Variables
We need to make some changes in order for the container to have the correct permissions to save its configuration files and to have access to your media.
| Variable | Value |
|---|---|
| PUID | (required) The UID you obtained in the user setup guide |
| PGID | (required) The GID you obtained in the user setup guide |
| TZ | (required) Your timezone wikipedia.org/wiki/List_of_tz_database_time_zones |
| PLEX_CLAIM | Please note the PLEX_CLAIM variable is optional and not always required. You can remove this line if you don’t need it or come back and add it if you are unable to sign in to your server on start up. To get the code go to https://plex.tv/claim and sign in, then put the code you receive after the ‘PLEX_CLAIM=’. You have 4 mins to finish the guide after doing this, so best to grab it just before running the project. |
Volumes
I have pre-filled this section to pass the correct paths, the only thing that you may need to change is the /volume1/ if your file paths are on a different volume.
Click ‘Next’
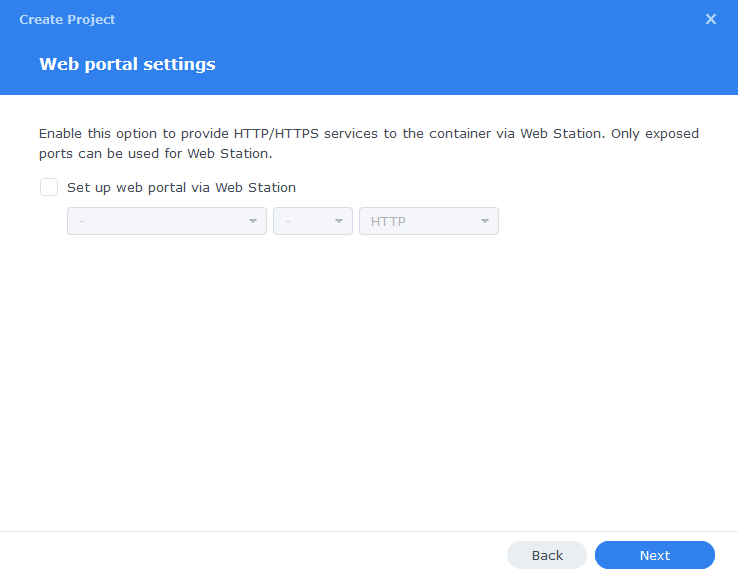
You do not need to enable anything on the ‘Web portal settings’ screen click ‘Next’ again.
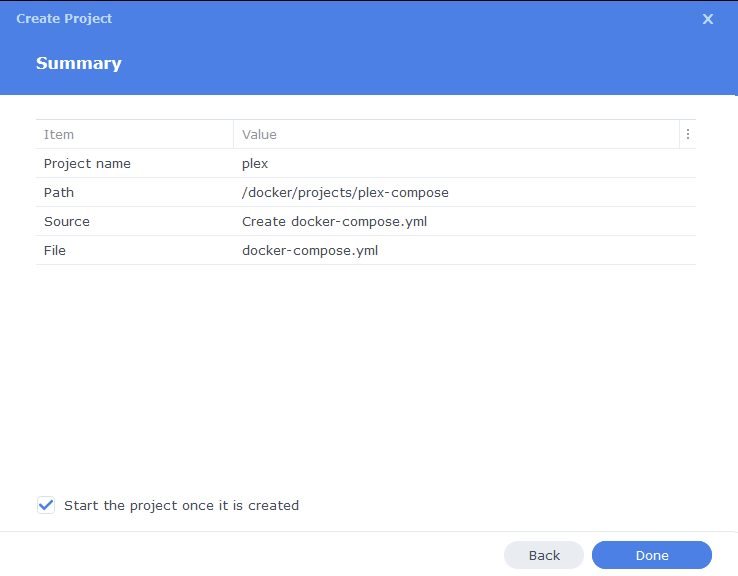
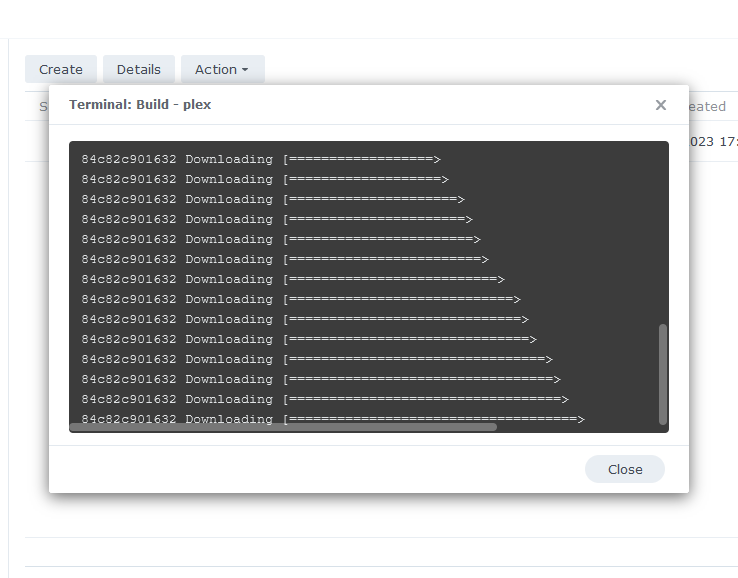
On the final screen click ‘Done’ which will begin the download of the container images and once downloaded they will be launched!
The image will now be downloaded and extracted. You should see ‘Code 0’ when it has finished.
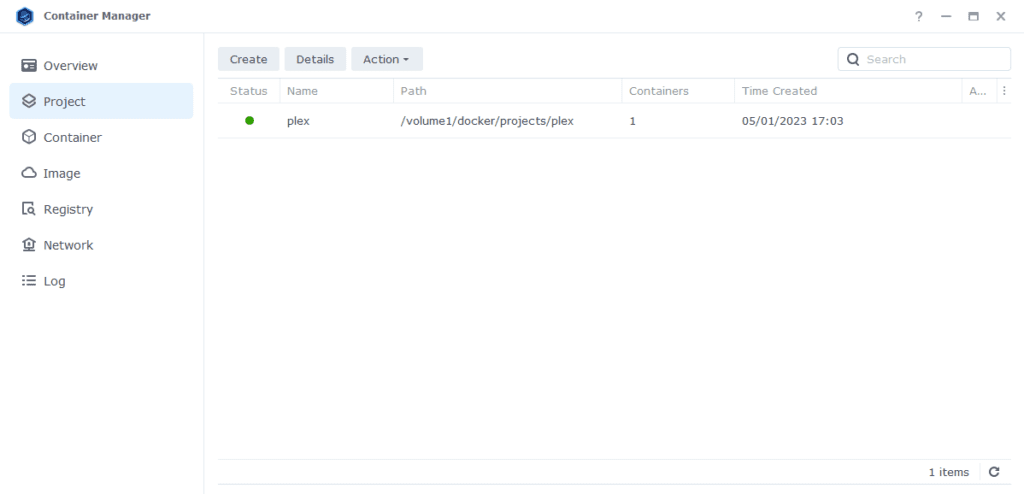
You will now see your Plex running and should have a green status on the left-hand side.
Firewall Exceptions
(Skip if you don’t have the Firewall configured)
If you have the Synology Firewall enabled please see this additional guide for further info on exceptions and correct set up.
Port Forwarding
In order to use Plex remotely and stream your local media you need to forward port 32400 from your Router to the NAS IP on the same port. This varies for everyone’s router so check the manual on how to do this.
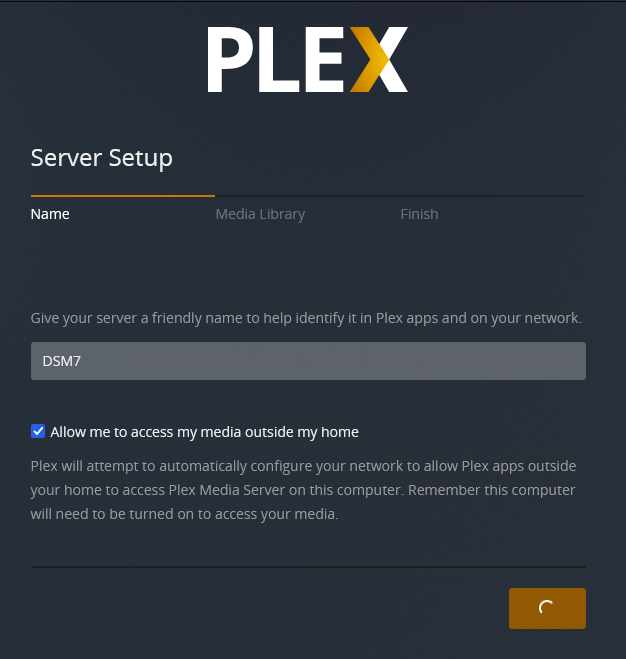
Plex Initial Setup
After a few minutes you should be able to access the server and go through the Plex setup by going to the IP of your NAS in your browser followed by port 32400/web/
e.g. 192.168.0.45:32400/web/
You will be asked to sign in or sign up for an account if you don’t have one already.
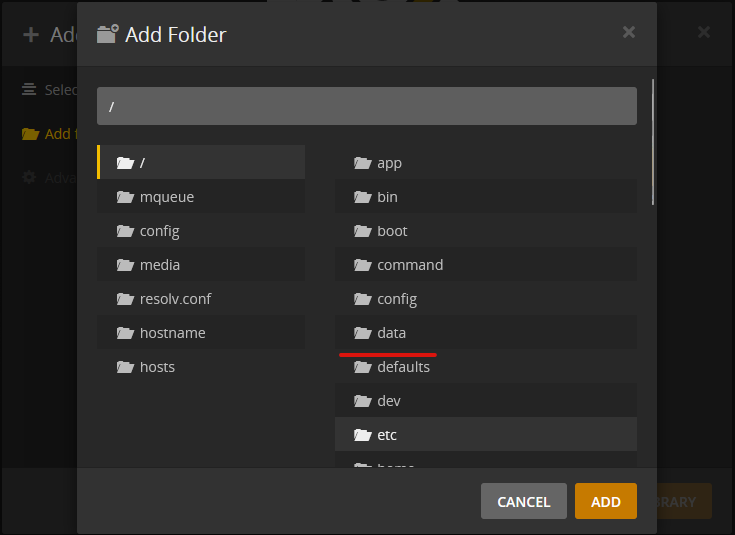
You should now be able to add your media which will be in the /data/media folder within Plex
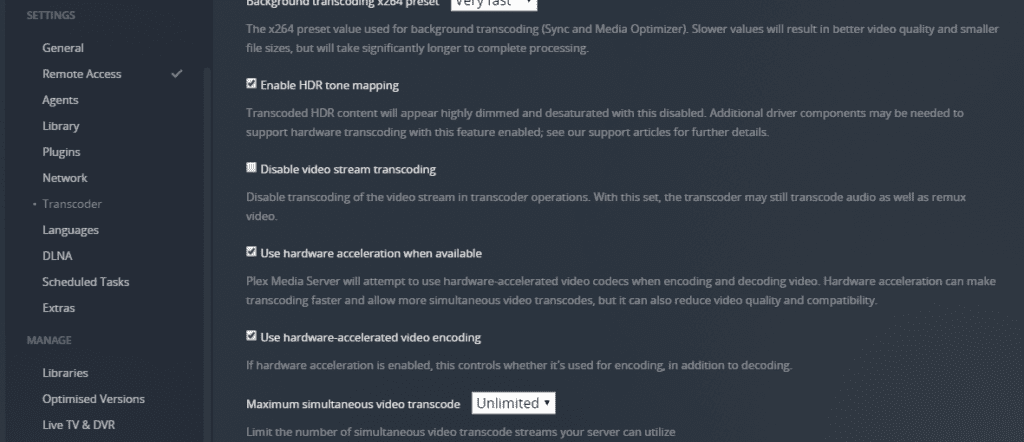
Once you have got to the main Plex interface make sure you go into the settings and turn on
- Enable HDR tone mapping
- Use hardware acceleration when available
- Use hardware-accelerated video encoding
That’s it you are all setup. When a new server update is available you will just need to restart the container, and it will automatically download the latest update.
Looking for some help, join our Discord community
If you are struggling with any steps in the guides or looking to branch out into other containers join our Discord community!

Buy me a beverage!
If you have found my site useful please consider pinging me a tip as it helps cover the cost of running things or just lets me stay hydrated. Plus 10% goes to the devs of the apps I do guides for every year.


Hi, this all works great for me! However I’m a bit confused by the synobridge host networking. If I wanted one of my apps on the synobridge network (Notifiarr) to talk to Plex, what IP would I give it?
Hey the bridge is purely for internal communication between containers so if Plex is on Host Networking use the IP of your NAS 🙂
Thanks! I guess I was overthinking it. Turns out Notifiarr can see Plex at 172.17.0.1 🙂
Hi.
Everything seems to work but for some files I get
Playback Error
Conversion failed. A required codec could not be found or failed to install.
How can I fix that? Cheers!
Hey
I would have a look at these as possible fixes as not had this crop up before at all here, what type of files are they?
https://www.plexopedia.com/plex-media-server/general/fix-required-codec-not-found/
Hey! This has worked great for me for a while now, however today I manually restated my NAS and when everything kicked back on, my Plex server migrated to a brand new server. So I had to reassign library access and plex had to rescan all my media for intros/credits and I lost all my watch history. Any advice on how to prevent it from creating a new plex server when I restart my device? It’s happened twice now.
This shouldn’t be happening, all your settings should be stored in the /docker/plex folder are they in there? It sounds like your mounts are not working if everything is lost on a restart / update.
I do have all my data stored in the /docker/plex folder, and I figured out what was going on. I had the plex media server app for Synology installed as well. It was creating a second library for that app, when I should just be using the plex container app. The problem was the container is showing green in container manager, but when I go the logs it’s giving me a “Plex Media Server Crashed” report. So the only server that was working is the native app, which I have since deleted. Would you happen to have a discord or another way for me to send the container manager log and see if you can help me figure out why it’s crashing?
Yeah Discord link is on the left menu and also on the Help ME! Page also on the left menu
Hello, I was able to get the plex container running. Had a question about the firewall section of this guide. My Plex container doesn’t show up in the list of apps to select like the other “arr” apps and gluetun did. Did I do something wrong? I was able to go through initial setup of plex and everything, yet plex is saying my server is unavailable.
Hey, if it’s not showing you can manually create an exception for port 32400 as a starter to get the ui. I would also check the Plex container logs to make sure it has started up successfully
Hi Dr,
I used your previous guide and it all works fine. Is there a way to migrate to this newest setup/guide without losing all my plex settings?
Hey, yes if you used the compose version it’s nice and easy just setup in Container Manager as per the guide and point at the same files. This guide marries up with the same folders. Usual caveats to make sure you have backups but it should be seamless.