
Important or Recent Updates
| Historic Updates | Date |
|---|---|
| First version of the setup | 01/08/2021 |
| Added a note regarding the /data share Cleaned up the guide with LanguageTool General formatting updates | 14/03/2022 |
| Swapped out Putty for Terminal (Powershell) | 01/04/2023 |
| Further improvement to user and now group creation (thanks kalmiya) | 23/09/2023 |
It is good practice to set up a unique user and group with limited share and application access for your containers. We won’t ever be using this user to log into DSM it is purely for Docker.
Creating a Group
First up we will create a specific docker group that our docker user will belong, this allows us to segregate the permissions from the normal ‘users’ group from Docker. This is useful as you may have other users on your NAS that you don’t want to have access to certain folders by default.
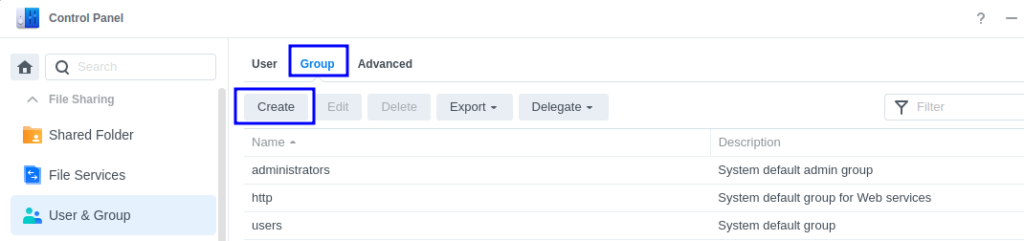
Navigate into the DSM control panel and open up ‘User & Group’ then click on Group and Create
In the screen that appears we will name the group ‘dockergroup’ (imaginative right) and you can give it a description if you wish
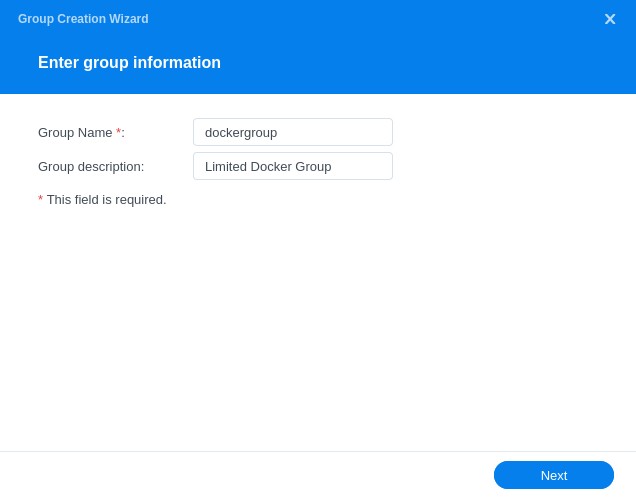
Click Next, we won’t be adding any users to the group yet (that’s the next section)

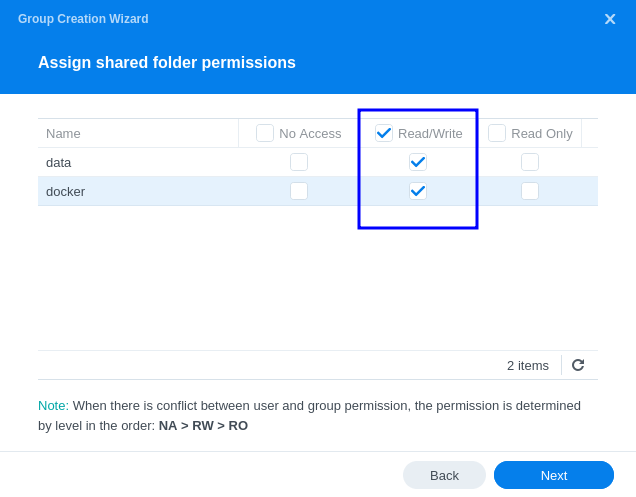
On the next screen we will grant the Group Read/Write permissions to the ‘data’ and ‘docker’ shares we created in the previous guide. Click Next. (Please note you may not have a ‘data’ share if you are following one of the guides that doesn’t require it!)
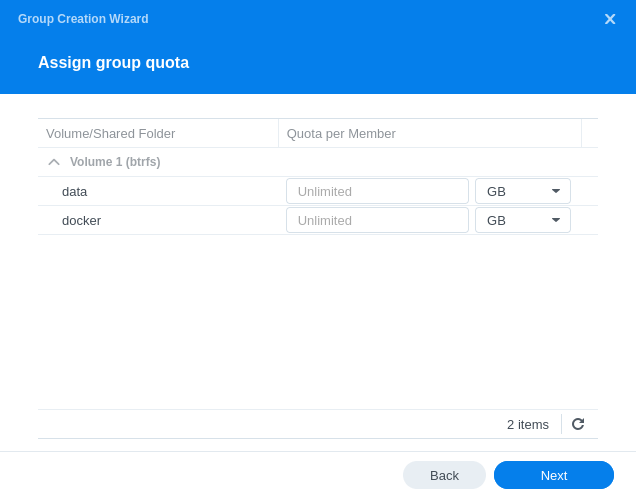
On the next screen you do not need to amend the groups Quotas so click Next
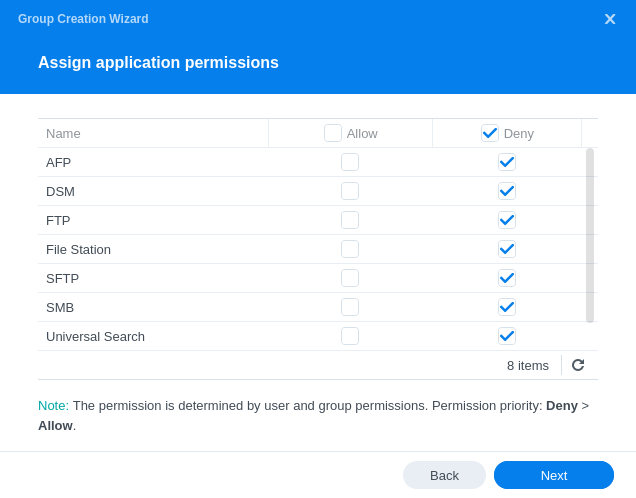
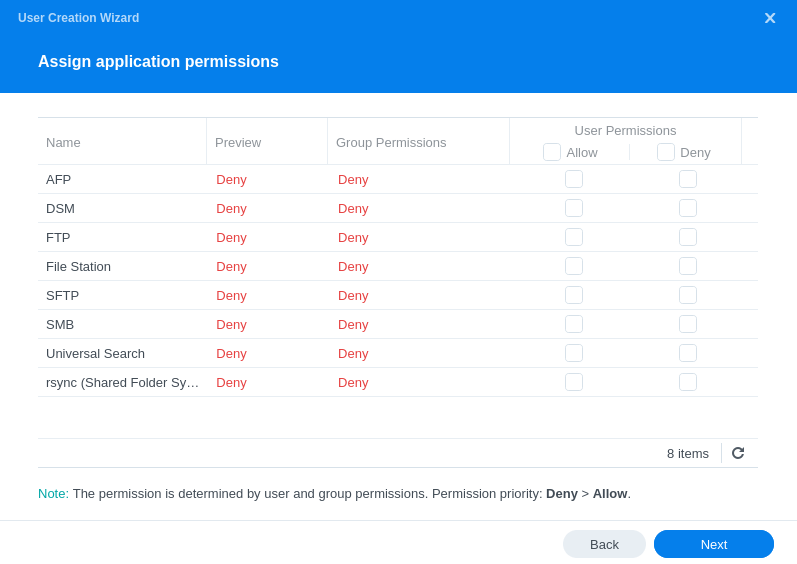
We will now deny all access to inbuilt apps as this group and any users within it do not need access.
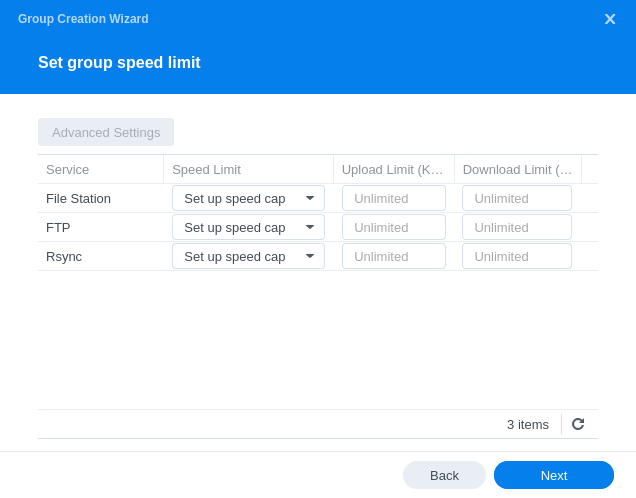
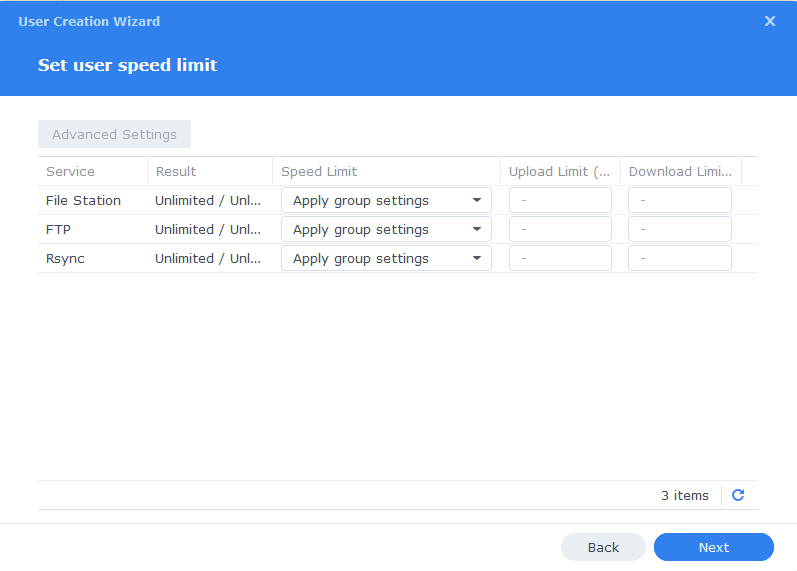
On the final settings screen we don’t need to set any speed limits
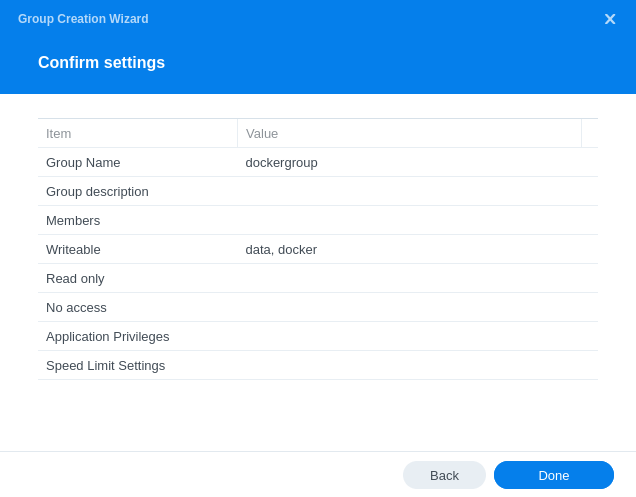
On the final screen click Done.
Creating a User
You can call the user whatever you want, I just kept mine simple and created one called ‘dockerlimited’
It’s also a good idea to generate a very strong random password for the user, while it will be a very limited account you don’t want to give it an easy to guess password. You will never need this password for what we are doing.
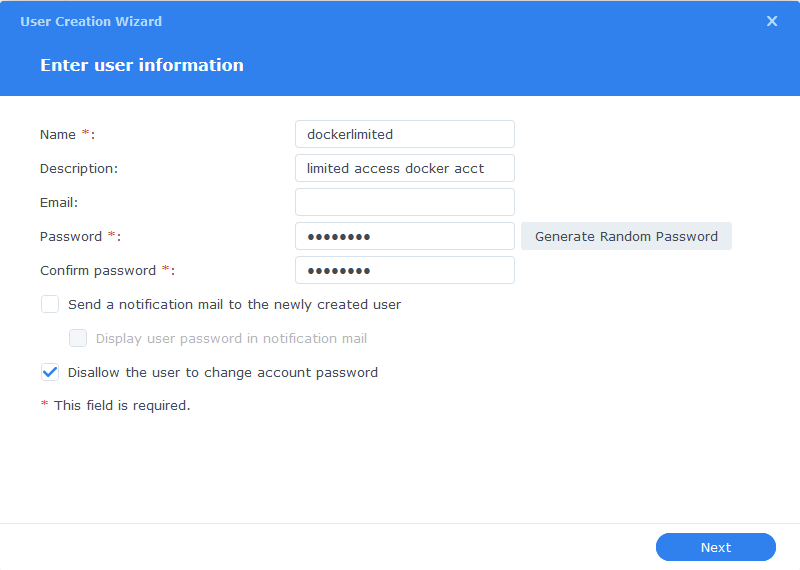
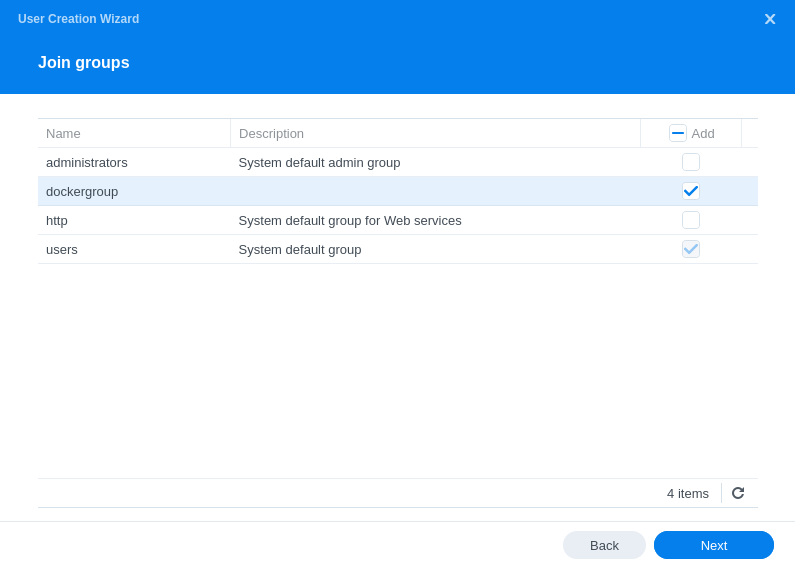
Next we are going to add this new user to the ‘dockergroup’ we just created as we don’t want it having any sort of admin access.
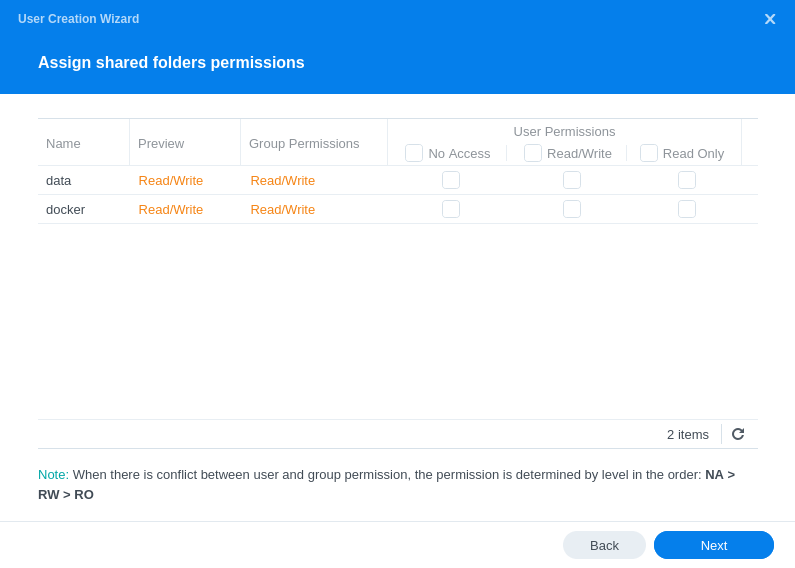
On the next screen you should see that the user already has Read/Write access to the two shares and no others.
*Please note if you are not following one of the media setup guides you will not have the /data share so don’t worry if it is missing.
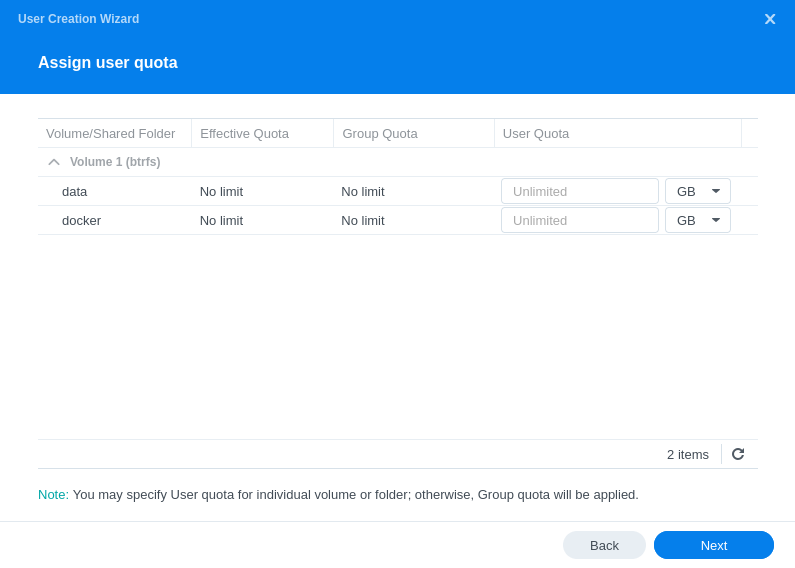
Nothing to change on the User quota settings just click ‘Next’
You will see that our User already has restricted access to apps
Again we don’t need to set any speed limits for this user so click on ‘Next’
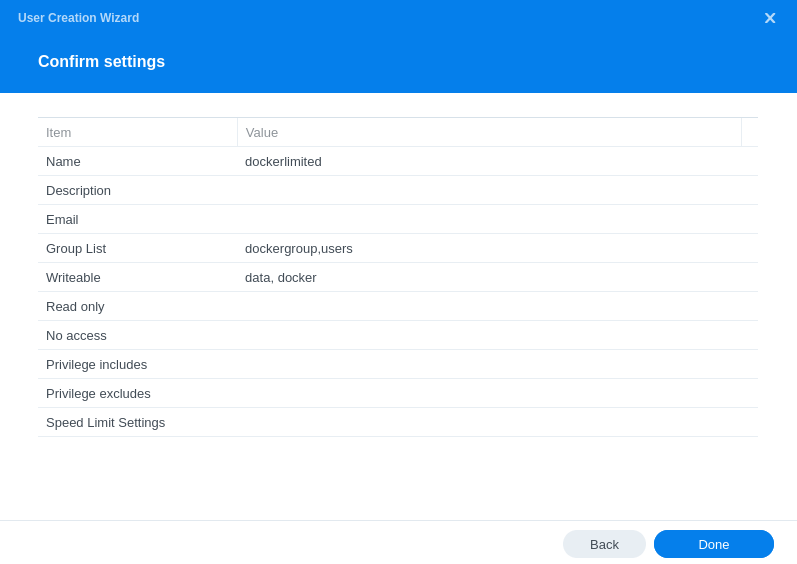
The final screen will just confirm your settings make sure the correct shares are in the ‘Writeable’ list, click on ‘Done’ and your user will be created.
Obtaining the new UID (User ID) & GID (Group ID)
Now we need to obtain the IDs for the new dockerlimited user and dockergroup These are used to pass file permissions through to our containers. They can also be known as PUID and PGID.
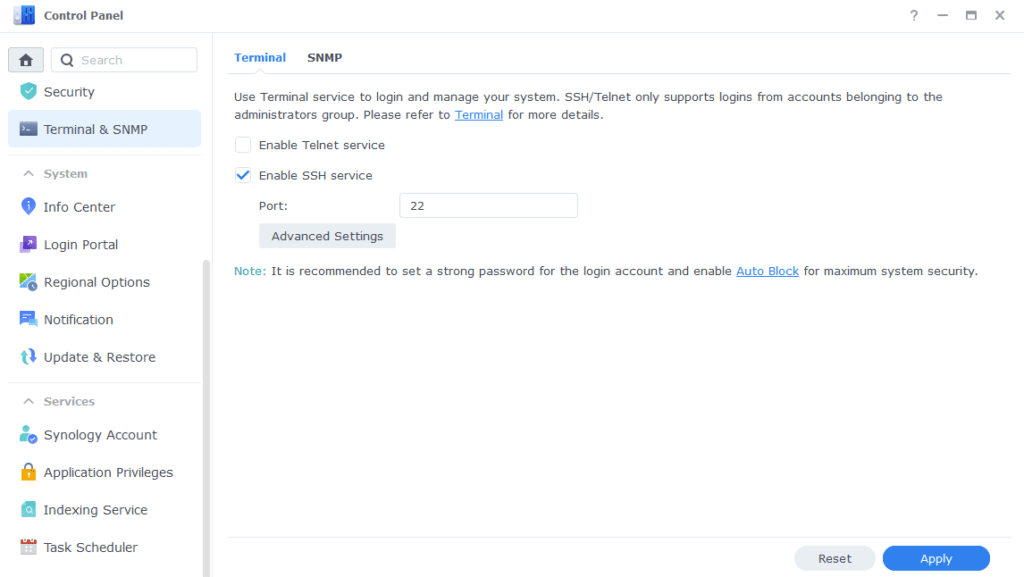
You will need to SSH into your Diskstation using ‘Terminal’ which is built in to modern versions of Windows, Linux, or Mac.
Go back into the Control Panel again and enable SSH within the Terminal & SNMP section.
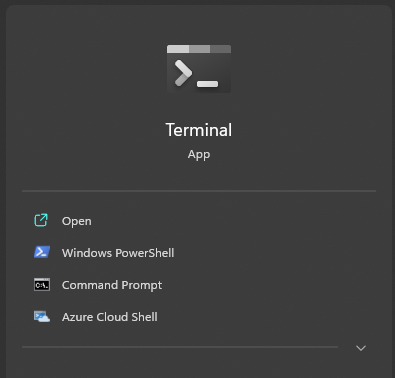
Open up ‘Terminal’
Now type ssh then your main admin account username @ your NAS IP Address and hit Enter (Not the docker user)
ssh drfrankenstein@192.168.0.101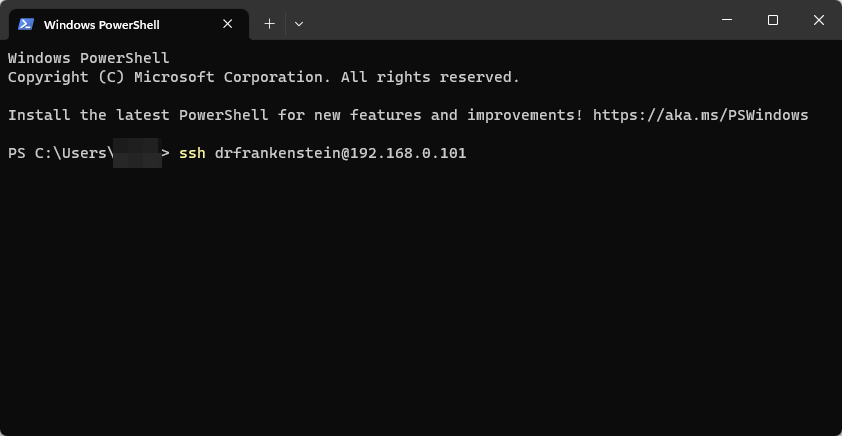
You will then be asked to enter the password for the user you used, you can either type this or right click in the window to paste (you won’t see it paste the info) then press enter.
Once logged in type the below replacing ‘dockerlimited’ with the name of the user you created if you changed it.
id dockerlimitedYou will now see a similar output as the below…
uid=1027(dockerlimited) gid=100(users)groups=100(users),65537(dockergroup)Let’s break this down!
uid=1027(dockerlimited) This is our UID write this down!
gid=100(users)groups=100(users) While this is a GID it is not the one we are interested in as it is for the standard users group so ignore this.
65537(dockergroup)This is our actual GID that we want to use for our containers so write this down as your GID.
You have now successfully set up your limited access user and obtained its IDs for use in Docker. Keep note of these somewhere as you will use them a lot with Docker.
You can now disable the SSH service as we won’t be using it.
You can now go back to the guide you were following.
Permission Fixes
Looking for some help, join our Discord community
If you are struggling with any steps in the guides or looking to branch out into other containers join our Discord community!

Buy me a beverage!
If you have found my site useful please consider pinging me a tip as it helps cover the cost of running things or just lets me stay hydrated. Plus 10% goes to the devs of the apps I do guides for every year.


Hi, I ran the following commands to fix user/group ownership after I disabled the admin account and reorganized my files for Docker earlier today, in order set the permissions of /data/ and /docker/ to be owned by the dockerlimited and dockergroup user/group, although nothing was broken (I should have taken the hint):
sudo chown -R dockerlimited:dockergroup /volume1/docker /volume1/data
sudo chmod -R a=,a+rX,u+w,g+w /volume1/docker /volume1/data
After this I got kicked out of the Synology WebUI and logging in as my normal “robert” administrator user returns a “You are not authorized to use this service.” message that is different from when I log in with “admin”.
Similarly, SMB/Samba no longer functions, however everything running in a docker container using those directories still functions. I don’t understand how running a chown against just the /docker and /data directories would have messed with anything needed to log in my local admin account (not named “admin”). Any ideas?
Hey, it should not have this impact at all, as it is purely adding the permissions of the dockerlimited and dockergroup to the files and folders under those two shares.
It’s going to be a little limited on how I can help here. Your ‘Robert’ account is your main administrator user.. You mentioned disabling the ‘admin’ user before doing this was this originally enabled and were you using it to use DSM? Are you sure Robert is part of the administrators group did you manage to somehow remove that?. Something else must being going on with the system as these two shares like any other shares should not impact the day to day running of DSM itself.
Not sure of a fix, but just wanted to mention that I also have the same issue. I’m a noob and was attempting to fix unpackerr which was throwing a permission issue. I ran the commands above which created access issues for other accounts. For example, on my trevor account (who is an admin), I was no longer able to edit my unpackerr.conf located at “volume1/docker/unpacker”.
I then thought I needed to add the “dockerlimited” group to my trevor account. I was then kicked and unable to log backin via webui.
To get back in, I had to use a paperclip and push the back of my DS923+ to re-enable the default admin account.
I just did a snapshot restore which seems to have resolved the permissions issue on the trevor account.
Funny enough, still getting a permission issue in unpackerr.
Hey not sure how this ended up in Spam just having a clear through!
You need to be careful with moving your main user around group wise, generally it should always be in the administrator group. The commands above should purely sort the files so they have the correct permissions on them for dockerlimited to access them. Glad you got it sorted though!
Why do you create both a group and a user for docker? If you would only create the dockerlimited user, then chown the docker directory to dockerlimited:users and use the user id of the dockerlimited user as UID for docker images that support it, that would work as well.
When Linux is testing if a user has permissions on a file, it will consider user-based ownership _before_ group-based ownership. So if a process/container is running as the dockerlimited user and the directory is owned by that user, the group ownership doesn’t matter at all.
What is the advantage of having the dockergroup?
Hey so it’s funny you mention this as I used to have the guide exactly as you described, then I received another comment suggesting to also add the group, so to be honest I am at odds as to which to actually roll with lol.
many many thanks for all the info on your website! Really approciate!
I created user “Kodi” in the steps but at the end I got this error:
Unable to connect to database:
SQLSTATE[HY000] [1045] Access denied for user ‘Kodi’@’172.20.0.1’ (using password: YES
What am I doing wrong?
Many thanks,
Martijn
Hey, is this relating to this guide or another sorry?
Thanks for wasting several hours of my life. The “permissions fix” is nonsense and doesn’t fix anything. The permissions should have been corrected in the config. Radarr/sonnar/prowlarr, cannot set root folder for any of them after following all steps. Guess I’ll try another site that claims a good docker setup in the hope that there will be more complete directions that actually have good permission configs.
Hey J
Not sure what would have gone wrong for you to have issues where even the commands did not work. First time getting this type of feedback sorry you feel that way, always happy to help out via here in comments, email and Discord. My guides are generally considered pretty decent but can’t win them all.
Thanks Dr F
That was more negative than it should have been, apologies, was frustrated. I am going to review and try again.
All good I understand that some of this is a massive time sink and can be frustrating when it doesn’t work first time… I have abandoned stuff myself due to a bug and come back to fix with a fresh set of eyes, any issues just shout as this should get you a fully running media and download stack. Then you start on the next time sink which is customising all the settings!
If I never chose to move my media to the data folder in stage 1 (I’ll take the chance of temporarily duplicate data rather than risk messing up my Plex collections and other Plex data in the move), what are the settings I’ll need to do for creating a Docker User Group in this stage?
Thanks in advance.
Hey, as long as you grant the Docker user and group permissions to the existing folders then you should be good. When you do any mounts make sure you keep them consistent e.g /volume1/mymovies:/mymovies just keeps things easy.