Important or Recent Updates
| Historic Updates | Date |
|---|---|
| New DSM7.2 Container Manager Update | 22/04/2023 |
We are now going to set up a Docker Bridge Network, we are doing this for consistency across the guides here. It also allows us to have more control over the ports containers use in case we want to avoid certain port ranges that DSM uses.
While most containers will happily work without doing this step it is good practice to set up a specific Bridge rather than using the default bridge or Network Host mode.
Let’s Begin
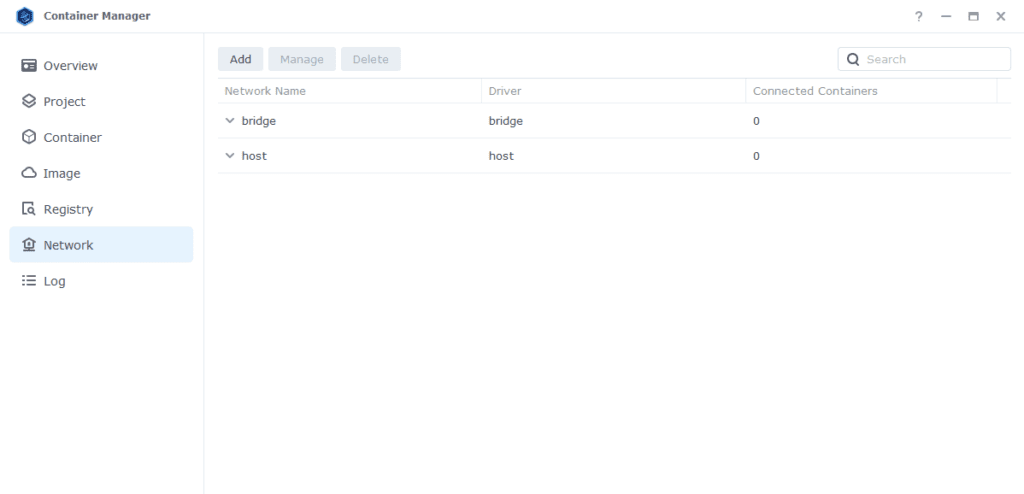
Open up the Container Manager and go into the Network tab.

Next click on ‘Add’ which brings up the settings screen. In here we are going to specify the following values.
| Section | Setting |
|---|---|
| Network Name | synobridge (you can change this if you wish) |
| IPv4 Configuration | Manual |
| Subnet | 172.20.0.0/16 |
| network: iprange | 172.20.0.0/16 |
| Gateway | 172.20.0.1 |

Now click ‘Apply’ which will take you back to the original screen.
That’s it the Bridge is now ready for containers to be attached to it. You can go back to the guide you were following.
Optional Steps if you have the Synology Firewall Enabled
If you have the Synology Firewall enabled and configured to block incoming or outgoing connections you will need to do this step. Otherwise, you will have issues with your containers being able to contact each other.
I have another page with some other info around the Firewall but its pretty high level see it here
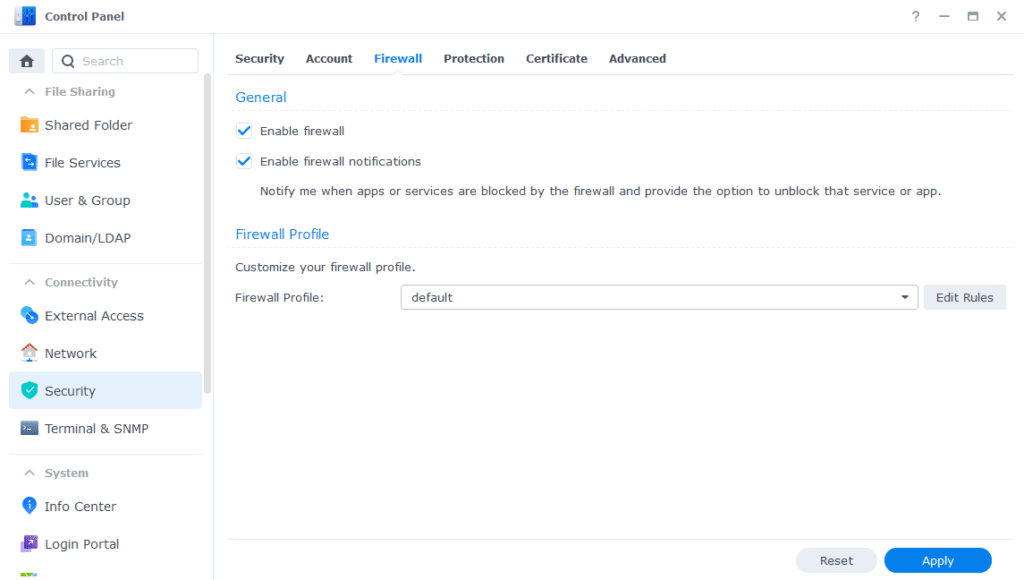
Go into Control Panel > Security > Firewall

Click on Edit Rules and in the screen that appears click on ‘Create’

In the first screen select ‘All’ and ‘Specific IP’ then press ‘Select’

Then select ‘IP Range’ and enter ‘172.20.0.1’ in ‘From:’ and ‘172.20.255.254’ in ‘To:’

Press OK until you are back to the main Firewall screen and press Apply.
You can now go back to the guide you were following.

Hi, great guides, thanks. Do I need to create a docker bridge network if I’m routing all of my arr containers through GlueTUN/VPN?
Hey, a bridge with automatically be created so it’s not a requirement if you are adding all containers to the same compose/project.
Hey, is it really necessary to do this considering that (as far as I’m aware) Docker creates a separate bridge network per docker compose automatically? What advantages does it have to create a bridge network manually? Thx!
You are correct, we do this purely from a standardisation perspective and to make sure all the respective containers that we need to communicate with each are on the same network. If you skip this step you will need to adjust all the guides accordingly.
how do i get docker to create networks automatically? Mine doesn’t anymore. It used to but then it stopped
I don’t get how this works. Where does the traffic from this bridge network go?
Hey, so the bridge is how the containers attach to it communicate with one another, generally anything on the same bridge can talk to another container as it has its own DNS routing etc. You could have independent bridges for sets of containers if you wanted to keep them separate. We use this single one as generally we want the various apps such as Overseerr being able to talk with Radarr etc..
Hey, Dr. F! Great guides, one issue for me though…. when I amend the temp/completed/watched folders for Sabnzbd in settings, it gives me a failed error and says it cannot create directory /data/usenet/xxx
Any thoughts?
Hey, if it’s just for SAB check you used the correct PUID/PGID values and the right way around.
That was the first thing I checked… All correct. It’s a problem with all: sonarr, radarr and sabnzbd (these are all the containers I did besides plex). Thx!
OK if its all of them check that the dockerlimited user is showing in the dockergroup and they have the appropriate permissions assigned to the /data share. If that is correct can you reach out via my Help Me! page please.
Hi there – thanks so much for these guides! This may be a silly question… but for the IPv4 steps, should I be replacing your 122.xxx addresses with my own IP address? Thank you 🙂
Hey, not a silly question. Use the same one in the guide. It keeps things consistent and when going through some guides I suggest specific IPs to use which marry up with this guide 🙂