Last updated on 6 April 2025
Please note if you are using DSM7.2 or higher you should use the Container Manager version of this guide from the menu.
If you are still using an older DSM version migrate to Dockge and you can use my new guides!

See the Dockge guide here to start migration!
This guide has reached the end of its updates
| Update | Date |
|---|---|
| Removed docker compose section as rarely used | 18/07/2023 |
What is Tautulli?
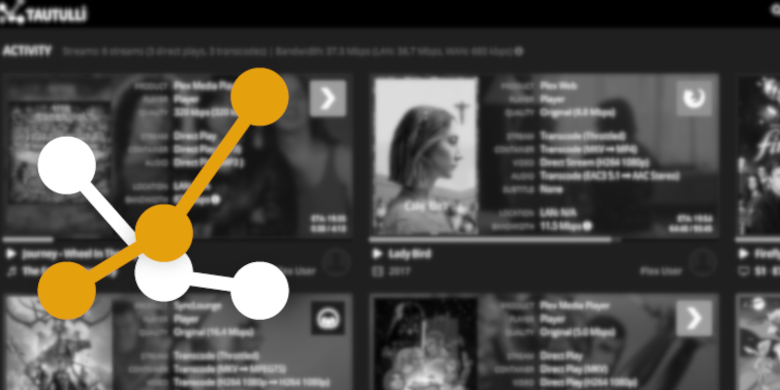
Tautulli is a 3rd party application that you can run alongside your Plex Media Server to monitor activity and track various statistics. Most importantly, these statistics include what has been watched, who watched it, when and where they watched it, and how it was watched.
Let’s Begin
In this guide I will take you through the steps to get Tautulli up and running in Docker.
In order for you to successfully use this guide please complete the couple of preceding guides.
Downloading the Tautulli Image
Open up Docker within DSM and navigate to the ‘Registry’ tab and search for ‘tautulli’.
In the list of available containers select the one made by Linuxserver as shown below, right click on it and select ‘Download’ or click the button at the top of the window.

When the dialogue pops up asking you to choose a version, we are going to be using the ‘latest’ tag.

You can check the status of the download over on the ‘Image’ tab.
Setting up the container
In Docker click on the ‘Image’ tab, in the list of your containers select the ‘Linuxserver Tautulli’ image and click on ‘Launch’
You will be greeted with the Network screen, we will be using the ‘synobridge’ network we created earlier select it from the list and click Next.

General Settings
Next you will be greeted with the General Settings screen, this is where you can start specifying some of your preferences.
You can change the name of the container to anything you like, and you may want to enable Auto Restart as this will ensure Tautulli starts automatically if you reboot your NAS.
You will also notice a Configure capabilities button — don’t change anything in here!

Next up we are going to click on the ‘Advanced Settings’ button, this will take you to a new window with a number of tabs which we are going to work through.
Environment (PGID, PUID and Timezone)
Next we are going to set up a couple of environment variables that docker will use to allow the container access to our files and folders and also to tell it where we live in the world.
Click the Add button, and fill in the following details as per the table/screenshot, you will need to do one at a time.
| Variable | Value |
|---|---|
| PUID | The UID you obtained in the user setup guide |
| PGID | The GID you obtained in the user setup guide |
| TZ | Your timezone wikipedia.org/wiki/List_of_tz_database_time_zones |

Links/Execution Commands
You do not need to set up anything on these tabs.
Press ‘Save’ to go back to the initial setup screen, then press ‘Next’
Port Settings
We won’t be changing any of the ports the container uses. You can repeat the ones shown on the right side of the settings page ‘Container Port’ onto the left side ‘Local Port’ once you have done this press ‘Next’.

Volume Settings
We will now be specifying the directories where Tautulli will store its configuration files and where to store downloaded books
Click on Add Folder, click on the docker share and create a new sub-folder called ‘tautulli’ select this folder and click ‘select’

Now add ‘/config’ to the ‘Mount path’ box
Your path settings should now look like the table/screenshot below.
| File/Folder | Mount path |
|---|---|
| docker/tautulli | /config |

Click Next to move to the final screen.
Summary
You have now completed the setup of the container.
You will be shown an overall summary of the settings we have specified, this is a good time to double-check everything is correct. Finally, click on Done and the container should start to boot.

You should now be able to access Tautulli via the IP of your NAS followed by the port 8181 and go through its nice and easy welcome config.
e.g. 192.168.0.40:8181
| Historic Updates | Date |
|---|---|
| New guide published | 27/08/2022 |
| Fixed a typo in the compose | 24/12/2022 |
| Compose version number removed and small wording amendments | 09/04/2023 |
| Amended the path to save the compose file – this is for security, so the container has no access to the file contents. | 14/04/2023 |
Looking for some help, join our Discord community
If you are struggling with any steps in the guides or looking to branch out into other containers join our Discord community!

Buy me a beverage!
If you have found my site useful please consider pinging me a tip as it helps cover the cost of running things or just lets me stay hydrated.


