Last updated on 23 September 2025
If you are on an end of life DSM version and can’t upgrade past the old “Docker” Synology package I recommend moving to Dockge. It’s a Web UI for managing Docker Compose meaning you can use my newer guides and can learn to use compose.
There is nothing stopping you also using this instead of Container Manager!
Dockge is a nice simple WebUI It’s not as comprehensive as something like Portainer, but that comes with its own set of plus and minus points.
The Compose in this guide is using the cmcooper1980 fork of the original version which has some delightful additional features that are waiting to be pulled into the original. I am monitoring development and when needed I will update the guide between the original and the fork.
Let’s Begin
As the Synology DSM Docker GUI does not support some of the functions we require for this tutorial we will be using Docker Compose to initially set up Dockge. This is not as complicated as it might seem!
Initial set up
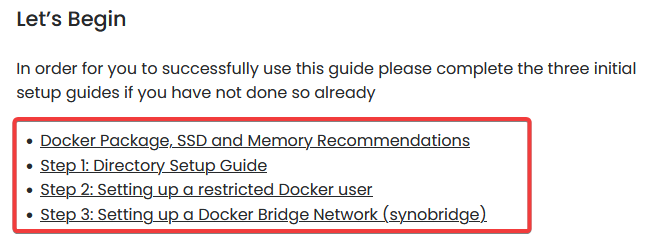
I have dropped links to the DSM7.1 / 7 initial set up guides below, follow these in order to get your media directories, Docker user, and the “synobridge” user defined network set up.
- Step 1: Directory Setup Guide
- Step 2: Setting up a restricted Docker user
- Step 3: Setting up a Docker Bridge Network
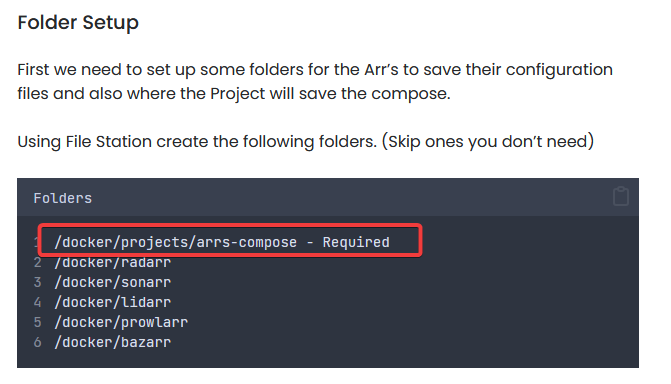
Folder Setup
Initially create a folder for Dockge to store its config files and our docker compose files.
/docker/dockge/dockge-stacksDocker Compose
To save you having to create a new compose file I have put the below compose in a premade .yml file. Download it and save it directly into your /docker folder.
As DSM makes use of port 5001 I have changed Dockge to run on port 6001, I have also configured it to use the folder we created just now.
services:
  dockge:
    image: cmcooper1980/dockge
    container_name: dockge
    ports:
      - 6001:5001
    volumes:
      - /var/run/docker.sock:/var/run/docker.sock
      - /volume1/docker/dockge:/app/data #where dockge stores its config
      - /volume1/docker/dockge/dockge-stacks:/volume1/docker/dockge/dockge-stacks #where dockge stores your compose files
    environment:
      - DOCKGE_STACKS_DIR=/volume1/docker/dockge/dockge-stacks
restart: unless-stoppedSSH and Docker-Compose
It’s time to get logged into you Diskstation via SSH, you can do this in the same way as when you obtained your IDs in the ‘Setting up a restricted Docker user‘ guide.
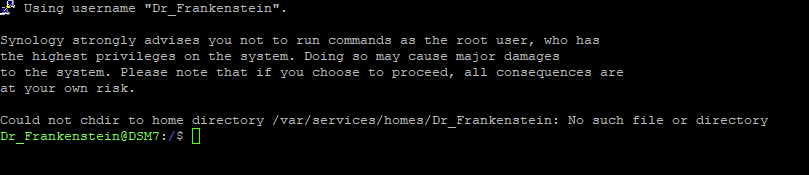
Once you have logged in you will need to give 2 commands, you can copy and paste these one at a time — you will need to enter your password for the command starting with ‘sudo’
First we are going to change directory to where the dockge.yml is located, type the below and then press enter.
cd /volume1/dockerThen we are going to instruct Docker Compose to read the file we created and complete the set-up of the container. Again type or paste the below and press enter.
sudo docker-compose -f dockge.yml up -dYou will see Docker pull the Dockge image and then run it with no errors.
Dockge UI
You should now have access to the Dockge UI by going to your NAS IP and Port 6001 (e.g 192.168.0.10:6001
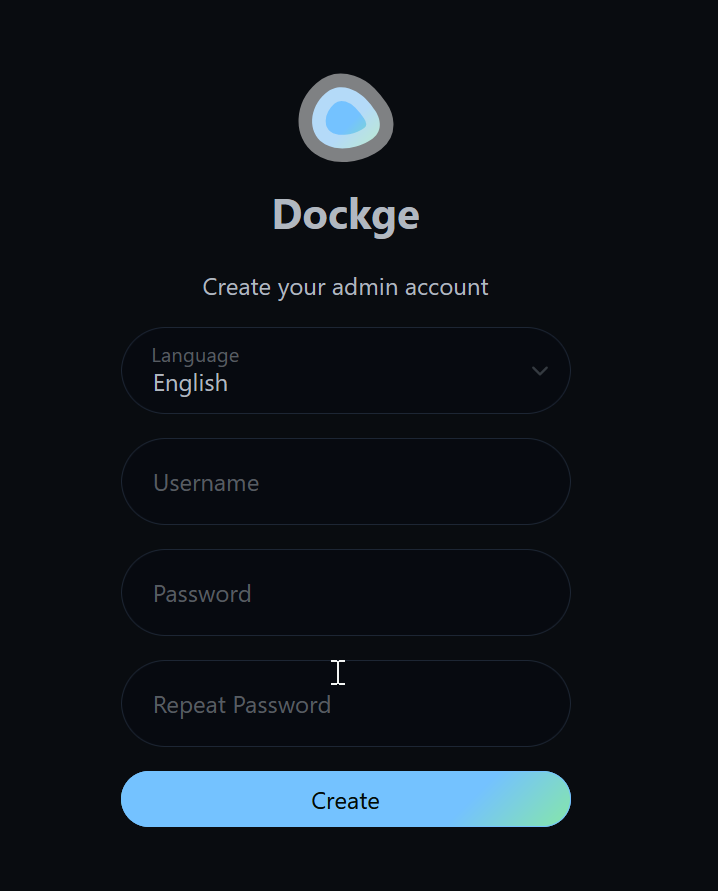
You will initially need to set up a username and password to secure the interface. Once done log in..
You will now be greeted with a nice blank UI to start building out your Containers/Stacks.
If you have any Containers running already they will be shown in the list on the left-hand side of the screen. However, you will not be able to manage them within Dockge, This might be a good time to migrate them!
Do I need to do anything different when using your Container Manager guides?
Yes you will need to make some small adjustments, here is a bit of an overview of which bits you can skip or translate. As you learn this it will help you start using Containers outside of my guides!
Initial Setup
When the start of the guide calls for you to set up a User / Shared Folders / Bridge you have already done this at the start of this guide so you can skip that element.
Folder Setup
In the Folder creation steps you don’t need to create a “projects” folder as Dockge takes care of keeping you compose files safe, but create any others it asks for.
Project aka Docker Compose Setup
When you get to the section that instructs you to enter information into Container Manager you need to enter this into Dockge. See the table below for a “Translation” of the UI
| Container Manager | Dockge |
|---|---|
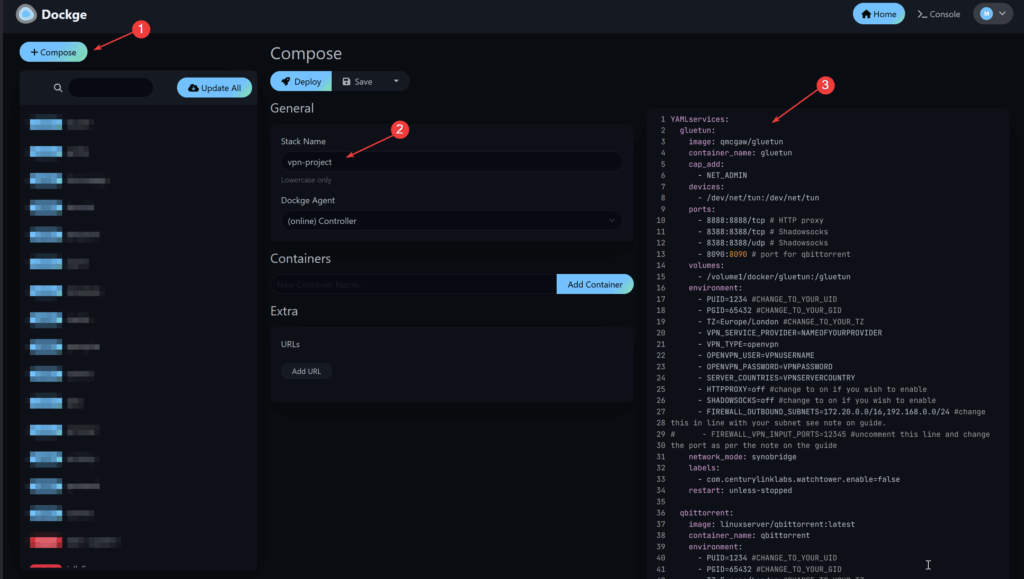
| Open Container Manager and Click on “Project” | Click on “+ Compose” on the top left of the UI |
| Enter a Project Name | Enter a Stack Name |
| Copy all the code in the box below and paste it into line ‘1’ | Delete the example nginx code from the box on the right side of the screen and paste the code from the guide |
| Edit the Compose | Edit the Compose |
| On the final screen just click ‘Done’ | Click the Blue Deploy button |
Container Updates
Dockge has a built-in Container updater, you can either click the “Update All” button at the top of the list of your Stacks, or you can update individual stacks or containers by clicking into a Stack.
Couple of Notes
My guides don’t make use of the “Extra” section or at the time of writing the “.env” section which is below the Compose window. As you get used to Docker you can make good use of the latter as often you will find some devs make use of this over using Environment Variables within the Compose.
There are a couple of known bugs with Dockge relating to the compose formatting, you will notice it adds a random networks: {} to the bottom of each compose, you can safely ignore this. Also, it will remove spaces between containers. Hopefully these will get patched soon either with the current Fork or in the original.