
Last updated on 30 November 2023
Please note if you are using DSM7.2 or higher you should use the Container Manager version of this guide from the menu.
This guide has reached the end of its updates as most people are now on the latest DSM update - This guide is correct as of 08/12/2023 however no further updates will be added.
| Update | Date |
|---|---|
| Amended the path to save the compose file – this is for security, so the container has no access to the file contents. | 14/04/2023 |
In this guide I am going to take you through the setup of Plex in Docker using Docker Compose.
As of writing the Synology UI does not have the capability of passing through specific hardware to a container, this means we will need to set up Plex via SSH (terminal). However, don’t freak out as it’s not that difficult!
Plex Pass
You will only benefit from hardware transcoding if you have an active Plex Pass either monthly or lifetime. If you don’t have one you can either follow this guide or jump over to the non hardware transcoding version.
Does my Synology support Hardware Transcoding?
Before we do anything else, you need to make sure your model of Synology has hardware transcoding capabilities. You need to do a quick lookup via the linked Google Sheet below, this is updated by Plex and makes it super easy to look up your model of NAS.
If you find that hardware transcoding is not available on your model you can jump back over to the standard guide here
Let’s Begin
As usual, it’s important you complete the two proceeding guides which will get your folder structure and docker, user setup.
Docker Compose
We will be using Docker Compose to set up the Plex container. In a nutshell we will be creating a text file (YAML formatted) which tells Docker exactly how we want to set up a specific container.
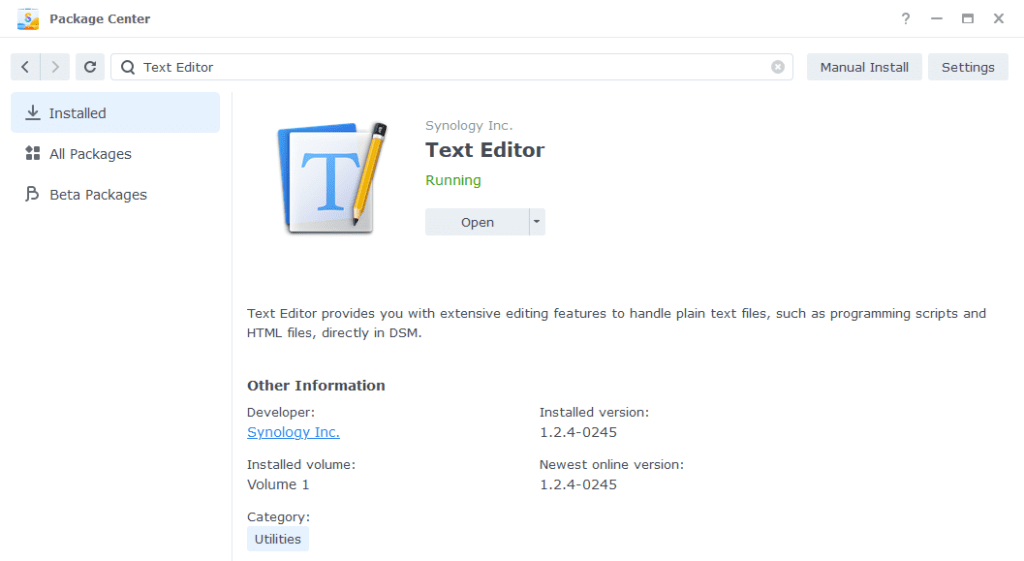
The next steps can be done either using a code/text editor such as Notepad++ or to keep things simple for this guide we will be using the Synology Text Editor which can be installed from the Package Center.
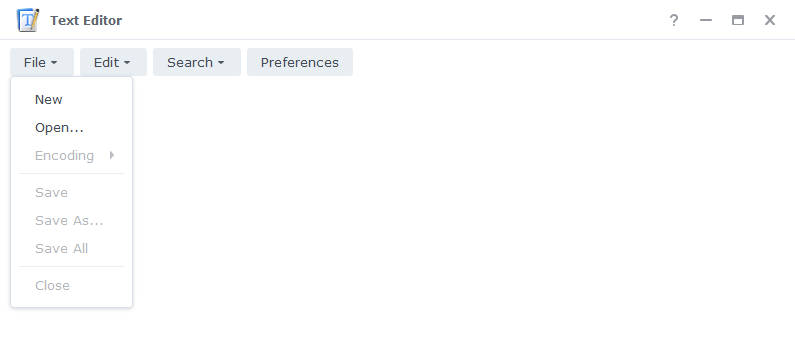
Open up Text Editor and click on File then New to start a new file.
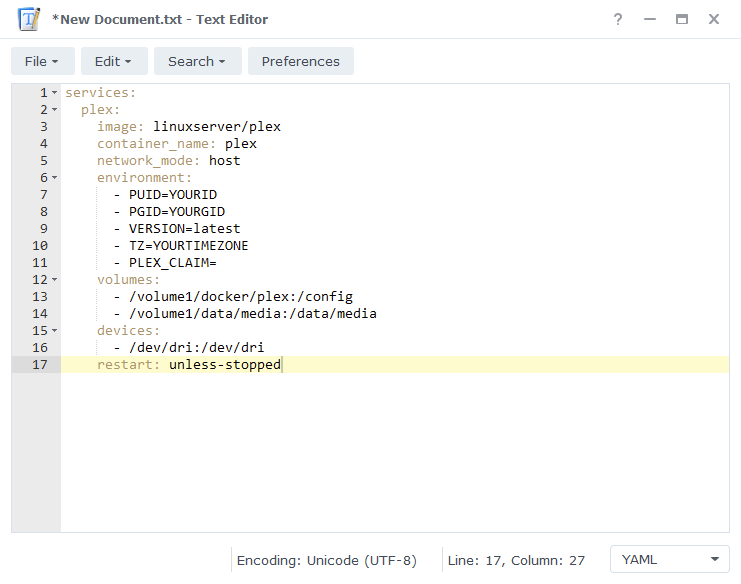
You can now copy and paste the details below into the new text file, it is important you don’t change the spacing as YAML has to be formatted correctly in order to be read by Docker Compose.
services:
  plex:
    image: linuxserver/plex
    container_name: plex
    network_mode: host
    environment:
      - PUID=1234 #CHANGE_TO_YOUR_UID
      - PGID=65432 #CHANGE_TO_YOUR_GID
      - TZ=Europe/London #CHANGE_TO_YOUR_TZ
      - VERSION=latest
      - PLEX_CLAIM=
    volumes:
      - /volume1/docker/plex:/config
      - /volume1/data/media:/data/media
    devices:
      - /dev/dri:/dev/dri
    restart: unless-stopped
A note on Network Mode
You will notice that for Plex we don’t put it on the normal bridge network, this is because DSM reserves the DLNA ports Plex requires in order to use DLNA. So we run in Host mode, so it can share the ports.
Environment Variables
We need to make some changes in order for the container to have the correct permissions to save its configuration files and to have access to your media.
Please note the PLEX_CLAIM variable is optional and not always required. You can remove this line if you don’t need it or come back and add it if you are unable to sign in to your server on start up.
To get the code go to https://plex.tv/claim and sign in, then put the code you receive after the ‘PLEX_CLAIM=’. You have 4 mins to finish the guide after doing this, so best to grab it just before running the compose file in a few steps time.
PUID and PGID
When you created your docker user you would have noted down these IDs add these to the compose file in the ‘environment:’ section
Volumes
We can now pass through our file paths into the container they are mounted using the volume’s section of the compose file.
I have pre-filled this section to pass the correct paths, the only thing that you may need to change is the /volume1/ if your file paths are on a different volume.
Timezone
The timezone variable will tell the container where you are in the world meaning your logs and scheduled tasks will run at the correct times. A list of timezones with the correct formatting can be found here wikipedia.org/wiki/List_of_tz_database_time_zones
Your final file should look similar to the one shown below.
Saving the Compose File
We now need to save this file into our docker share.
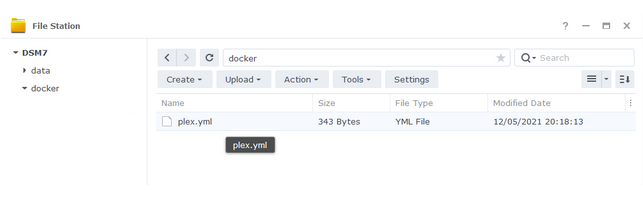
Click on File then Save As, navigate to the ‘Docker’ share and create a new folder called ‘plex’ (lower case)
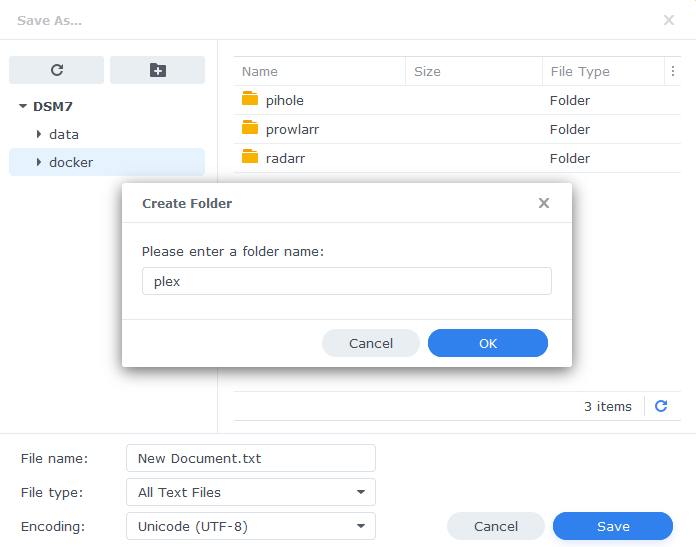
You need to change the ‘File name’ to plex.yml and save it in the ‘docker‘ folder
SSH and Docker-Compose
It’s time to get logged into your Diskstation via SSH, you can do this in the same way as when you obtained your IDs in the ‘Setting up a restricted Docker user‘ guide.
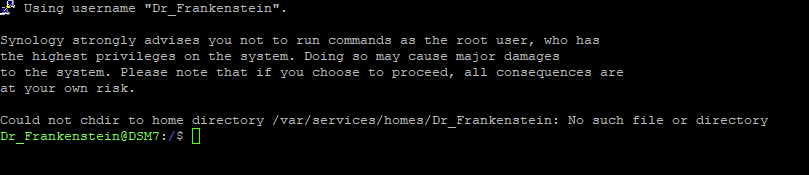
Once you have logged in you will need to give 2 commands, you can copy and paste these one at a time — you will need to enter your password for the command starting with ‘sudo’
First we are going to change directory to where the plex.yml is located, type the below and then press enter.
cd /volume1/dockerThen we are going to instruct Docker Compose to read the file we created and complete the set-up of the container. Again type the below and press enter.
sudo docker-compose -f plex.yml up -dWhen the command has completed you should be able to see Plex running in the list of containers in the Synology GUI.

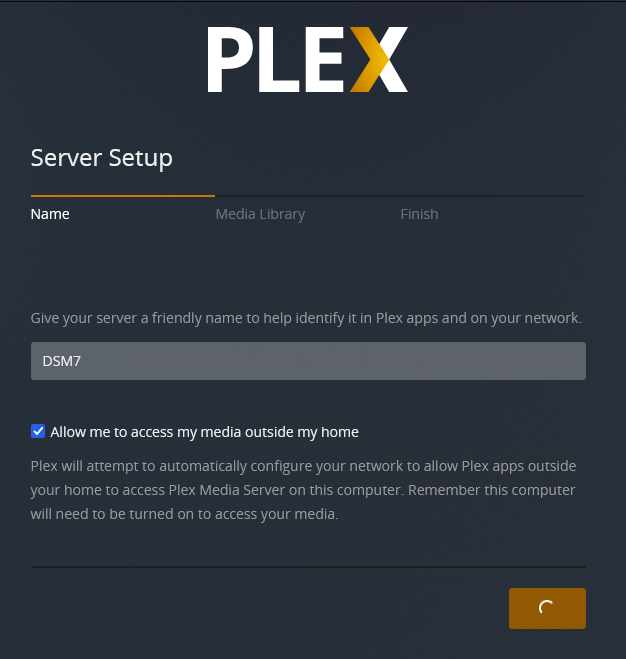
Plex Initial Setup
After a few minutes you should be able to access the server and go through the Plex setup by going to the IP of your NAS in your browser followed by port 32400/web/
e.g 192.168.0.45:32400/web/
You will be asked to sign in or sign up for an account if you don’t have one already.
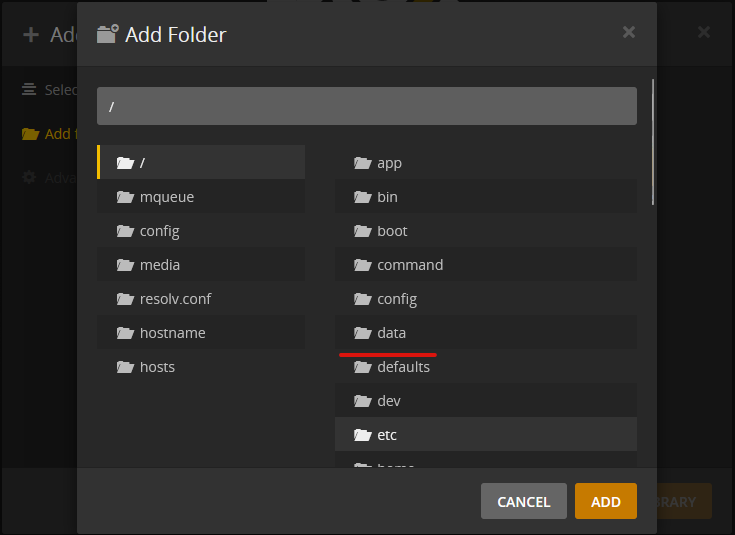
You should now be able to add your media which will be in the /data/media folder within Plex
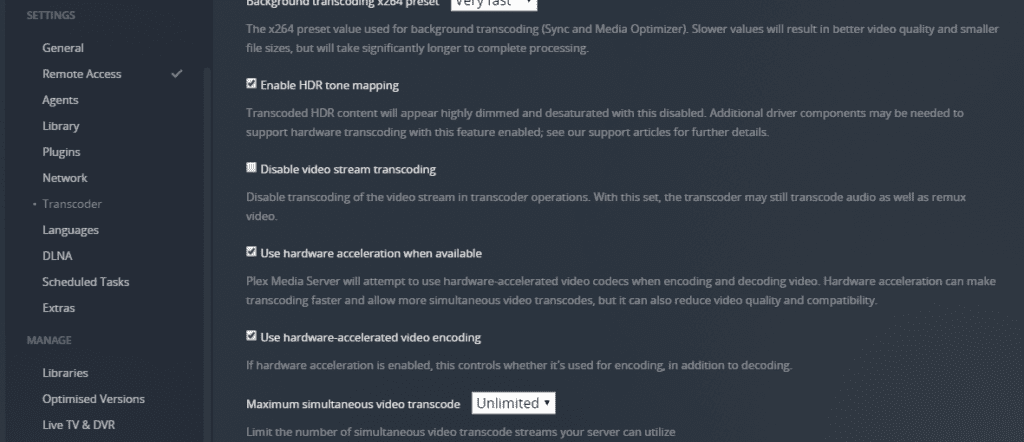
Once you have got to the main Plex interface make sure you go into the settings and turn on
- Enable HDR tone mapping
- Use hardware acceleration when available
That’s it you are all setup. When a new server update is available you will just need to restart the container, and it will automatically download the latest update.
| Historic Updates | Date |
|---|---|
| New guide released | 06/12/2021 |
| Added note around Ryzen based Synology models | 27/12/2021 |
| Updated Environment Variables to ensure server is updating to the latest version | 02/02/2022 |
| Added Timezone Variable to the compose file | 22/05/2022 |
| Amended the mount path for media | 12/08/2022 |
| Amended the Plex image to pull from dockerhub to make updates easier | 18/08/2022 |
| Updated the Hardware Transcode section it’s now much easier | 02/09/2022 |
| Added the Optional Plex Claim to the Environment Variables | 18/02/2023 |
| Compose version number removed and small wording amendments | 09/04/2023 |
Buy Me a Coffee or a Beer
If you have found my site useful please consider pinging me a tip as it helps cover the cost of running things or just lets me get the odd beverage. Plus 10% goes to the devs of the apps I do guides for every year.


Great guides thank you so much for doing these. When I try to add a library I can get to /data but then it wont drill down any further to /data/media/tv. These folders all have the same permissions set with r/w access for dockerlimited. Any ideas on how to fix this?
Hey, do you have an existing Plex install make sure that has been uninstalled first to remove the Plex user. You may need to run a command to clean up the permissions as sometime Filestation / Control Panel show the access is OK but under the hood it’s not. Ping me and email via the contact page or reach out on the Discord forum and I can walk your through.
Hi,
I followed your tutorial without problem, but the transcoding is not working with subtitles, it kept buffering on the client side every ~10s while the server CPU is at ~50%.
Everything else is running fine with the server, only the transcoding part is KO.
Do you know what could cause this problem ?
My configuration :
– Server: Synology DS220+
– Clients: PS5 or Roku
– Files: Any 1080p trying to be transcoded to 1080p (or lower) with subtitles added
– My YML file just in case :
version: “3.8”
services:
plex:
image: linuxserver/plex
container_name: plex-transcode
network_mode: host
environment:
– PUID=1027
– PGID=100
– VERSION=latest
– TZ=Europe/Paris
volumes:
– /volume1/docker/plex-transcode:/config
– /volume1/data:/data
devices:
– /dev/dri:/dev/dri
restart: unless-stopped
Hey. What type of Subtitles are you using? I don’t have a PS5 or Roku to test but does the player have an option in the settings under around subtitles being burned and set it to Automatic.
When the transcode is taking place does it have an (hw) next to the transcode in the server Dashboard as your yml seems fine.
Subtitles are classic .srt files, and there is a (hw) next to transcode.
I’ve search a bit yesterday and apparently it’s a common issue with certain clients, but nobody seems to care about finding a solution except “turn off the subtitles”.
LG has a similar issue I have a user who finds transcoding a 1080p x264 with srt subs works fine. 4k x265 to x264 with sub the TV chokes and buffers even though its receiving an x264 with subs. . Where as the server does the transcode without breaking a sweat. It’s a pain as I cannot do anything my end to fix it. Works perfectly on Android, PC, Tizen.
Thanks for the reply.
After seaching everywhere, i’ve found the problem for me.
Deleting some driver file as desribed in this message resolved the issue :
https://forums.unraid.net/topic/105910-692-plex-hw-transcoding-low-gpu-usage-and-buffering/#comment-1023755
Thanks again for the help.
Hi,
First of all: Dr_Frankenstein, thanks for the great tutorial!
@Coleyra:
No idea what codec you are using but I ran into the same issue when I have used H.265. After fixing the driver it run smoothly on both NAS (DS220+ and DS1520+)with only 50% (see: https://nascompares.com/guide/synology-dsm-7-nas-plex-driver-fix-for-h-256-or-hevc-ds920-ds220-ds720-ds1520-and-ds420).
Thanks for this, just had a read – for the Docker version you can find the preferences.xml in /docker/plex/library/Application Support/Plex Media Server/
I’ve followed your guide exactly but plex is not seeing my movies folder. When I try to add a library I can get to /data/media but then it wont drill down any further to /data/media/movies. These folders all have the same permissions set with r/w access for dockerlimited. Any ideas on how to fix this?
nevermind 🙂 I was able to fix the issue
Thanks for these guides! Will you ever add more advanced guides on how to configure these tools / make everything more secure?
Hi Jon, the guides are designed to get someone fairly new to Docker to get up and running – a bit like a gateway drug lol. I have a few other guides on the to-do list. Also, some changes incoming for the VPN and Languagetool guides. The more I do, the more require maintenance!
Please update the original post. The latest docker image requires
PLEX_UID and PLEX_GID instead of PUID and PGID.
Also appears to require PLEX_CLAIM on first start with a token you obtain from http://www.plex.tv/claim in order to link to your plex server with your plex account.
Hey, we are using the LinuxServer image which uses PGID/PUID, The claim is optional as you just sign in once the server has been started which claims it.
Several attempts I realize the official plexinc/pms-docker image uses PLEX_UID while the linuxserver.io docker image uses PUID. It could be useful to note in the original post that you are not using the official image (and perhaps explain the benefits / reasons why others may choose to use the linuxserver.io image instead).
Each attempt I removed the docker stack / container and then removed and recreated the volume1/docker/plex dir. I ran
sudo chown plex plexso the plex dir was owned by plex user. After starting the linuxserver.io image this dir would be owned by the ‘abc’ user id which fails to have access to my media files. Next attempts I started the official image and the plex dir would be owned by user id 1000 which also fails to have access to my media files. The UID of my plex user was not getting passed in.I possibly had portainer stack env variables not passed through correctly because at least some attempts I noticed the UID values were not assigned to the container after it started. Finally I hit the right syntax in portainer to pass through the variables and the plex dir remained owned by the plex user. All good now.
I discovered some other bloggers were referencing the incorrect variables for the image they used which wasnt helping me debug my issue deploying plex via portainer.
Final update – still worth updating original post with reasons for choosing linuxserver.io image, and the PLEX_CLAIM token. Make sure that the docker log starts up with “Attempting to obtain server token” and “token obtained successfully”
I have not dived into Portainer however my understanding is that Stacks are essentially Docker Compose – Always check the Docker Hub or Github instructions for each image as they will usually have an example to base your stack on (compose).
If following a guide try not to mix and match – my guides are designed to be easy to follow for someone who is new to Docker essentially dipping toes in the pool before getting into the deep end of Portainer and full on compose files bringing all containers together.
I will make a note at the start of the guide about LinuxServer, I tend to use their images as they make permissions nice and consistent across the suite as this can be a royal pain when mixing and matching.
I will have a look at the token element – in all the testing of this guide and my personal setup I have always just signed in to my account and the server has been immediately claimed without the additional step.
Thanks Dr_Frankenstein, your guide was awesome. On my first attempt I found myself logged in to my Plex account on my local URL but plex unable to recognize my server, no means to add my libraries, and no means in the plex UI to ‘claim’ or add my libraries.
I had to google other blogs that lead me off track with repeat attempts using the official image, forcing the PLEX_CLAIM token at first docker start, and then realizing the UIDs were not being passed through.
Some portainer syntax likely also threw in a mistake although I used portainer for multiple home assistant containers without issue so not exactly sure where my docker compose mistake was.
My compose that I got working for others that may find it useful below. I override the environment values in portainer UI.
version: "3.8"

services:

  plex:

    image: plexinc/pms-docker

    container_name: plex

    network_mode: host

    volumes:

      - /volume1/docker/plex:/config

      - /volume1/video:/data/video

      - /volume1/audio:/data/audio

      - /volume1/image:/data/image

    devices:

      - /dev/dri:/dev/dri

    restart: unless-stopped

    environment:

      - ALLOWED_NETWORKS

      - PLEX_UID

      - PLEX_GID

      - VERSION=latest

      - TZ

      - PLEX_CLAIM
Ooops sorry that my indentation wasnt retained in my copy/paste above. The lines are correct but the formatting lost all the space chars at start of each line when I saved my reply. 🙂
I got the same issue, I tried deleting the previous container and following the guide again ( with the environment variables updated as you suggested ) but it still enter directly inside my account. I even cleaned the /docker/plex folder, what should I do to fix it?
Have you tried clicking into the more button and does the server appear with a claim button. I don’t have access to a pc at the moment to do a screenshot.
Problem is a don’t see any more button, the first trial it asked me to log in, then at any reinstallation is just appear already logged on, I tried to navigate setting even advanced one but I can’t see any “claim” option or menu, just basic stuff
OK if you have completely started from scratch you may need to remove your old Server from Authorised devices
https://app.plex.tv/desktop/#!/ then go to settings then Authorised Devices and remove any old servers.
This should force the server to look new and allow it to be claimed again which usually appears in Settings then General.
Ok I just tried it, but I cannot see the server setup page, it automatically redirect to Plex.com asking for login
You will need to log in, in order to do the steps – other than that I am not sure what else you can do.
I leave it here for posterity, I did everything fresh, so I deleted the container and the folder it has created, than I added -PLEX_CLAIM=“mytoken” Inside the yml file, be aware the token expire in 5 minutes, than I run your instruction again and it appeared inside “devices” on Plex.com as a media server 🙂 i hope it helps
I have Plex as an app on Synology, what is the benefit for having a container? Secondly, I am experimenting plex on my desktop also. I noticed something weird. All my media is on Synology, so I have pointed same media folders to Desktop Plex and same to Plex Synology App.
Plex Synology app don’t recognize some movies where as same movies are appearing on Plex desktop app pointing to same Synology media folder?
Secondly, there are a lot of movies which plex in general don’t recognize. Is there any automated way to have it recognize most of the content?
The container purely is better for updates – it has no interaction with the underlying DSM system so when upgrading for example DSM6 > DSM7 a lot of people have trouble with packages not working correctly, docker removes this as the containers are disposable and do not rely on the DSM system as everything they require is inside the Docker image.
The second part around recognising the media could be a few things, 1st would be ensuring the media folders are named in line with Plex required standards. Also it could relate to the Plex app not having appropriate permissions to see the media. Were they recently downloaded by the docker Radarr etc?
Yes, I downloaded some movies using Radarr and then the desktop plex recognized it, but the Synology App didn’t. Then there is another set of media, which is not recognized by plex at all (Most of the unrecognized files are backup of 4k movies I own).