
Last updated on 28 February 2025
Important or Recent Updates
| Update | Date |
|---|---|
| New guide update for DSM7.2 and Container Manager | 06/05/2023 |
| Moved from UI setup to Project Setup which is more flexible and easier to maintain. | 21/10/2023 |
| Added an addition element to the compose to restrict the container from gaining additional privileges and also umask environment variable | 25/10/2023 |
What is SABnzbd?
SABnzbd is a binary newsreader, it is used to download files from Usenet, and where required will also repair and extract releases. It works on its own or in conjunction with other tools such as Lidarr and Radarr.
Useful external links for this guide
Linuxserver SABnzbd Container GitHub
SABnzbd Forums
SABnzbd Wiki
Let’s Begin
In this guide I will take you through the steps to get Sabnzbd up and running in Container Manager. We will be using the new Projects (Docker Compose) feature to get this running as it will save you time vs manual setup using the normal UI
In order for you to successfully use this guide please complete the three preceding guides
- Docker Package, SSD and Memory Recommendations
- Step 1: Directory Setup Guide
- Step 2: Setting up a restricted Docker user
- Step 3: Setting up a Docker Bridge Network (synobridge)
Folder Setup
Let’s start by getting some folders set up for the containers to use. Open up File Station create the following.
/docker/projects/sabnzbd-compose
/docker/sabnzbd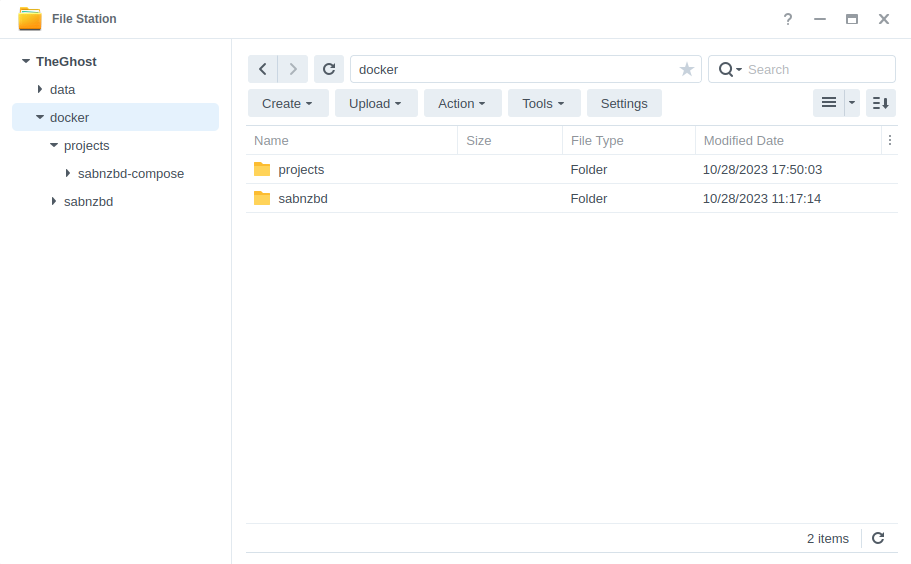
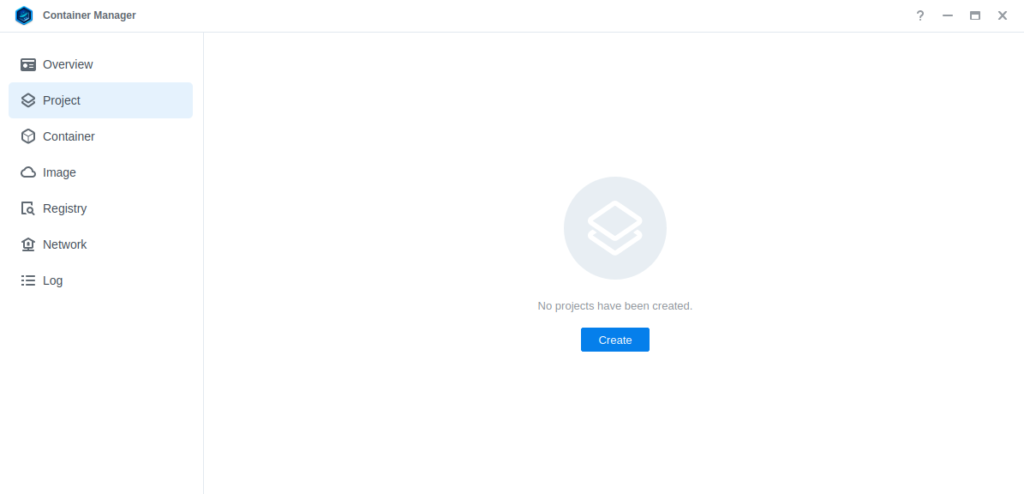
Container Manager
Next we are going to set up a ‘Project’ in Container Manager. Open up Container Manager and click on Project then on the right-hand side click ‘Create’.
In the next screen we will set up our General Settings, enter the following:
| Section | Setting |
|---|---|
| Project Name: | sabnzbd |
| Path: | /docker/projects/sabnzbd-compose |
| Source: | Create docker-compose.yml |
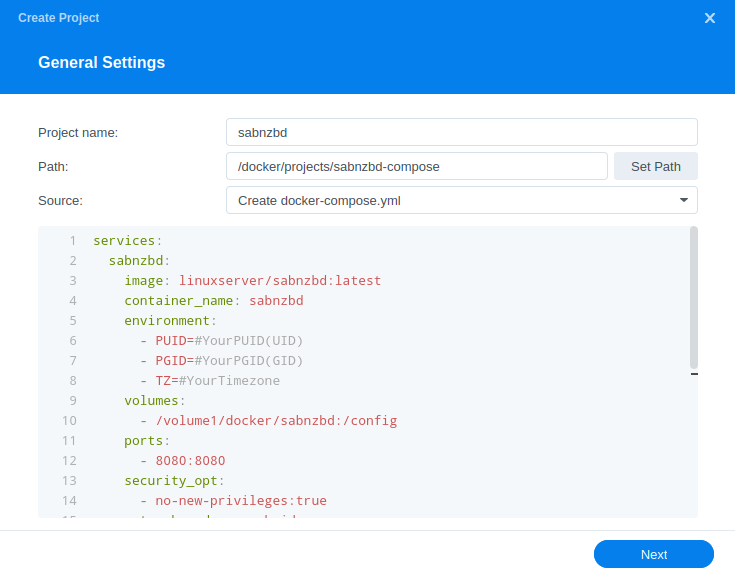
Next we are going to drop in our docker compose configuration, copy all the code in the box below and paste it into line ‘1’ just like the screenshot.
services:
  sabnzbd:
    image: linuxserver/sabnzbd:latest
    container_name: sabnzbd
    environment:
      - PUID=1234 #CHANGE_TO_YOUR_UID
      - PGID=65432 #CHANGE_TO_YOUR_GID
      - TZ=Europe/London #CHANGE_TO_YOUR_TZ
      - UMASK=022
    volumes:
      - /volume1/docker/sabnzbd:/config
      - /volume1/data/usenet:/data/usenet
    ports:
      - 8080:8080/tcp
    network_mode: synobridge
    security_opt:
      - no-new-privileges:true
    restart: always
Environment Variables
We are now going to amend some key variables to make sure the container has access to our folders and also knows where we are in the world. Don’t change any other settings other than those I mention.
| Variable | Value |
|---|---|
| PUID | (required) The UID you obtained in the user setup guide |
| PGID | (required) The GID you obtained in the user setup guide |
| TZ | (required) Your timezone wikipedia.org/wiki/List_of_tz_database_time_zones |
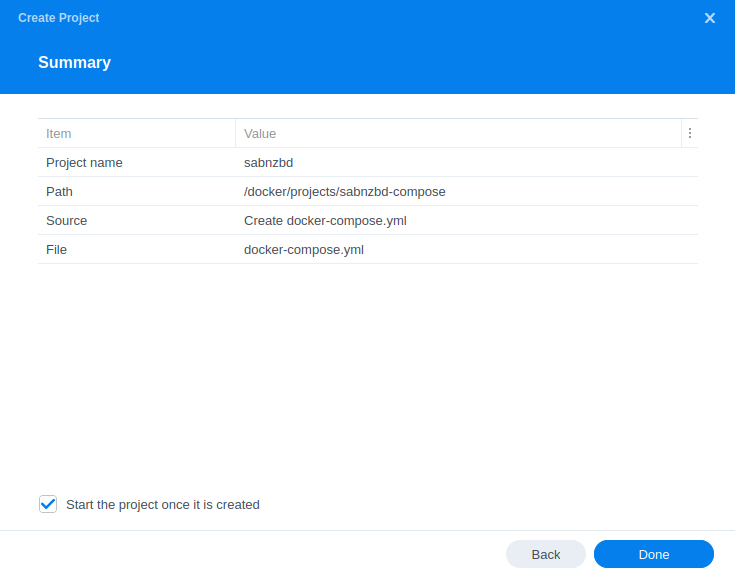
Once you have made the edits you can click ‘Next’
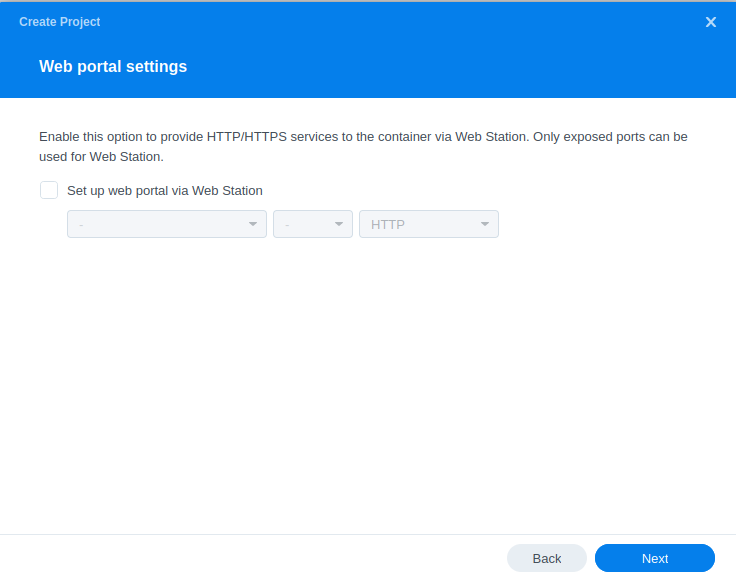
You do not need to enable anything on the ‘Web portal settings’ screen click ‘Next’ again.
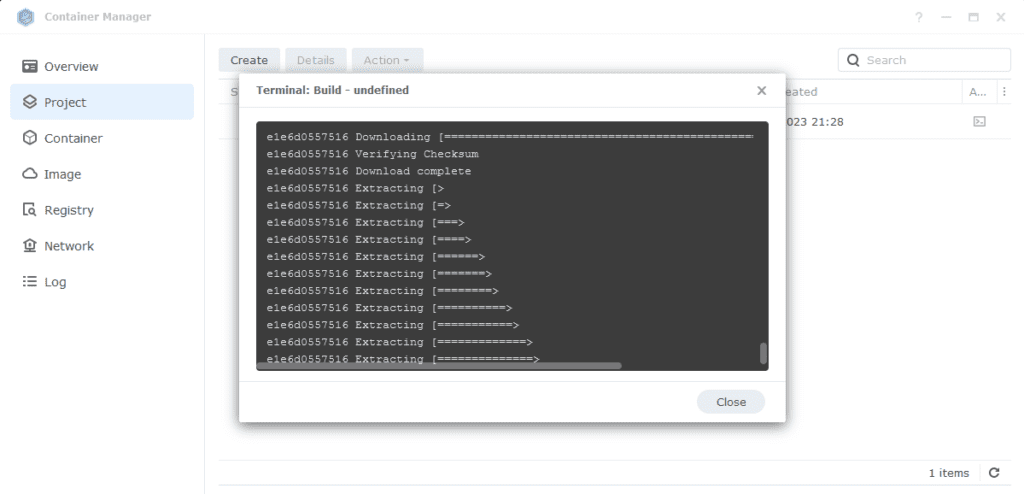
On the final screen click ‘Done’ which will begin the download of the container images and once downloaded they will be launched!
The image will now be downloaded and extracted. You should see ‘Code 0’ when it has finished.
Firewall Exceptions
(Skip if you don’t have the Firewall configured)
If you have the Synology Firewall enabled please see this additional guide for further info on exceptions and correct set up.
Some final steps
SABnzbd will now be running on port 8080 you can connect to it by going to the IP address of your NAS with that port
e.g. 192.168.0.40:8080
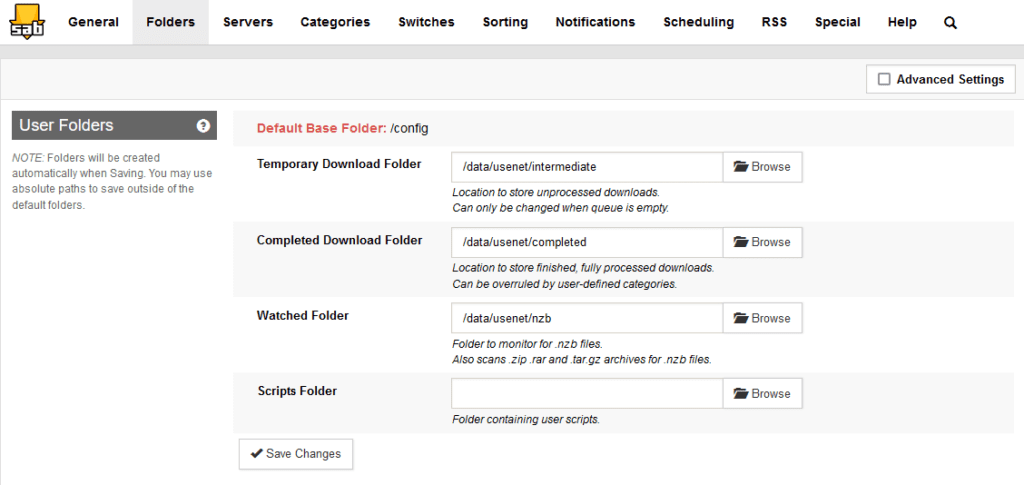
Once you have completed the setup wizard, go into the settings and amend your folders to the following
| Setting | Path |
|---|---|
| Temporary Download Folder | /data/usenet/intermediate |
| Completed Download Folder | /data/usenet/completed |
| Watched Folder | /data/usenet/nzb |
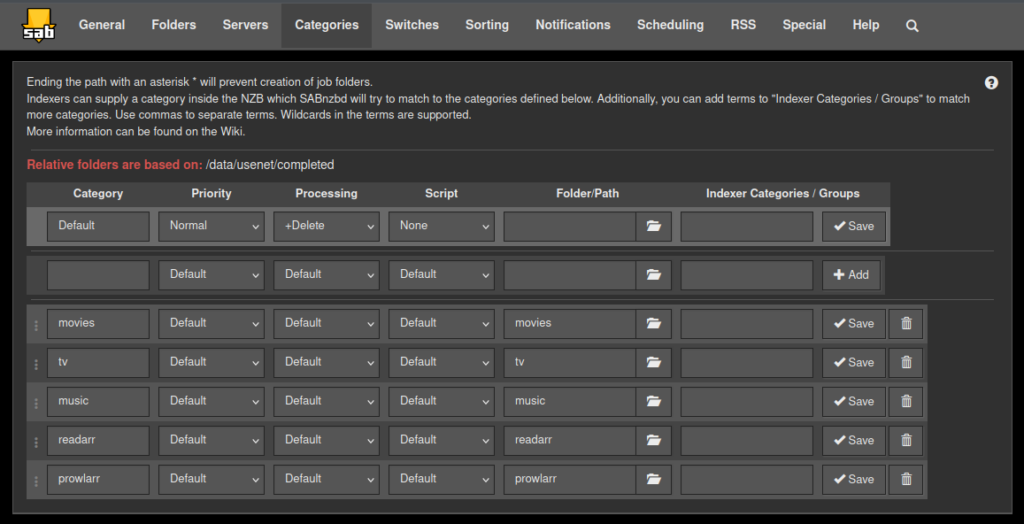
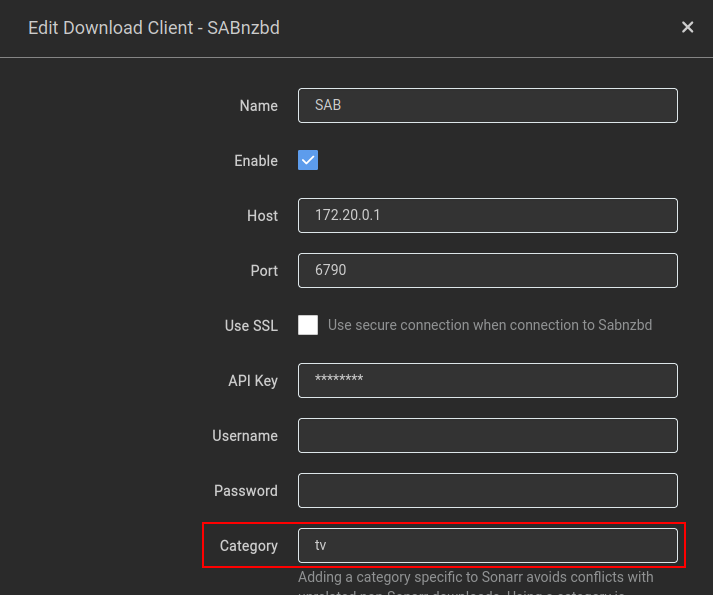
If you are using SABnzbd for your download client in the Arrs you will want to add some categories and paths as shown below. When adding SABnzbd to each of the Arrs match up the category in the download client settings, like the example below in Sonarr.
Categories will look like below, note that the path is purely the name of the folder with no other information, you will need to create each of the category folders in your usenet completed folder manually.
You are now configured to get downloads working, there are quite a few options in the configuration sections of the app that can both improve and hinder performance. These really depend on the capability of your NAS so keep this in mind.
Looking for some help, join our Discord community
If you are struggling with any steps in the guides or looking to branch out into other containers join our Discord community!

Buy me a beverage!
If you have found my site useful please consider pinging me a tip as it helps cover the cost of running things or just lets me stay hydrated. Plus 10% goes to the devs of the apps I do guides for every year.


Hi Dr_Frankenstein,
is it possible that you’ve missed to add the folder to to your yaml script?
/volume1/data/usenet:/data/usenet
Thanky you so much for your website, made my first steps with docker thanks to you 🙂
Regards
Eddy
Hey – in my eagerness to update the guide to use Projects I managed to miss that! Thanks it is now fixed!
Aloha from Hawaii! Thanks for demystifying Docker for me and others.
My issue is that I can’t get sabnzb to recognize the Synology NAS Data Folder (/volume1/data/usenet/)
I set the Docker settings exactly as you suggest and when I configure teh User Folders in sabnzb User Settings, it creates folders within the Default Base Folder: /config when I’m trying to get it to point to the Shared Data/Usenet folder.
Using DSM 7.2 Thanks in advance.
Aloha!
This is my fault I somehow managed to remove the path /volume1/data/usenet:/data/usenet when doing my update to the guide the other day! Grab that line from the yaml above and you should be good!
I tried to follow this to install sabnzbd for the first time, but got into a problem with the ports, as 8080 is already being used by qbittorrent. If I try to change both ports to another, say, 8686, the webui refuses to load. May I ask for advice on how to fix the conflict and successfully use both webuis at the same time?
Thank you!
Hey
You will just need to amend the left hand port
Left = Local Port
Right = Container Port
So change the left to 8686 and leave the left on 8080
I’ve installed the gluetun container (as per your guide, thanks for your help) for use with qbittorrent. What would I change in this guide to use the vpn for this? (Or is it not worth it?). Thanks!
Hey! There is no real need for Usenet. Your connection to your provider will be using SSL so only you and for a very short period they know what posts you grabbed. There is no one else eavesdropping on the connection like with Torrents.
Very nice step by step guide you have and I’ve followed every step for most of the applications you propose.
I’ve been using sabnzbd, radarr, and sonarr previously on a windows machine and am very happy with the new setup.
Almost everything is working as expected, only running into 1 issue on SABnzbd. I receive the following error
Failed to connect: [Errno 111] Connection refused sabnzbd:563 (172.20.0.5)
The download starts but then freezes and never completes.
– No matter whether it is for radarr or sonarr. I get the same error.
– I tried rebooting the NAS, force restarting all containers.
– All 3 containers are up and running without errors and I’m able to access all 3 web UIs. Any idea what it could be?
– I verified the settings. Port is 8080:8080, network is synobridge.
– I only noticed a small difference in the PATH vs the screenshot, though I hadn’t modified that field during setup.
The PATH I have showing is /lsiopy/bin:/usr/local/sbin:/usr….
The screenshot shows /usr/local/sbin:/usr….
Could the different path be the problem or any idea what it could be?
Hey your path looks fine – I will swap the image as it looks like it has changed since I pulled it originally.
Where are you seeing that error in the UI?
Yes, in the SABnzbd web UI as well as in the container logs. In now see in the container logs that it also says “stdout” in the [Stream] column.
I am going to ping you an email as will be easier than here in the comments