
Important or Recent Updates
| Historic Updates | Date |
|---|---|
| First version of the setup | 01/08/2021 |
| Added a note regarding the /data share Cleaned up the guide with LanguageTool General formatting updates | 14/03/2022 |
| Swapped out Putty for Terminal (Powershell) | 01/04/2023 |
| Further improvement to user and now group creation (thanks kalmiya) | 23/09/2023 |
It is good practice to set up a unique user and group with limited share and application access for your containers. We won’t ever be using this user to log into DSM it is purely for Docker.
Creating a Group
First up we will create a specific docker group that our docker user will belong, this allows us to segregate the permissions from the normal ‘users’ group from Docker. This is useful as you may have other users on your NAS that you don’t want to have access to certain folders by default.
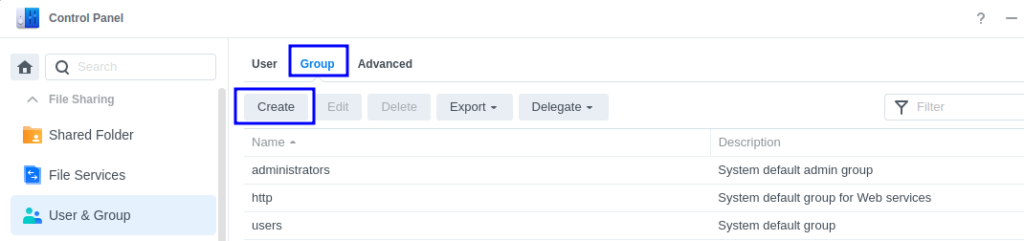
Navigate into the DSM control panel and open up ‘User & Group’ then click on Group and Create
In the screen that appears we will name the group ‘dockergroup’ (imaginative right) and you can give it a description if you wish
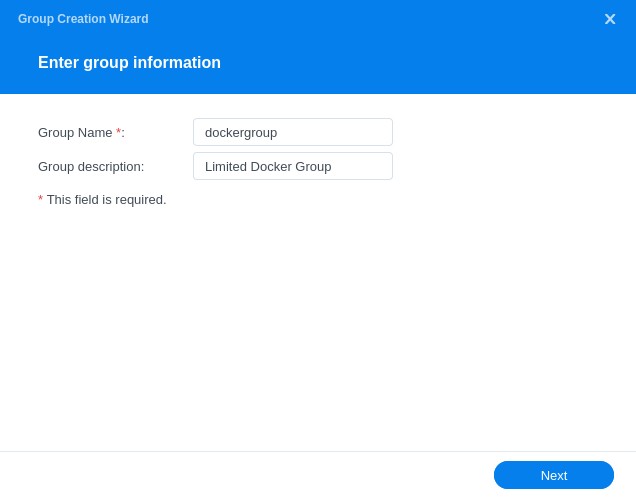
Click Next, we won’t be adding any users to the group yet (that’s the next section)

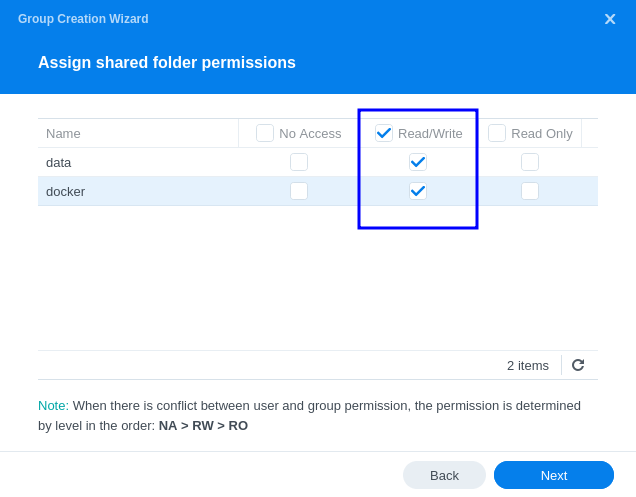
On the next screen we will grant the Group Read/Write permissions to the ‘data’ and ‘docker’ shares we created in the previous guide. Click Next. (Please note you may not have a ‘data’ share if you are following one of the guides that doesn’t require it!)
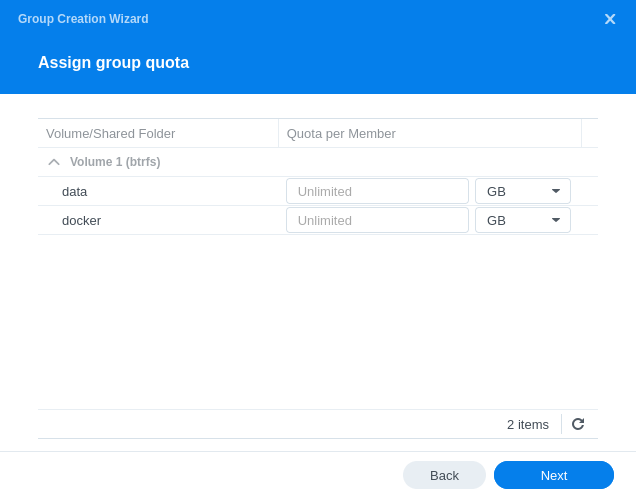
On the next screen you do not need to amend the groups Quotas so click Next
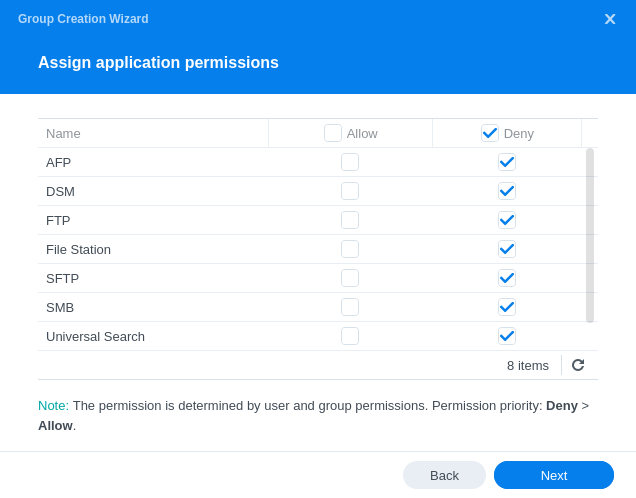
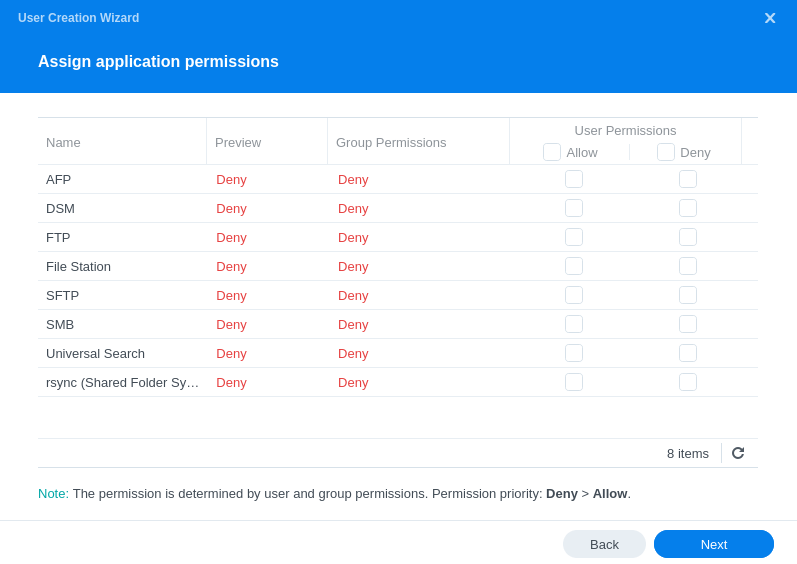
We will now deny all access to inbuilt apps as this group and any users within it do not need access.
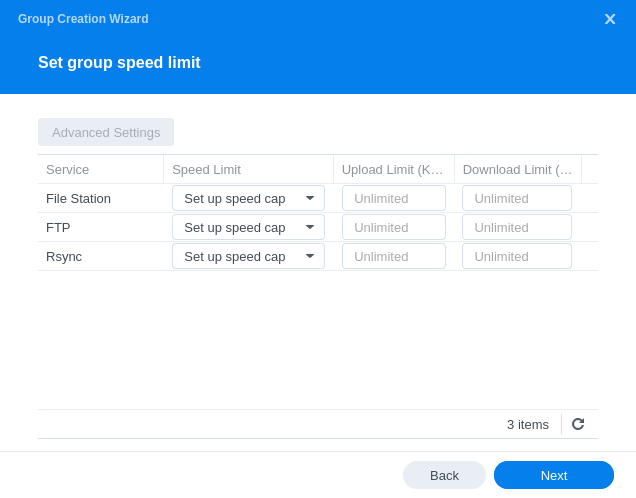
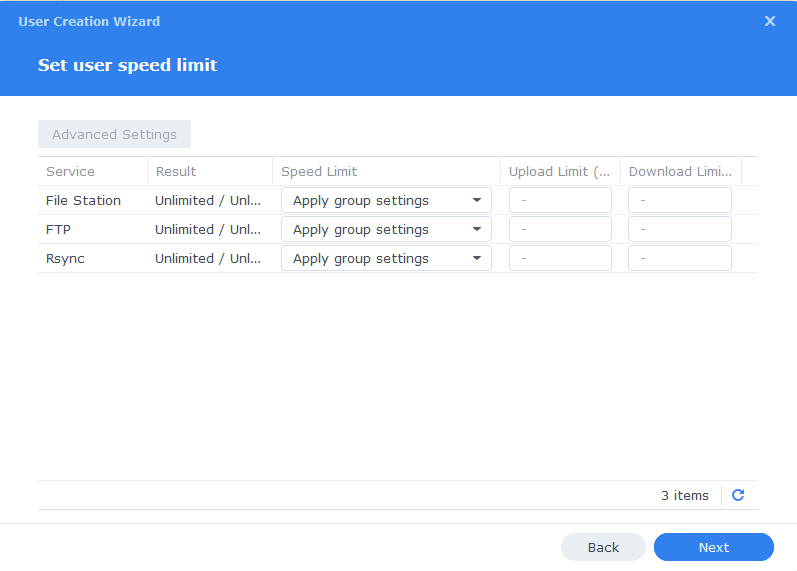
On the final settings screen we don’t need to set any speed limits
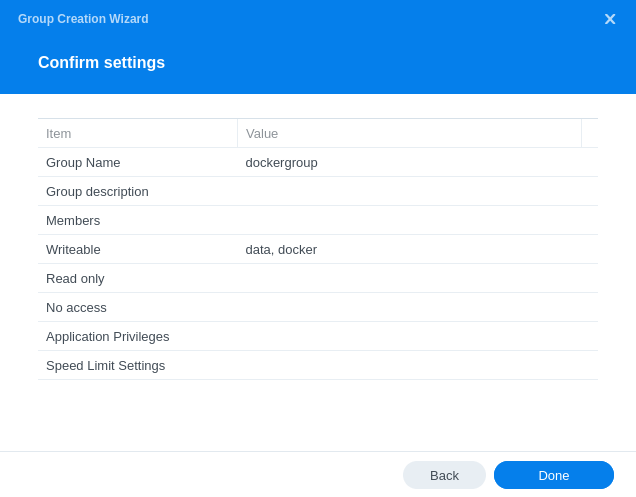
On the final screen click Done.
Creating a User
You can call the user whatever you want, I just kept mine simple and created one called ‘dockerlimited’
It’s also a good idea to generate a very strong random password for the user, while it will be a very limited account you don’t want to give it an easy to guess password. You will never need this password for what we are doing.
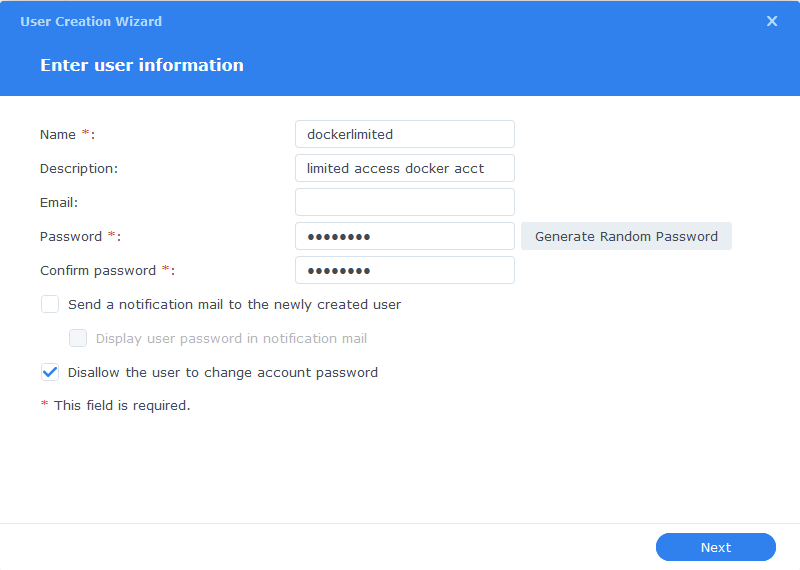
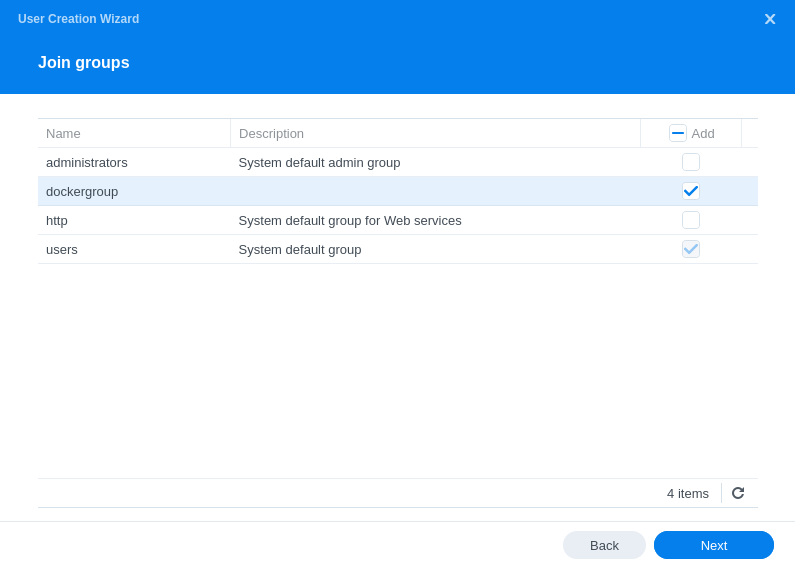
Next we are going to add this new user to the ‘dockergroup’ we just created as we don’t want it having any sort of admin access.
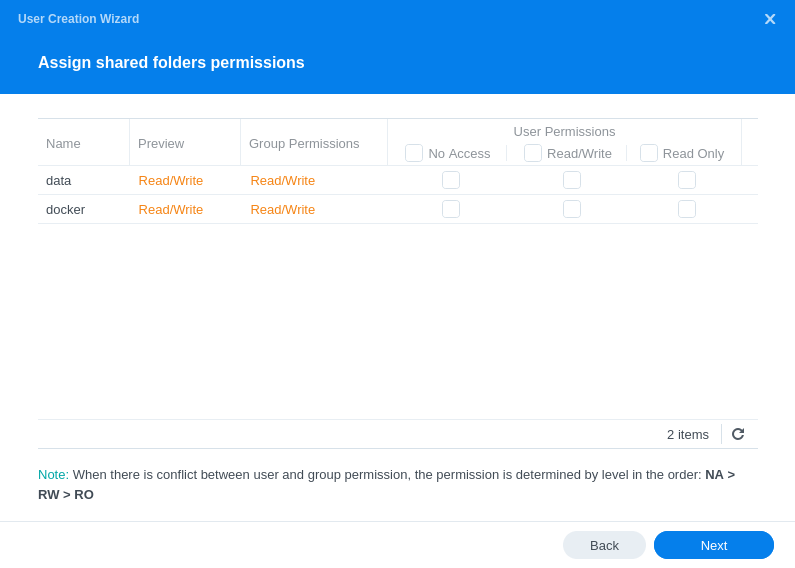
On the next screen you should see that the user already has Read/Write access to the two shares and no others.
*Please note if you are not following one of the media setup guides you will not have the /data share so don’t worry if it is missing.
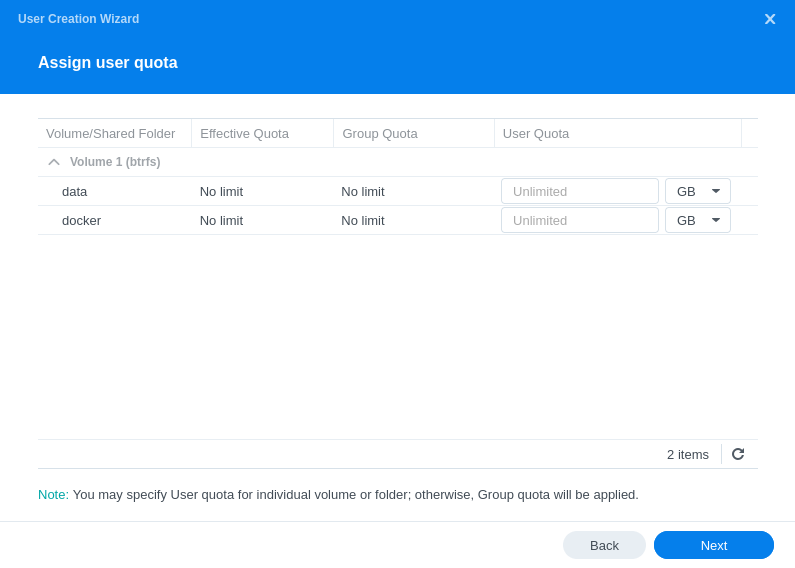
Nothing to change on the User quota settings just click ‘Next’
You will see that our User already has restricted access to apps
Again we don’t need to set any speed limits for this user so click on ‘Next’
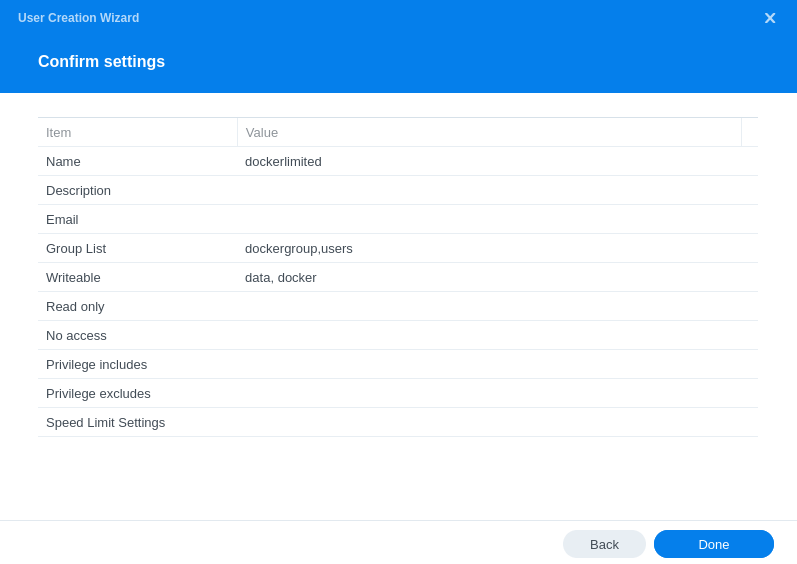
The final screen will just confirm your settings make sure the correct shares are in the ‘Writeable’ list, click on ‘Done’ and your user will be created.
Obtaining the new UID (User ID) & GID (Group ID)
Now we need to obtain the IDs for the new dockerlimited user and dockergroup These are used to pass file permissions through to our containers. They can also be known as PUID and PGID.
You will need to SSH into your Diskstation using ‘Terminal’ which is built in to modern versions of Windows, Linux, or Mac.
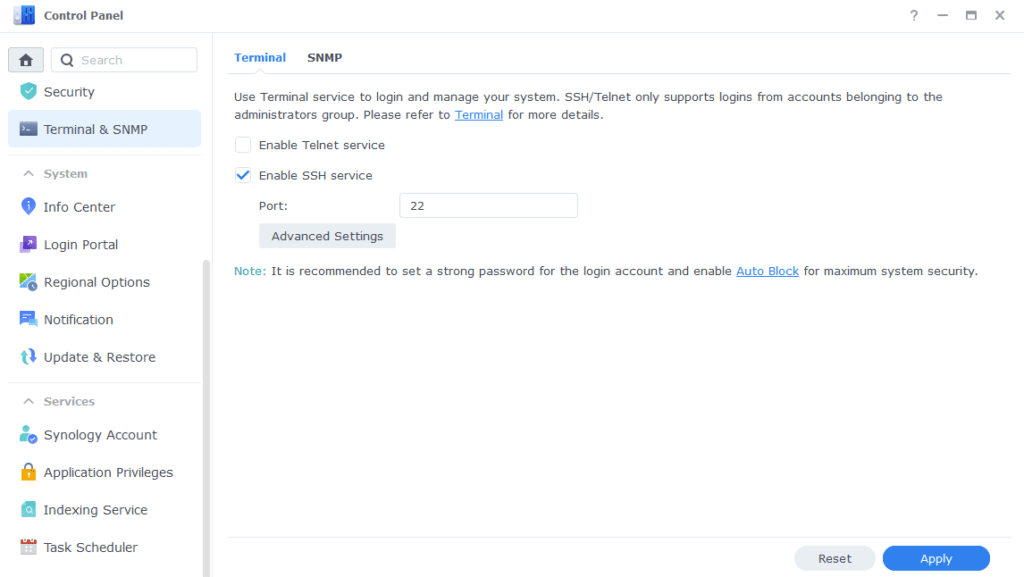
Go back into the Control Panel again and enable SSH within the Terminal & SNMP section.
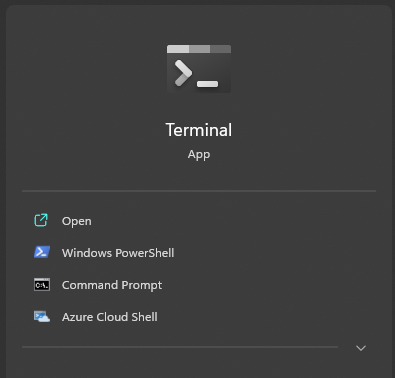
Open up ‘Terminal’
Now type ssh then your main admin account username @ your NAS IP Address and hit Enter (Not the docker user)
ssh drfrankenstein@192.168.0.101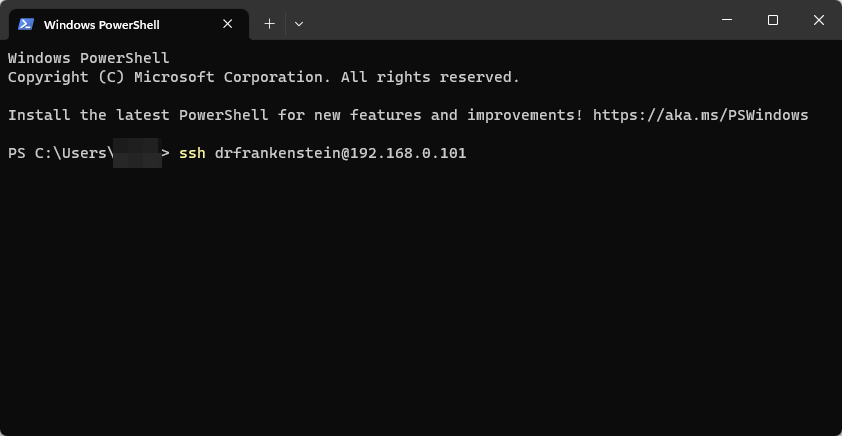
You will then be asked to enter the password for the user you used, you can either type this or right click in the window to paste (you won’t see it paste the info) then press enter.
Once logged in type the below replacing ‘dockerlimited’ with the name of the user you created if you changed it.
id dockerlimitedYou will now see a similar output as the below…
uid=1027(dockerlimited) gid=100(users)groups=100(users),65537(dockergroup)Let’s break this down!
uid=1027(dockerlimited) This is our UID write this down!
gid=100(users)groups=100(users) While this is a GID it is not the one we are interested in as it is for the standard users group so ignore this.
65537(dockergroup)This is our actual GID that we want to use for our containers so write this down as your GID.
You have now successfully set up your limited access user and obtained its IDs for use in Docker. Keep note of these somewhere as you will use them a lot with Docker.
You can now disable the SSH service as we won’t be using it.
You can now go back to the guide you were following.
Permission Fixes
Looking for some help, join our Discord community
If you are struggling with any steps in the guides or looking to branch out into other containers join our Discord community!

Buy me a beverage!
If you have found my site useful please consider pinging me a tip as it helps cover the cost of running things or just lets me stay hydrated. Plus 10% goes to the devs of the apps I do guides for every year.


Thank you so much for this guide. I used it to successfully create a number of containers that have been working well for months.
However, I have one container that was working up until about a week ago. Now constantly restarts and fails to stay loaded. Based on the log file in docker, it states “addgroup: gid in use”. But I reconfirmed that the PGID hasn’t changed, neither has the PUID, and all the other containers still have the same settings. Any ideas on what could be wrong?
Hey thanks. Which docker image are you using?
The image is for pymedusa/medusa:master , which is similar in utility to the Sonarr image that you have. Since the image wasn’t exactly one of the ones you had listed, I figured I would post the question in the ‘general user configuration’ section. The other images I’m using based on your guide (watchtower, deluge, SABnzbd) all work as intended, its just this one, even though its configured in much the same manner.
Cool, they have a LinuxServer build as well https://hub.docker.com/r/linuxserver/medusa/
Thanks for this. I’m guessing there’s something particularly useful or pre-configured about the linuxserver images that just “plays nice” with the configuration outlines you specify in the guide?
Yes, the will follow a similar pattern of setup, such as allowing the use of the PGID etc. The only thing we deviate from is the mount points of data, you will essentially mirror the Sonarr guide but using Medusa. Then it’s webui is available on port 8081
hello, in my synology I do not have the folder “data” what should I do?
Hey – Which guide are you following / setting up. It may not need the /data folder in which case you can ignore that part.
this guide:
https://drfrankenstein.co.uk/2021/05/03/minecraft-java-server-in-docker-on-a-synology-nas/
OK – The /data folder that is referenced in the guide relates to the path inside the container, which is mounted to /docker/minecraft on your Distation.
I’ve validated user id and password, but for some reason putty gives me an access denied status. Anyone ever see this for any reason other than a wrong user id or password?
Are you copy and pasting the password into putty? You paste by right clicking on the window. It’s really easy to get it wrong as you can’t see what’s being entered at all. Also double check you are connecting to port 22 and not telnet.
Curious made the user exactly like you said and in the summary window it shows write access but when I click on the user afterwards to check permission I see in big red letters read only for docker…. did I do something wrong?
Hey, bit hard to say, it should look the same, might be worth deleting the user and doing it again
lol. I think I was looking at permissions of the docker folder as pertaining to the dockerlimited user. Or it changed since I looked last. looking now it is showing read/write which gives me the courage to keep going . If you only knew how much frustration I have dealt with using sabnzbd,sonarr,radarr on Syno community lately and then trying different docker tutorials that didn’t actually lead me to where I wanted to be. Nervous every time things go weird. Just want this all working again…. Really glad I found your site. If I get this up and running I’ll be buying you several coffees!
Hello! I created the new user like you explained, but don’t see anything happening with it in the setups of all the containers. What does this new user do exactly? Do I have to sign in with this user to install all the docker containers on that users home?
Thanks, cheers.
Hey, this user is setup purely for the containers to use, you will never need to log in with it. From a security standpoint it is better for the containers to have restricted permissions to folders on the host, so by setting this user up and then using its id’s on the containers have limited access, also it gives us the benefit of having a common set of permissions across the required folders.
Ahh, I forgot about the PUID and PGID. Is it a problem that all my users have the same id’s?
Kinda a noob here, and want to be sure it’s all safe and secure 🙂
Also, thank you for these setup manuals!!
If you just use the ID from the user you setup in this guide you should be good
I should have read this first, and maybe it is worth adding the info up there.
I spent half an hour in configuration, because “clearly i got something wrong, as the Docker app does not show in my restricted user!!!” lol
I will add something in the start.