Last updated on 6 April 2025
Please note if you are using DSM7.2 or higher you should use the Container Manager version of this guide from the menu.
If you are still using an older DSM version migrate to Dockge and you can use my new guides!

See the Dockge guide here to start migration!
This guide has reached the end of its updates
| Update | Date |
|---|---|
| Removed docker compose section as rarely used | 18/07/2023 |
| changed image to nightly as this receives the most recent bug fixes and improvements | 04/12/2023 |
What is YouTubeDL Material?
YouTubeDL Material is nice web front end for YoutubeDL, This is a tool that is used to download video from YouTube and many other sites. This is useful for if you want copies of videos to watch locally offline or if you like to hoard entire channels!
Let’s Begin
In this guide I am going to take you through the steps to get YoutubeDL Material up and running in Docker on your Synology NAS
In order for you to successfully use this guide please complete the two steps below first.
Downloading the Container
Open up Docker within DSM and navigate to the ‘Registry’ tab and search for ‘tzahi12345’ in the keyword box.

Within the results right click and download the top result ‘, When it asks which version number to download select ‘nightly‘ as this has the most recent updates for this container.

Setting up the container
Now we have downloaded the image and got hold of our user IDs we can move onto the next stage.
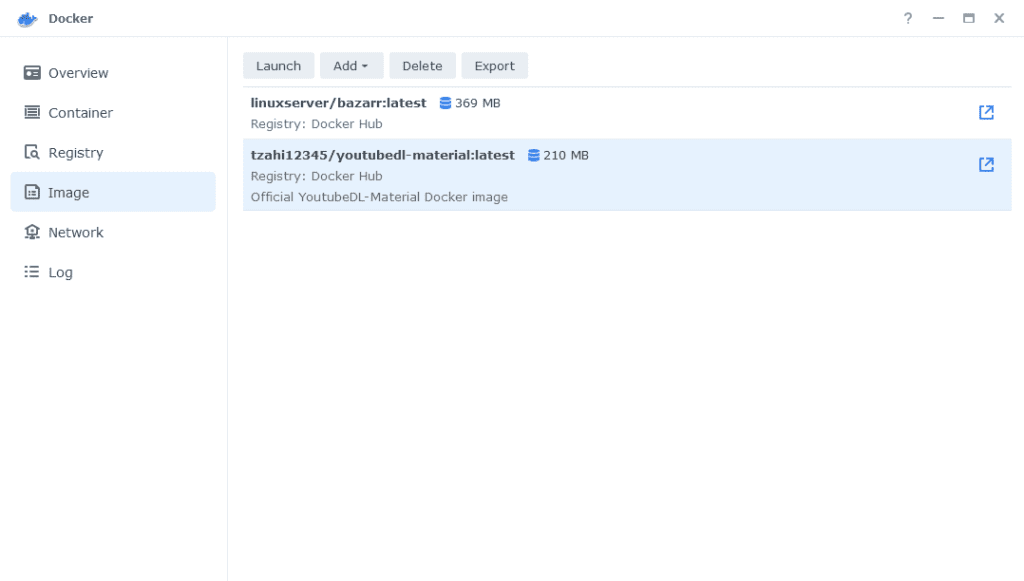
Go back into Docker and click on the ‘Image’ tab, in the list of your containers select the image, and click on ‘Launch’

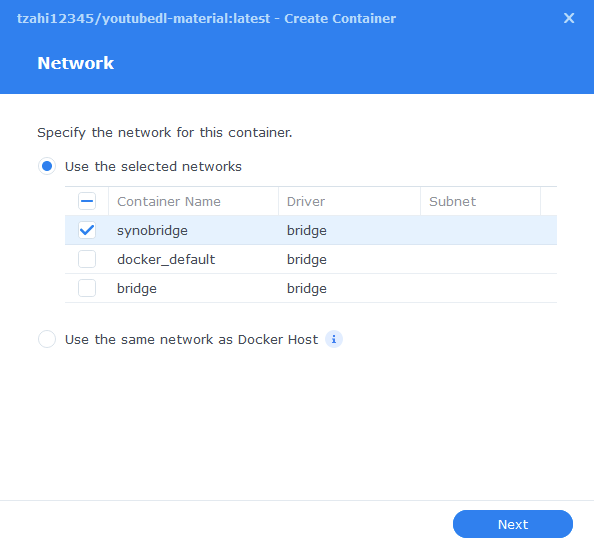
The first screen will ask how you want to set up the Docker network, we are going to use the ‘bridge’ network allowing us to amend ports later.

General Settings
Next you will be greeted with the General Settings screen, this is where you can start specifying some of your preferences.
You can change the name of the container to anything you like, and you may want to enable Auto Restart as this will ensure the container starts automatically if you reboot your NAS.
You will also notice a Configure capabilities button — don’t change anything in here!

Next up we are going to click on the ‘Advanced Settings’ button, this will take you to a new window with a number of tabs which we are going to work through.
Environment
Next we are going to set up a couple of environment variables that docker will use to allow the container access to our files and folders.
Click the Add button, and fill in the following details as per the table/screenshot, you will need to do one at a time.
| Variable | Value |
|---|---|
| UID | The UID you obtained in the user setup guide |
| GID | The GID you obtained in the user setup guide |
| USER | youtube |
| ytdl_use_local_db | true |
| write_ytdl_config | true |
| ytdl_port | 9998 |

Links/Execution Commands
You do not need to set up anything on these tabs.
Press ‘Save’ to go back to the initial setup screen, then press ‘Next’
Port Settings
On this screen we are going to specify port 9998 to access YouTubeDL, this is in line with the Environment Variable set earlier. You will need to change BOTH the Local Port and the Container Port (we don’t normally do this)

Volume Settings
Where you store your downloaded videos can be changed based on your own preferences, I am basing this guide on the overall media setup and folder structure from our other guides.
Create a ‘youtube’ folder in /data/media and then add 4 subfolders
- audio
- subscriptions
- users
- video

We can now move onto the volume tab in which we will be specifying the directories where YoutubeDL will store its configuration files and where the video downloads will be stored.
Click on Add Folder, click on the ‘docker’ share and create a new sub-folder called ‘youtubedl’ click on this folder and click ‘select’

We now need to repeat this process adding the folders below one at a time. Your path settings should look like the table/screenshot below.
| File/Folder | Mount path |
|---|---|
| /docker/youtubedl | /app/appdata |
| /data/media/youtube/subscriptions | /app/subscriptions |
| /data/media/youtube/users | /app/users |
| /data/media/youtube/audio | /app/audio |
| /data/media/youtube/video | /app/video |

Click Next to move to the final screen.
Summary
You have now completed the setup of the container.
You will be shown an overall summary of the settings we have specified, this is a good time to double-check everything is correct. Finally, click on Done and the container should start to boot.

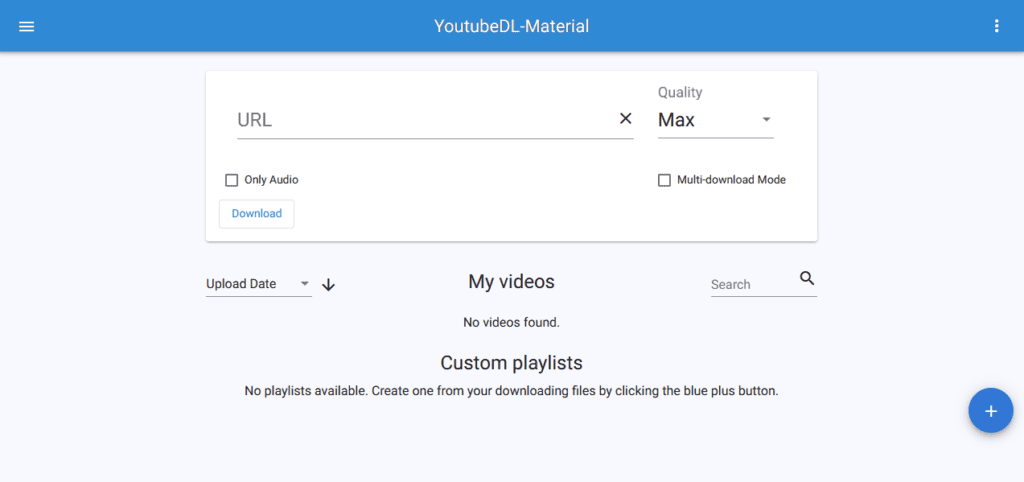
You should now be able to access the web interface via the IP of your NAS followed by the port 9998
e.g. 192.168.0.40:9998

You can use the main screen to download individual videos by pasting the URL and selecting the quality, or if you want to add subscriptions to specific channels use the menu on the left.
I recommend going into the advanced settings and amending the downloader to ‘yt-dlp’ if you have any issues pulling videos.
| Historic Updates | Date |
|---|---|
| New guide published | 05/03/2022 |
| Small amendment made to the environment variables to specify the use of a local database | 10/05/2022 |
| Updated with DSM7.1 Steps and Screenshots | 23/06/2022 |
| Changes to ‘latest’ image and update steps | 09/07/2022 |
| Added new port settings and Docker Bridge Network | 23/07/2022 |
| Fixed a rogue old image for the ports section use ports 9998 on both sides! | 08/09/2022 |
| Removed the default downloader so you can select one from the settings after startup. | 26/01/2023 |
| Compose version number removed and small wording amendments | 09/04/2023 |
| Amended the path to save the compose file – this is for security, so the container has no access to the file contents. | 14/04/2023 |
Looking for some help, join our Discord community
If you are struggling with any steps in the guides or looking to branch out into other containers join our Discord community!

Buy me a beverage!
If you have found my site useful please consider pinging me a tip as it helps cover the cost of running things or just lets me stay hydrated. Plus 10% goes to the devs of the apps I do guides for every year.


